
Powerful forms for data collection and Wide API to merge automation using the best wokflows such as N8N, Zapier. Excellent tool for data collection. Recommended 100%. Furthermore, support is awesome.

Last updated on December 17, 2024 by Kyle Cash
How To Create a Contact Form in WordPress In Under 3 Minutes
Learn how to create a contact form in WordPress with our simple, step-by-step guide. No coding required—perfect for beginners and small businesses!
Approximate read time: 9 minutes
What's the easiest way to let visitors reach you without handing out your email to spammers?
A contact form, of course. And whether you're running a small business, blog, or eCommerce store, contact forms are essential for a professional website.
However, adding a contact form to a WordPress website may not be the easiest or most time-saving thing you do all day, unless you use a contact form plugin. And that's what we'll show you how to do today. With this step-by-step guide, we'll show you how to create a contact form in WordPress that looks great and works even better.
Let's get started.
Upgrade your WordPress site with powerful, flexible forms.
How to create a simple contact form in WordPress
The easiest way to create a contact form in WordPress is using Formidable Forms.
It's the most advanced WordPress form builder, and its drag and drop form builder helps you save time creating forms. And you can use its free online form builder to create your contact form.
If you need more features, you can also upgrade to Formidable Pro. This will give you access to form templates, file uploads, conditional logic, and more.
But the best part is that it only takes a few quick steps to get a form up to collect contact form submissions:

Step 1: Install Formidable Forms
First things first, let’s get Formidable installed and activated.
Open your WordPress dashboard and head to Plugins → Add New. Next, search for Formidable, click the Install button, and hit Activate when it appears.

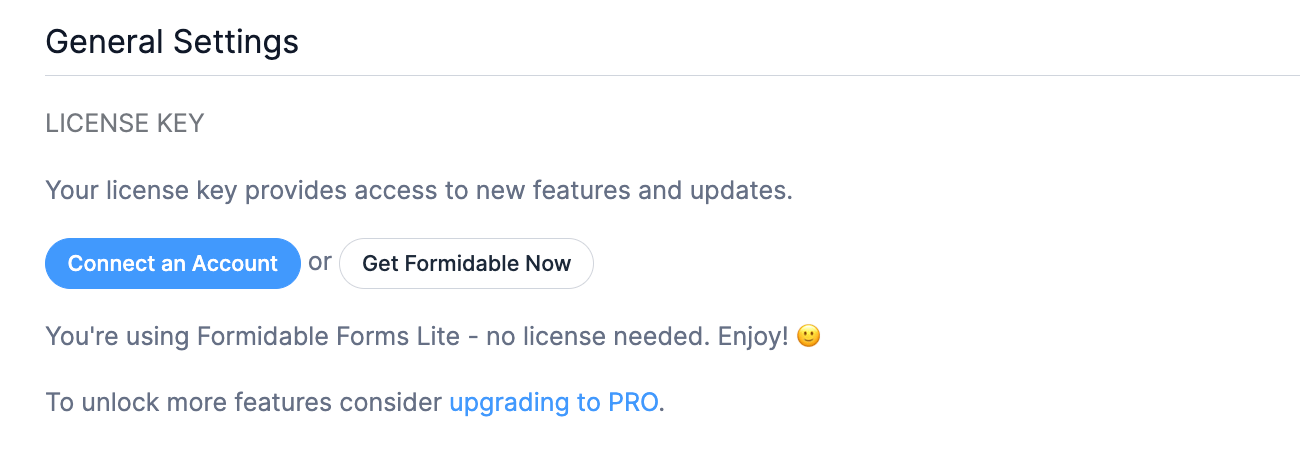
If you're using the free version, you can go on to the next step once it's activated!
If you're using the Pro version, you must connect your Formidable Forms account to the WordPress plugin. So, go to Formidable → Global Settings page and click the Connect an Account button.
The Formidable Forms wizard will connect your account until you return to your site. It will then show your active license type.
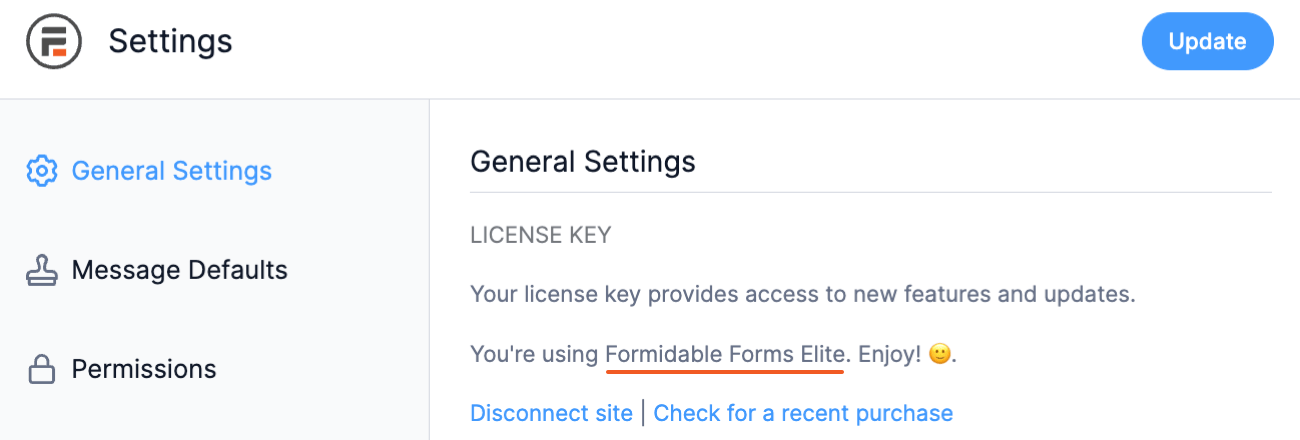
Once it's active, you can add a contact form in WordPress!
Step 2: Create a contact form in WordPress
To start creating your form, go to Formidable → Forms → Add New in your WordPress dashboard.
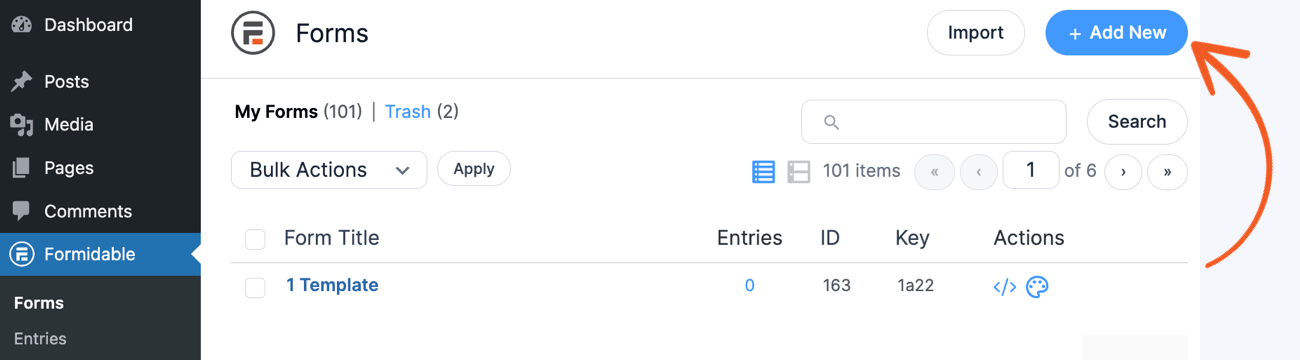
Here, you have three options:
- Create a blank form from scratch (Free and Pro)
- Use a pre-built form templates (Pro version)
- Use the AI form builder (Pro version)
Since we're also showing the free version here, we'll click the Create a blank form button to start from scratch.
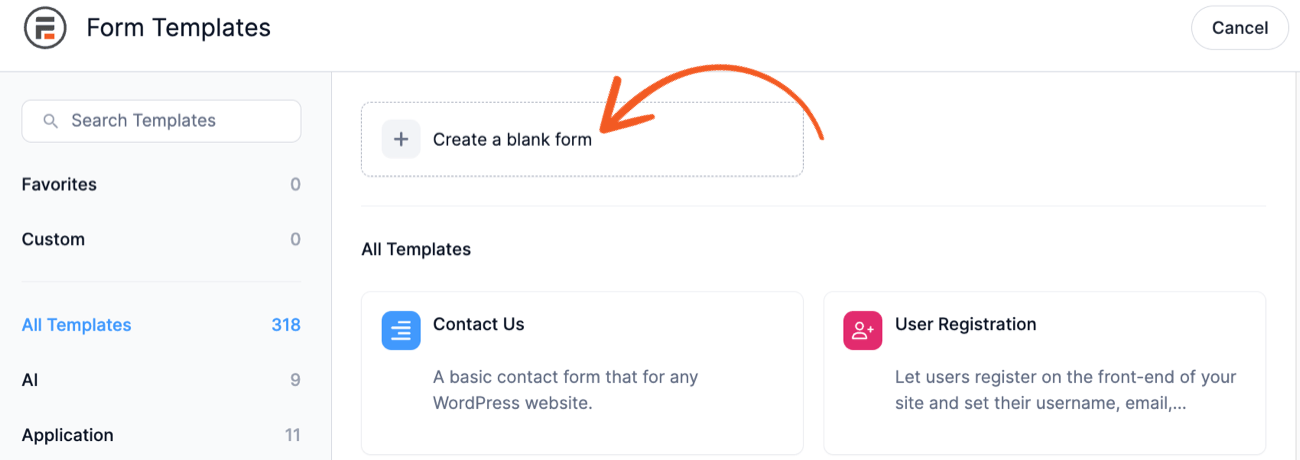
This will open the drag and drop form builder where you can begin customizing your form. What makes this great for anyone is that all you have to do is drag the form field from the left panel over to your form. Or, click it, and it will automatically add it.
For a simple contact form, we recommend adding the following form field types:
- Name
- Text fields or a Paragraph field (for a message)
You can also add spam protection, like reCAPTCHA, Honeypot, or Cloudflare Turnstile, if you'd like. Or create a contact form with file uploads for specific situations.
If you need to edit a field label or make a field required? Click on the field in your form to display the Field Options on the left side of your screen. And if you want to style your contact form, check out the Style tab at the top of the form builder.
Once you’re happy with your contact form, click Update to save your changes.
Step 3: Set up contact form email notifications (optional)
This isn't a requirement, but there are additional options you can set up for your contact form.
One that pairs perfectly is an email notification every time someone submits the form. This makes it easy for you (or someone on your team) to respond quickly and stay on top of all form submissions.
And Formidable makes it easy to set up WordPress form notifications.
First, go to the Settings tab at the top of your screen. Next, click on Actions & Notifications and then click on the Send Email action.
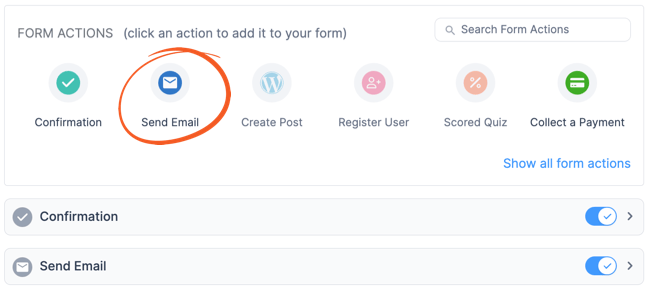
Now, you can scroll down to the Send Email form action to personalize your notifications. Fill in the email subject line, email addresses, and message.
It'd be smart to change the email address for WordPress contact forms on the site, too.
And you don’t have to limit your notifications to plain old text. You can upload images, gifs, and more to make it your own. So feel free to play around!
When you’re done, click Update to save your changes.
Step 4: Publish your form
Last, we just need to put the form on a post or page so people can submit it! A Contact Us page is a great place to do this.
So, go to the post or page and add a new WordPress block. Next, find the Formidable Forms block and insert it into the post.
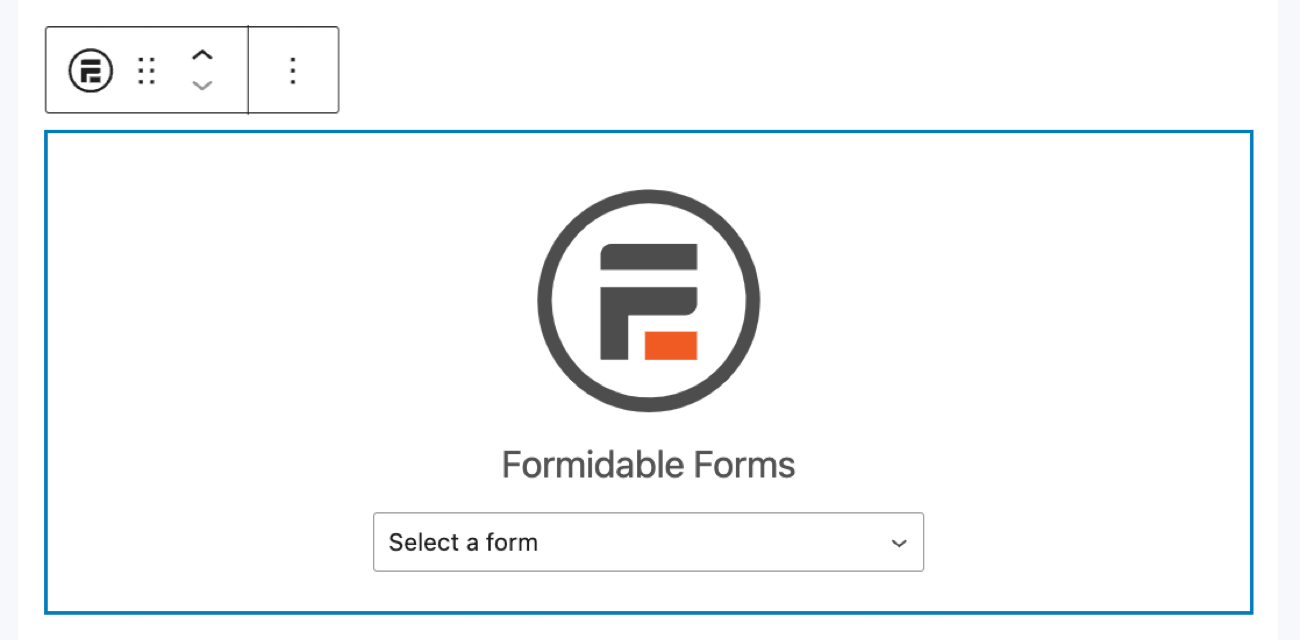
Last, select your form from the dropdown menu. Then, update your post or page, and you're done.
And that's it, you now have a contact form on your website!
Want to feature your form in a few other places too? Find out how to insert a contact form in the sidebar or how to add a contact form in the footer on WordPress.
From Idea to Reality in Minutes. Build Powerful Forms, Dashboards, Apps and More.
Formidable Forms makes advanced site building simple. Launch forms, directories, dashboards, and custom WordPress apps faster than ever before.
Advanced features for a more powerful contact form
A basic contact form on your WordPress site will easily do the job.
However, certain features can make your life a whole lot easier, whether you customize the form to match your brand, personalize the messages visitors see, or send the email to your email marketing service.
Here are a few features we think you may like with Formidable Forms 👇.
Get more attention on your WordPress contact form
A plain form is fine. But it won't catch many eyes, which means fewer form submissions.
But a beautiful contact form that matches your website's style is a different story. In fact, consistent branding can add 10-20% to revenue growth, so the benefits from simply matching your contact form could be huge.
With Formidable’s Visual Styler, it only takes a couple of clicks to customize every aspect of your form. Font size, color, radio buttons, submit buttons, and spacing are all at your fingertips.
- 1. Open up your contact form and go to the Style tab.

- 2. Pick one of our premium, ready-made styling templates, or create your own for free!
- 3. Click the three dots on the style template to access the form styler to make a style.
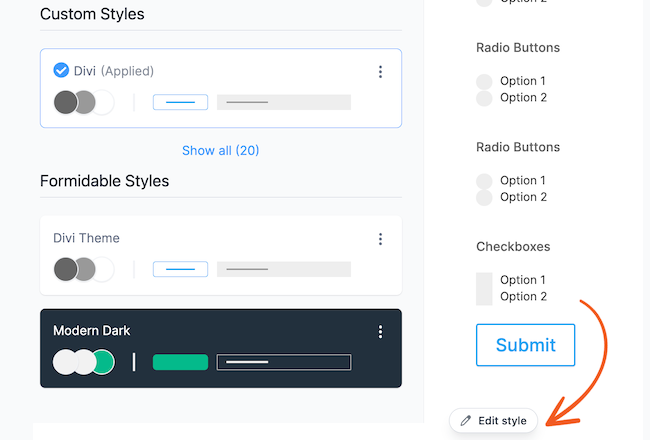
- 4. Choose the form settings you want, then Update to apply your custom design.
Lookin' good! 👌
Personalize the message visitors see
Personalization is the #1 tactic marketers use to increase engagement. And when 90% of customers in the USA find it appealing, you're missing out if you're not using it.
One way to do that is by customizing the confirmation message. This can be as simple as a personalized "thank you," or you can offer recommended products or discounts!
And it takes very little work on your end:
- Step 1: Open your form in Formidable and go to Settings → Actions & Notifications.
- Step 2: Click on the Confirmation tab, then choose to either:
- Show message
- Redirect to URL
- Show Page Content
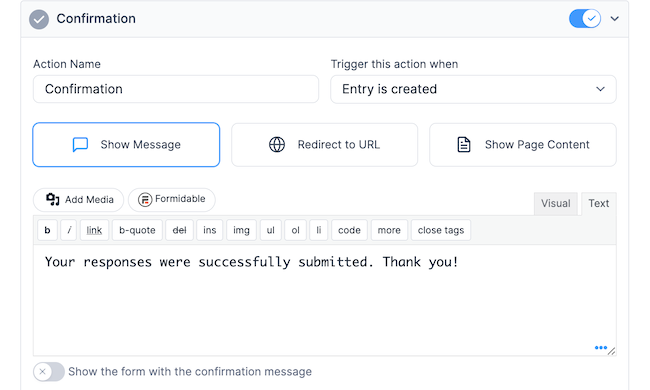
Using these three options, you can easily customize the confirmation according to your audience. That's personalization done right.
The best form builder for any email service
Mailchimp, Constant Contact, ActiveCampaign, ConvertKit — all these services help grow your email list.
But, the form options with each one aren't the best. And that's where Formidable comes in with its integrations with each one. So you get easy form building with Formidable Forms and the email features of your service.

But these integrations are a premium feature, so you’ll want one of our form maker plans to get started.

- Step 1: Go to Formidable → Add-Ons and search for your email service to enable it.
- Step 2: Click Activate.
- The next steps depend on your email service, so follow the guide for you:
- Set up your Mailchimp contact form
- Set up ActiveCampaign with Formidable
- Use a MailPoet signup form
- Make a Constant Contact form
And that's it! Whenever someone reaches out, their email address will automatically be added to your email list!
A cleaner user experience
Sometimes, a form isn't the most beautiful thing on a page.
By nature, forms aren't the most attractive (though our Form Styler tries its best!). So, if you could hide them until the visitor fills them out, it'd make the page look better.
So here's where a modal popup form is great. It stays hidden from the page until the visitor clicks a button and appears as a popup. This reduces the clutter on the page, which often confuses or overwhelms visitors.
This is more minimalist and increases the chances visitors fill out the form.
Start creating your contact us form in WordPress today
Form building doesn't have to be complicated. And we hope this tutorial helped you realize that.
Formidable's goal is to help people do incredible things, even without the development experience or time to dedicate to them. Anyone can do it, whether it's a simple contact form or an entire application.
So, if you have questions, drop them in the comments below. And join our community on Facebook, Twitter, LinkedIn and YouTube for more WordPress tips & tricks. And don't miss our newsletter, where you can join 50,000 others in getting the latest news from Formidable.
Get the Formidable Forms Newsletter
Read more about contact forms
 Transform Your WordPress Forms with Custom CSS
 How To Embed a Form on Any Website (Not Only WordPress!)
 How to Build a Divi Contact Form That Matches Your Theme
This article may contain affiliate links. Once in a while, we earn commissions from those links. But we only recommend products we like, with or without commissions.

