
Formidable Forms has made my life so much easier as an event planner.


Last updated on May 23, 2025 by Kyle Cash
How To Add a Google Map to a WordPress Contact Form [Free!]
Want to add a Google Map to a WordPress contact form on your site? This guide shows how to create a WordPress contact form with a Google Map to help visitors!

Approximate read time: 7 minutes
Connecting with your audience is key to building strong relationships, and having a contact form on your WordPress site is a big step in the right direction.
But what if you could take it up a notch by adding a Google Map to your form?
Whether you're running a local business or just want to show visitors where you're based, a Google Map in a contact form is an easy way to stand out. Normally, it'd take hours of code. But you can easily create a contact form map with a WordPress plugin.
In this guide, we'll show you step-by-step how to add a map to a WordPress contact page using a contact form.
Let's get started.
Upgrade your WordPress site with powerful, flexible forms.
How to create a WordPress contact form with a Google Map
The easiest way to create any type of form in WordPress is by using Formidable Forms, the most advanced WordPress form builder.

Its goal is to help you do more with less time (and less code!). That includes creating your own contact form with a Google Map. Best of all, you can use the free version to create the form and embed the map. While you can get more advanced features from the Formidable Pro version (like our Geolocation add-on), you only need the free online form builder for this tutorial.
And it's only a few easy steps:
Step 1: Install and activate Formidable Forms
First, we'll need to get Formidable Forms Lite installed and activated.
So, go to your WordPress dashboard and Plugins → Add New. Next, search for Formidable, click Install, then Activate button.
If you don't want to do that, add your site URL below, and we'll take you to the install page.
Once it's installed, it's time to create your contact form.
Step 2: Create a contact form
To start, go to Formidable → Forms in your WordPress dashboard and click the Add New button.
Next, you have three options depending on which Formidable Forms version you're using:
- Create a form from scratch (Free and Pro)
- Use a contact form template (Pro Version)
- Use the AI form builder (Pro Version)
Whichever one you choose, it will take you to the drag and drop form builder. But, for this tutorial, we'll show you how to do it using a blank form.
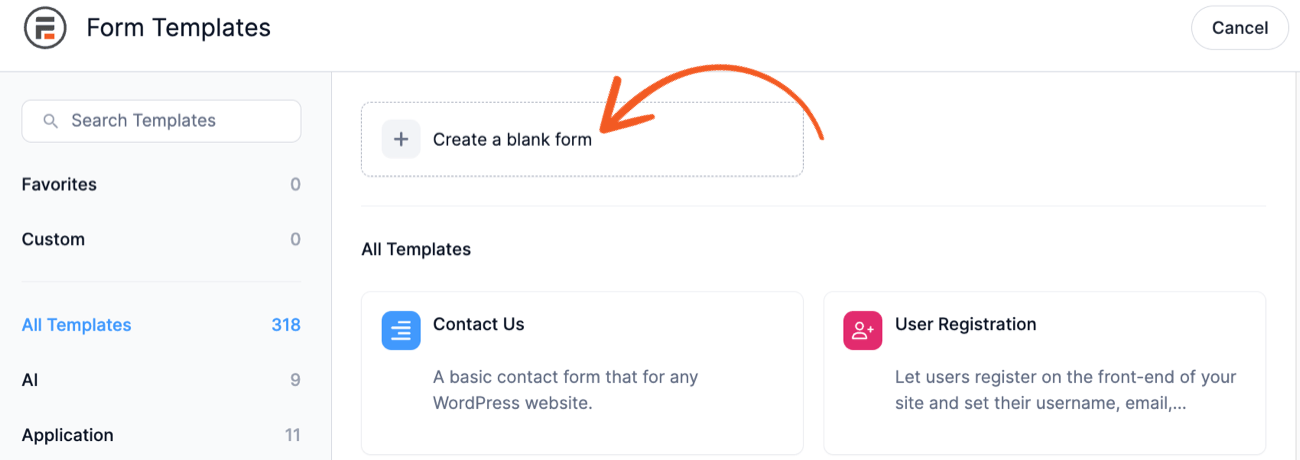
In the form builder, you can add the input fields you need to your form. All it takes is a simple drag and drop, or you can just click to add it to the form canvas.
A contact form only needs a few fields, such as an Email Address field, Paragraph or Text fields, or a Name field.
But the most important field WordPress contact form with a Google Map is the HTML field. This is where you'll insert the Google Map HTML later. So, add an HTML field, then select it, and you'll see the Content box in the left sidebar.
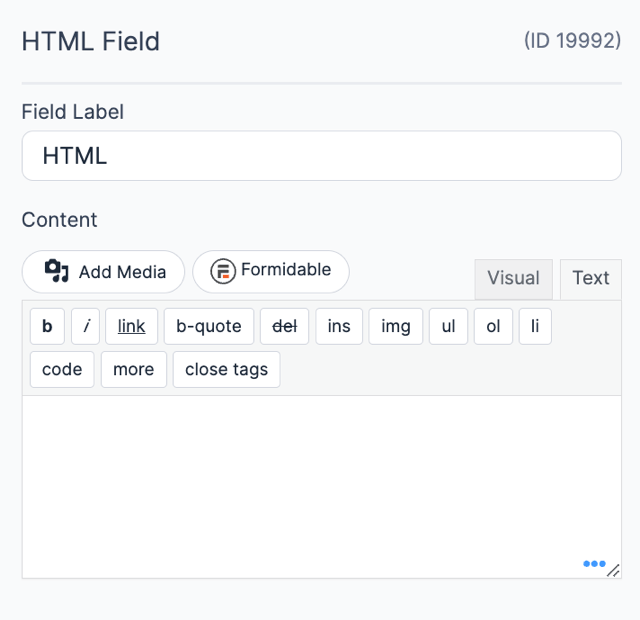
Keep this page open, or remember this spot for the next step when we get your Google Map HTML.
Step 3: Get your Google Map HTML code
This method is the simplest way to show a location (such as your business) in a contact form.
There's no need for a Google Map API key or additional map settings. If you're looking for those, check the later steps for our Geolocation add-on.
But, if you want an easy way to show a location, simply copying and pasting this code will do the job. So, head to Google Maps and search for your location. When it shows the map pin, click the Share button. Then, click Embed a map and the Copy HTML button.
Keep this embed code copied or paste it into a document to copy later. Then, go back to your form in the form builder, and paste it in the Content section of the HTML field.
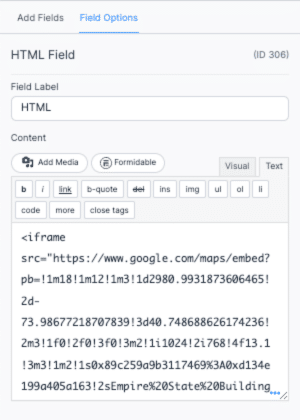
Now, this will have your map left aligned on the page, which looks odd. So, we'll center it by placing it between two <center> brackets like this:
<center><iframe (with code)></iframe></center>Then, click the Save button at the top right to save your form. It'll also prompt you to give your form a name (which only you will see).
Last, you can click the Preview button to get an idea of what your contact form with a Google Map looks like so far:
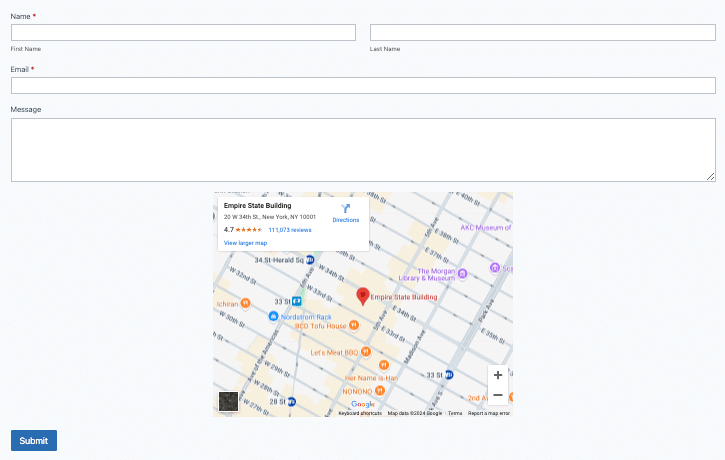
Not bad for only a little effort! And you can further customize the form and its design to get it to match a brand or style. Formidable's form styler makes it super easy to change anything about the form, from font size to borders and padding.
For example, simply changing a few settings on a form can take it from basic (like the one above) to more professional (like the one below):

So, take as long as you need to play around with the style to get something you like. Then, the last thing to do is publish the form on your website!
Step 4: Publish your embedded Google Map form
Last, go to the post or page where you want to show your form.
Then, add a WordPress block and search for the Formidable Forms block. Click it to add it, then choose your contact form from the dropdown menu.
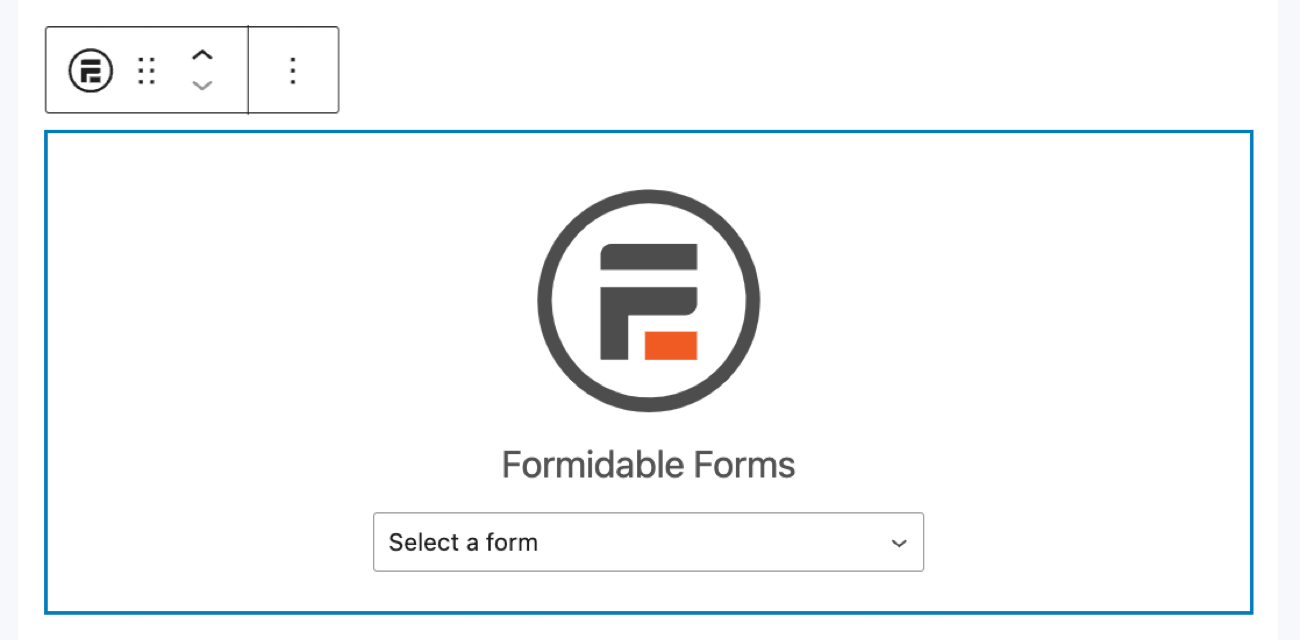
The block will automatically show your form, and you can see what it will look like on the page. Last, just click Update, and the form will be live and ready to accept form submissions!
Step 5: Add more Google Maps features (optional)
As mentioned earlier in the post, this is a basic way to use Google Maps. If this meets your needs, feel free to stop reading and style your form to make it even better!
But, if you want something extra, that's where Formidable's Geolocation add-on is perfect.
For example, you can add address autofill to a form so visitors or customers can quickly fill out address information. This saves them the time (and headaches) of manually entering an address, which most people dislike, increasing your conversion rates.
You can even create entire maps from form submissions.
This is HUGE for real estate websites, business listings, or simply showing a set of locations. Instead of manually coding it, all it takes is a form and Formidable Views.
So, if you want a way to integrate your forms and Google Maps even more, this is it.
From Idea to Reality in Minutes. Build Powerful Forms, Dashboards, Apps and More.
Formidable Forms makes advanced site building simple. Launch forms, directories, dashboards, and custom WordPress apps faster than ever before.
Ready to create a WordPress contact form with a Google Map?
So there it is. Whether you want a basic map to show your business location or you want full Google Maps integration, Formidable can help you meet your goals.
We hope this tutorial was helpful, and we're excited to see what you create! So, don't wait any longer. Grab Formidable Forms Lite and get started now!
Also, join our community on Facebook, Twitter, LinkedIn and YouTube for more WordPress tips and tricks! Or, join our newsletter and get everything Formidable sent straight to your inbox!
Get the Formidable Forms Newsletter
This article may contain affiliate links. Once in a while, we earn commissions from those links. But we only recommend products we like, with or without commissions.

