
Formidable Forms has made my life so much easier as an event planner.


Last updated on June 18, 2025 by Formidable Team
How To Add an Appointment Calendar in WordPress [No Code!]
Learn how to add an appointment calendar in WordPress with this step-by-step guide. Improve scheduling and streamline bookings effortlessly.

Approximate read time: 7.5 minutes
Need to create a custom appointment booking system in WordPress?
Google Calendar is okay, but it's not the prettiest and is restrictive. Coding one from scratch takes a lot of time and effort. Even then, one small WordPress update can cause it to crash.
But there is a better solution. Using a WordPress form plugin to create an appointment application can save time. So, with this guide, we'll show you step-by-step instructions on how to add an appointment calendar in WordPress and create an online booking system.
So, let's get started.
Upgrade your WordPress site with powerful, flexible forms.
How to add an appointment booking calendar in WordPress
Formidable Forms is the best way to add an appointment booking calendar to WordPress.

It's the best WordPress form plugin, which means creating an application booking form is easy with its user-friendly drag and drop form builder. It has Google Calendar integration through Uncanny Automator. And it even seamlessly integrates with top payment gateways to accept payments.
But what really makes it powerful is its Formidable Views feature which can function as a WordPress calendar plugin. In particular, its Calendar Views feature can display any form submitted data in a beautiful, interactive calendar.
With just some work, any WordPress website can have a beautiful appointment booking calendar up and running.
So, get a plan for Formidable Forms Pro using the button below!
Then, we'll show you how to add the appointment booking calendar (and form) in six steps:

Step 1: Install Formidable Forms and the Views add-on
For this example, we have a barbershop.
Instead of having a complicated booking manager, we want a simple booking process so customers can book dates and times to get a haircut, shave, or styling.
Before we can do anything, we need a few tools:
- Formidable Forms premium version
- Formidable Views add-on
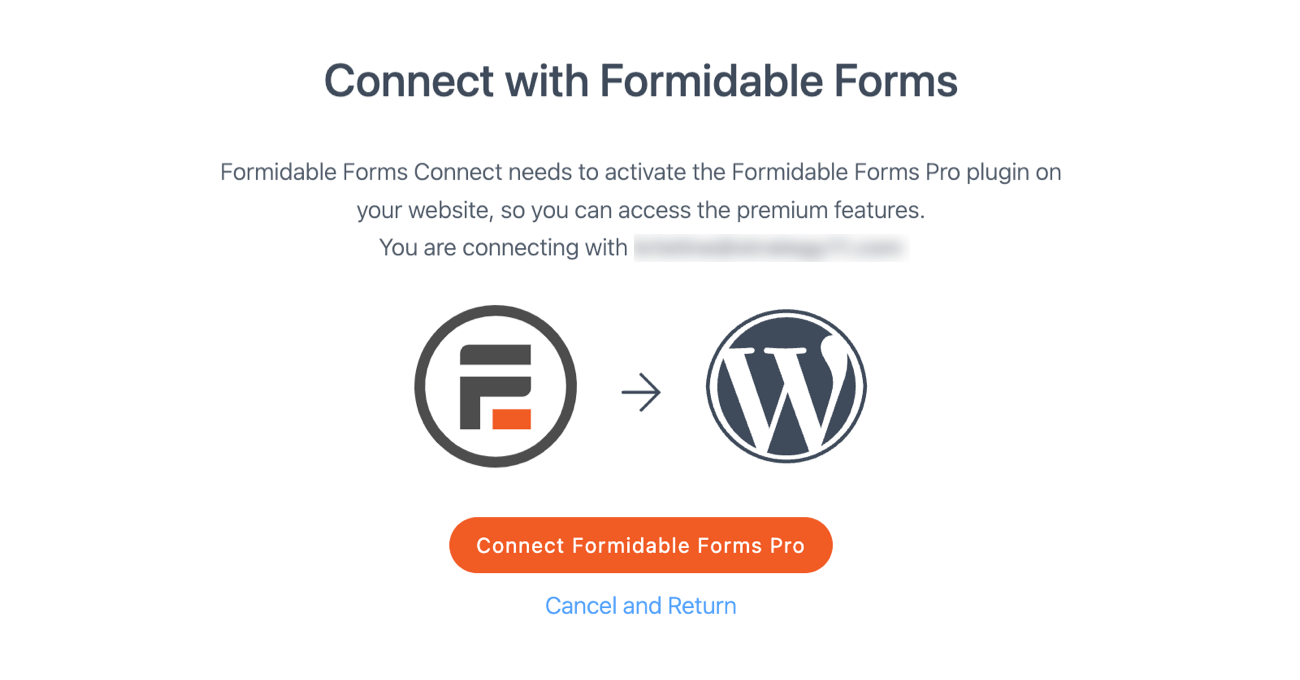
So, we'll install and activate Formidable Forms first. Then, we'll connect my WordPress site to my Formidable Forms Pro account in WordPress.
Once that's set up, go to Formidable → Add-Ons and search for the Visual Views add-on. Then click Install.
Step 2: Build an appointment booking form
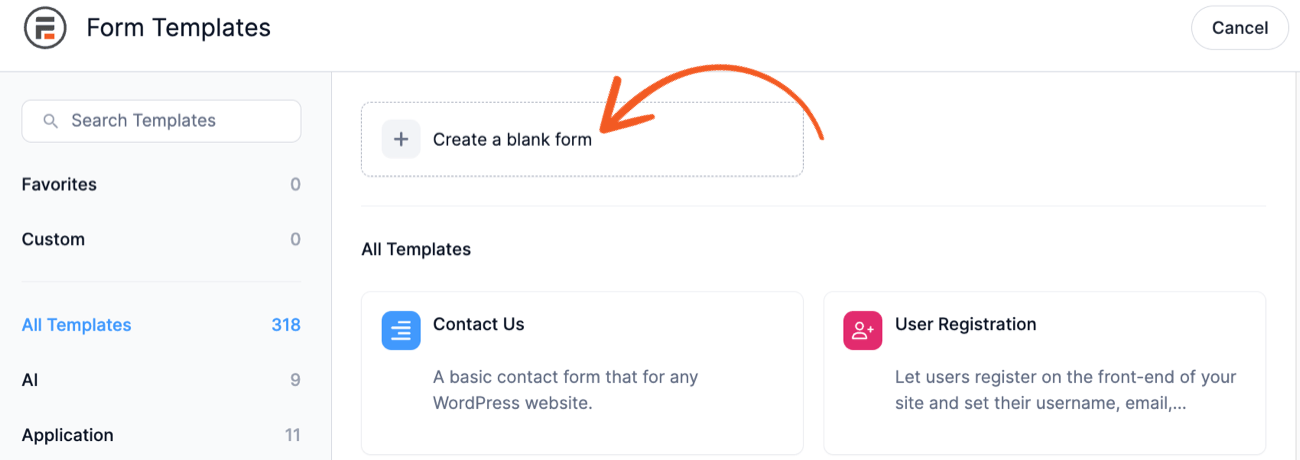
In the WordPress dashboard, go to Formidable → Forms and click the Add New button at the top right.
Next, we can create a form from scratch or choose one of Formidable's WordPress form templates, similar to the application templates from earlier.
We want to customize my form for the barbershop, so we'll click Create a blank form.
This takes us to the drag and drop form builder where we'll design the entire form to accept appointments.
This form builder saves tons of time creating a form. And with many different form fields, the form can fit almost any situation. For example, we're adding nine custom fields to my form:
- Name: Collect the customer's first and last name
- Email: For a confirmation email notification
- Phone: To contact the customer if needed
- Checkbox: For the customer to choose the services they want
- Dropdown: The customer can choose a preferred stylist
- Section: To group the date and time fields for clarity
- Date: For choosing an appointment date
- Time: To choose an appointment time
So, the form will end up looking something like this:

When we click a field, we can customize the fields (like the checkboxes) using the field settings in the left pane. We can customize multiple options like field name, placeholder text, and required fields.
But here's what customizing the checkboxes looks like:

For now, though, we're happy with what we have.
Step 3: Submit a test entry
This step is only so we can customize how everything looks and ensure everything is working correctly. After, we'll delete it so it doesn't show on the live calendar.
Click the Entries tab in the form builder or from the WordPress dashboard. Then, click the Add New button to submit a test entry.

Next, fill out the form with a sample name and appointment. Then, click Submit.
Don't worry about the Entry Key. Formidable generates this itself.

And the sample entry is ready to go. Now, we need to create a Calendar View for the appointments.
Step 4: Create the Calendar View
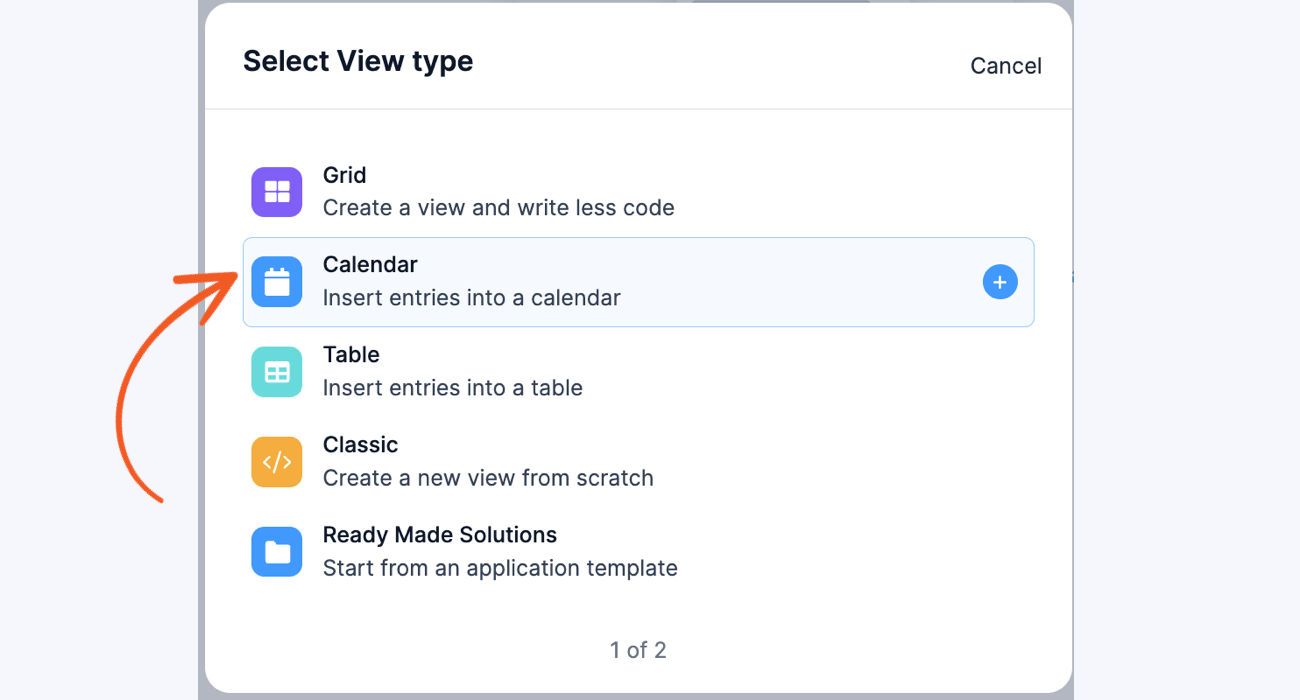
In the WordPress admin, go to Formidable → Views and click Add New.
The first thing is the View type. Multiple options exist: Grid, Table, Classic, templates, and more. But we want the Calendar view.
After that, give the view a name (which we'll be the only ones to see).
Next, we must customize the view.
We want to ensure that we match the Date and Time fields so it populates the data. So, we'll choose Date under Event Date and End Date or Day Count. Then, under Event Time, choose Time.

Now we're in the View editor, which has two tabs/pages: Listing Page and Detail Page.
The Listing Page is what will show on the calendar when looking at it at a macro-level. The Detail Page can show extra details when someone hovers over it in a pop-up. This can show more details about the appointment or anything else. Currently, it only supports Text, File Upload, Time, Date, and Paragraph fields.
So, start with the Listing Page. In step seven, we'll show you how to add a Detail Page.
First, click the square between Add Before Content and Add After Content boxes.

This will open the Visual/Text editor. I can edit the box using basic HTML and CSS with the Text editor. Or, I can use the built-in tools to edit the text and style with the Visual editor.
Using the shortcodes from the form, we can add the data in real time for an always-updated calendar.

So, click Update, then Update again on the view to ensure everything is saved.
Step 5: Publish the Calendar View and form on a page
Now, the easy part!
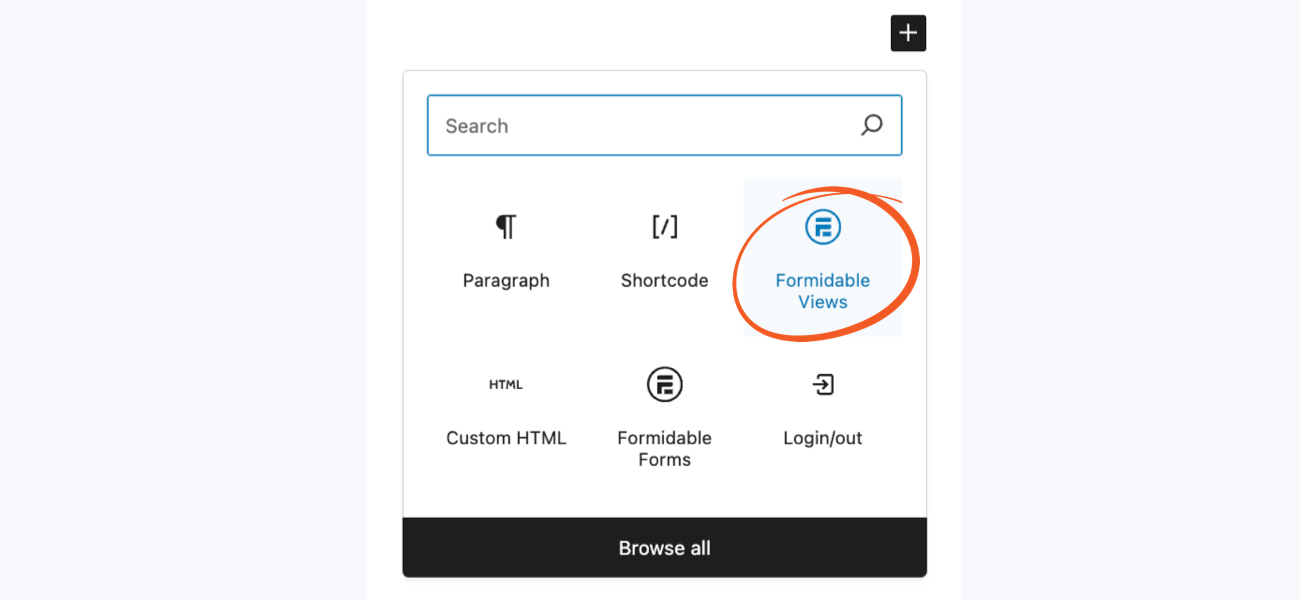
Head to the page where we planned to display the calendar. Then, add a new WordPress block and search for the Formidable Views block.
Next, we can choose the view we created from the dropdown menu, which will show the calendar on the page. And since we have test entries, we can see what an example would look like.

We can customize this more in the right panel by clicking on the calendar and choosing the option we want.
For example, if we want to match a website's theme, we can change the text size, event color, width, and more.

But, for now, this availability calendar is fine with me. So, next, head to another page where we'll have my appointment booking form.
So, add a new block, search for Formidable Forms, and add it. Last, choose the appointment booking form from the dropdown menu.
Then, update the page, and the form is ready. Each appointment booked through the form will automatically be added to the calendar in live time.
Step 6: Add a detail pop-up to the calendar (optional)
As we mentioned in step five, the detail page can act as a pop-up page for any extra information. Provided, it's limited to a few fields right now.
Unfortunately, we don't have much to put in a pop-up with these form fields. However, we wanted to give you an idea of the type of things you can create with the detail page and calendar pop-up:

Pretty neat, right?
Luckily, enabling this feature is super easy, and customizing it is just like editing a view.
To turn this on, go to the view editor and check the Show Event Details Pop-up box in the left panel.

Then, click the Detail Page tab at the top. Next, create an entire pop-up using the valid form fields like the one above.
From Idea to Reality in Minutes. Build Powerful Forms, Dashboards, Apps and More.
Formidable Forms makes advanced site building simple. Launch forms, directories, dashboards, and custom WordPress apps faster than ever before.
Block out appointment dates with ease
This is just the first part of creating an appointment calendar in WordPress, though.
One issue with this is the chance of multiple bookings of the same timeslot.
You can offset this by combining Formidable Forms with Simply Schedule Appointments. Best of all, most of the work is done after following this tutorial. But, for a full explanation, check out our guide on creating an appointment booking form.
If you're ready to start, grab Formidable Forms using the link below and create an appointment calendar now!
And join our community on Facebook, Twitter, and YouTube for more WordPress tips & tricks!
Read more about what Formidable Views can do!
 Forms vs Apps in WordPress: Where Simpler Tools Collapse
 Gravity Forms vs Formidable Forms at Real World Scale
 Formidable Views Just Got a Major Styling Upgrade
This article may contain affiliate links. Once in a while, we earn commissions from those links. But we only recommend products we like, with or without commissions.

