
Formidable Forms has made my life so much easier as an event planner.


Last updated on June 19, 2026 by Formidable Team
How to Edit Posts From the Front-End in WordPress
Learn how to edit posts from the front-end in WordPress easily. This guide shows you how to allow users to make changes without accessing the backend.

Approximate read time: 9 minutes
What if you could allow anyone you allowed to create and edit content on your website?
We're sure you're thinking, "Yeah, you already can, but that means they get access to the backend of your site, and that's bad for security." And you're not wrong.
But there is a way around that: allow them to edit posts from the front-end in WordPress. Whether running a blog, managing a directory, or building a community site, a front-end editor in WordPress makes this possible.
So that means you can:
- Let guest writers and collaborators manage posts
- Allow users to update directory listings or classified ads
- Simplify the workflow for events, projects, and more
In this guide, we'll show you how to use WordPress to edit posts from the front-end. By the end of this tutorial, you'll know how to set up editing permissions and customize the process to fit your site and needs.
So, let's get started.
Upgrade your WordPress site with powerful, flexible forms.
Why use front-end editing?
Front-end editing is a smart way to manage content on your WordPress site.
It's secure, simple, and perfect for a variety of situations. Beyond that, it's an ideal solution for both you and the user/writer.
Here are a few ways it can help:
- Better security: Users create or update posts with zero backend access, reducing security risks. For example, guest writers on a blog can easily edit and post articles.
- Easier for users: Front-end editing is simple. Users can update listings on a directory site with just a few clicks — no tech skills are needed.
- Saves time: When users submit their own content, it frees you up for other (more important) tasks that come with running a blog, managing a directory, or a similar site.
- You stay in control: Probably the most important thing on this list. You decide who edits what. Let users update their own posts while editors handle more advanced tasks.
This is a no-brainer if you handle multiple posts from multiple users. Let's show you how to do it 👇.
From Idea to Reality in Minutes. Build Powerful Forms, Dashboards, Apps and More.
Formidable Forms makes advanced site building simple. Launch forms, directories, dashboards, and custom WordPress apps faster than ever before.
How to edit posts from the front-end in WordPress (3 steps)
The easiest way to edit posts — and pages or Custom Post Types (CPT) — is by using Formidable Forms, the most advanced WordPress form builder. It's one of the best WordPress front-end editors, and its user-submitted posts features have everything you need to start managing the posts.

To get these features (and plenty more), grab the Formidable Pro Plus plan or above using the button below!
Then, it's a few easy steps:
Step 1: Install and activate Formidable Forms
First, let's install and activate Formidable Forms on your website.
So, open your WordPress dashboard, go to Plugins → Add New, and search for Formidable. Next, click the Install button, then click Activate.

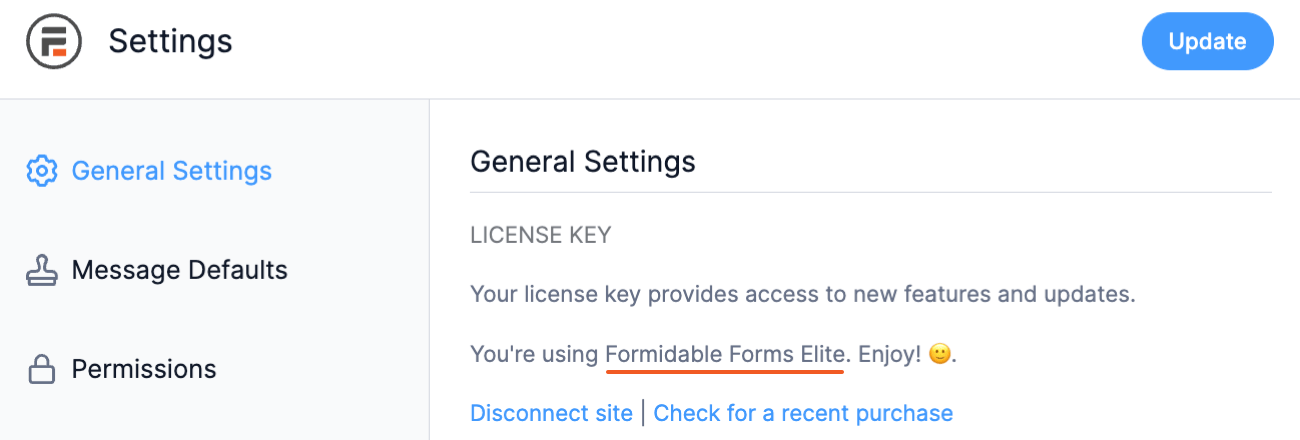
This will install the Lite version of Formidable, which is needed to install the Pro version. So, after that's activated, go to Formidable → Global Settings page and click the Connect an Account button.
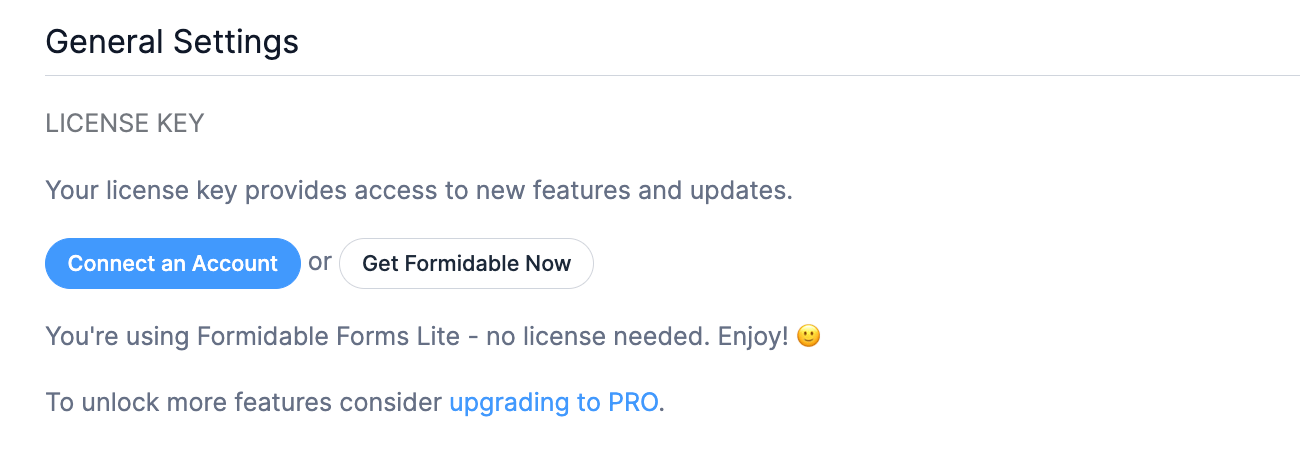
This will open a page that takes you to your Formidable Forms account, where it will connect your account to the WordPress plugin. Once finished, it'll return you to the WordPress dashboard and show your active license type (the image says Elite, but it'll show whichever plan you choose).
Once it's active, you're ready to create your form!
Step 2: Create a form for the posts
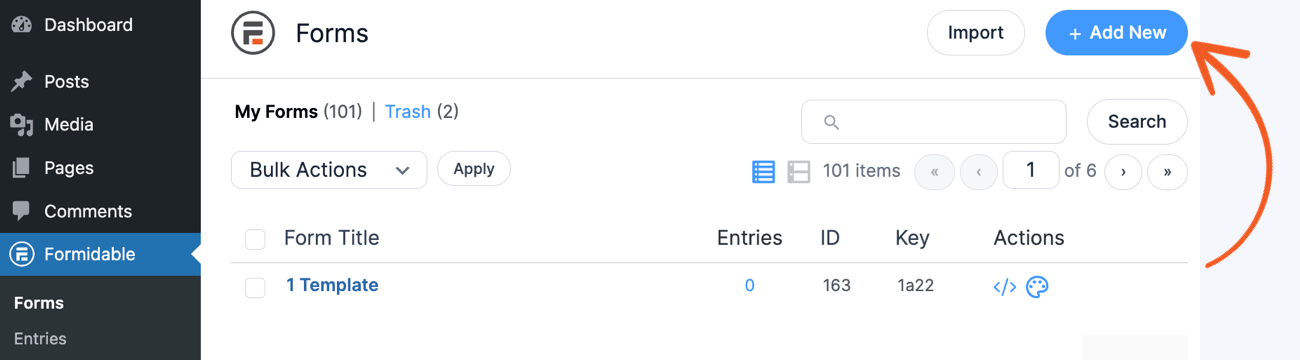
Go to Formidable → Forms and click Add New to create a form.
Here, you have a few options:
- Create a blank form
- Use a pre-built form template
- Use the AI form builder (Business or above)
For our example, we're creating a form for guest writers to submit blog posts, and Formidable has a perfect template: the Create WordPress Post form template.
After you pick your starting point, Formidable opens its drag-and-drop form builder, where you can customize the form.
You can customize the label and some field settings in the left panel by dragging and dropping the field to the form. Alternatively, you can click the field, which will automatically add it to the form.
Since we used the form template, we already have some form fields to get us started. So we can either use the existing template, adjust it to suit our needs, or add/remove fields to make it our own.

For what we need, this template covers it with:
- Text field for the post title
- Rich Text Field for the post content and Paragraph field for a post excerpt
- File Upload field for a featured image
These are the main ones we need, but we also have the ability to set the status (draft, published, etc.) and category easily.
So we can move on to the next step. But feel free to play around with the form builder and customize the form to your own needs.
Step 3: Set up the form action to create a post
Now, this form needs a way to create a post whenever the form is submitted.
So, we'll go to the Settings → Actions & Notifications and click the Create Post icon.
Below, an action for the Create Post will appear. You can edit the action to tailor it to your needs.
For example, if we wanted to publish guest blog posts, we'd want to make sure they post as a Post, not a Page or another type on your website. We can scroll down and edit the Post Type to ensure it's set to Post.

We can also edit the settings to ensure our fields match the correct ones. For example, we can check to ensure the Post Content and Excerpt fields match the correct ones in the form.
If you want more details on the settings here and what you can control, check out our documentation for help. But feel free to play around with these settings to customize them to your needs!
Step 4: Turn on front-end editing permissions
Next, we need to turn on the ability to edit the posts from the front end. Luckily, this is incredibly easy in Formidable!
In the Settings tab, go to Form Permissions and click the Allow front-end editing of entries checkbox under Entry Editing.

Then, you can set who has access to edit posts. For their own post, we would set it to Contributor and change the setting for Other Users' Entries to Editor.
But this will depend on your specific roles on your site.
Step 5: Publish the form and edit shortcode on a page
Lastly, you'll need a way for users to get the link to edit posts.
The easiest way is to display it in a table where users with the correct access can click the edit button to start updating the post.
There are other options, so check out our front-end editing documentation to customize it to your needs.
First, create two new pages: a Post Submission page (for your form) and a Post Entry page (to show the posts in a table). You can put these on the same page, but we're separating them to make it easier.
Once you have them, go to the Post Submission page and add a new WordPress block. Find the Formidable Forms block and add it. Then, find your form and click it in the dropdown menu to display it on the page. Update the page, then click the Preview button to see how it looks:

Once that's ready, go to the Post Entry page. Here, we need to add a shortcode to show any entries we have. If you don't have any, it won't show anything. However, we created sample entries to show what it can look like.
First, add a Shortcode block to the page. Then, enter the following shortcode:
[formresults id=x edit_link="Edit" page_id=y]When you paste the code on your page, change the x next to id= to your form ID (you can find this under Formidable → Forms screen under the ID column):

Next to page_id= replace the y with the page ID for your Post Submission page. You can find this in the URL bar at the top of the page when editing it:

Then, update the page and preview it. You'll see a table with all the fields and form entries you have so far. But in our case, we don't want to show all the fields because that would involve entire blog posts, which would be a messy experience.
So, in the formresults shortcode we used above, we'll add an extra piece:
[formresults id=x fields="a, b, c" edit_link="Edit" page_id=y]With the fields= piece of the shortcode, we can choose exactly what field information we want to show. So, you can replace the "a, b, c" with your form fields. Also, it's not limited to three, you can add whichever form fields you wish.
You can find these form field IDs when editing your form and highlighting the field:

So, we just wanted to show the Post Title, Status, and User ID/Post author. After we add the field IDs, we end up with something like this:

When users click the Edit button, they are taken to the form entry, where they can update it (provided they have the right permissions!).
Last, save your work by updating the page, and you're ready to go!
Ready to edit posts from the front-end in WordPress?
That's all it takes to allow easy front-end editing! No difficult code or confusing directions — just a straightforward process.
We really hope this tutorial helped you out today. If it did, do us a favor and drop a comment letting us know! We love to know how we're helping and also how we can improve!
But, this is just the start of how Formidable Forms can help your website. So, be sure to check out the complete list of features to see what else it can do. And grab Formidable using the button below to get started!
Last, join our community on Facebook, Twitter, LinkedIn and YouTube for more WordPress tips and tricks. And join 50,000 others who hear the latest from Formidable with our monthly newsletter!
Get the Formidable Forms Newsletter
This article may contain affiliate links. Once in a while, we earn commissions from those links. But we only recommend products we like, with or without commissions.

