
The Email Address field is used for entering a single email address. It only passes validation if the value entered is in a valid email format.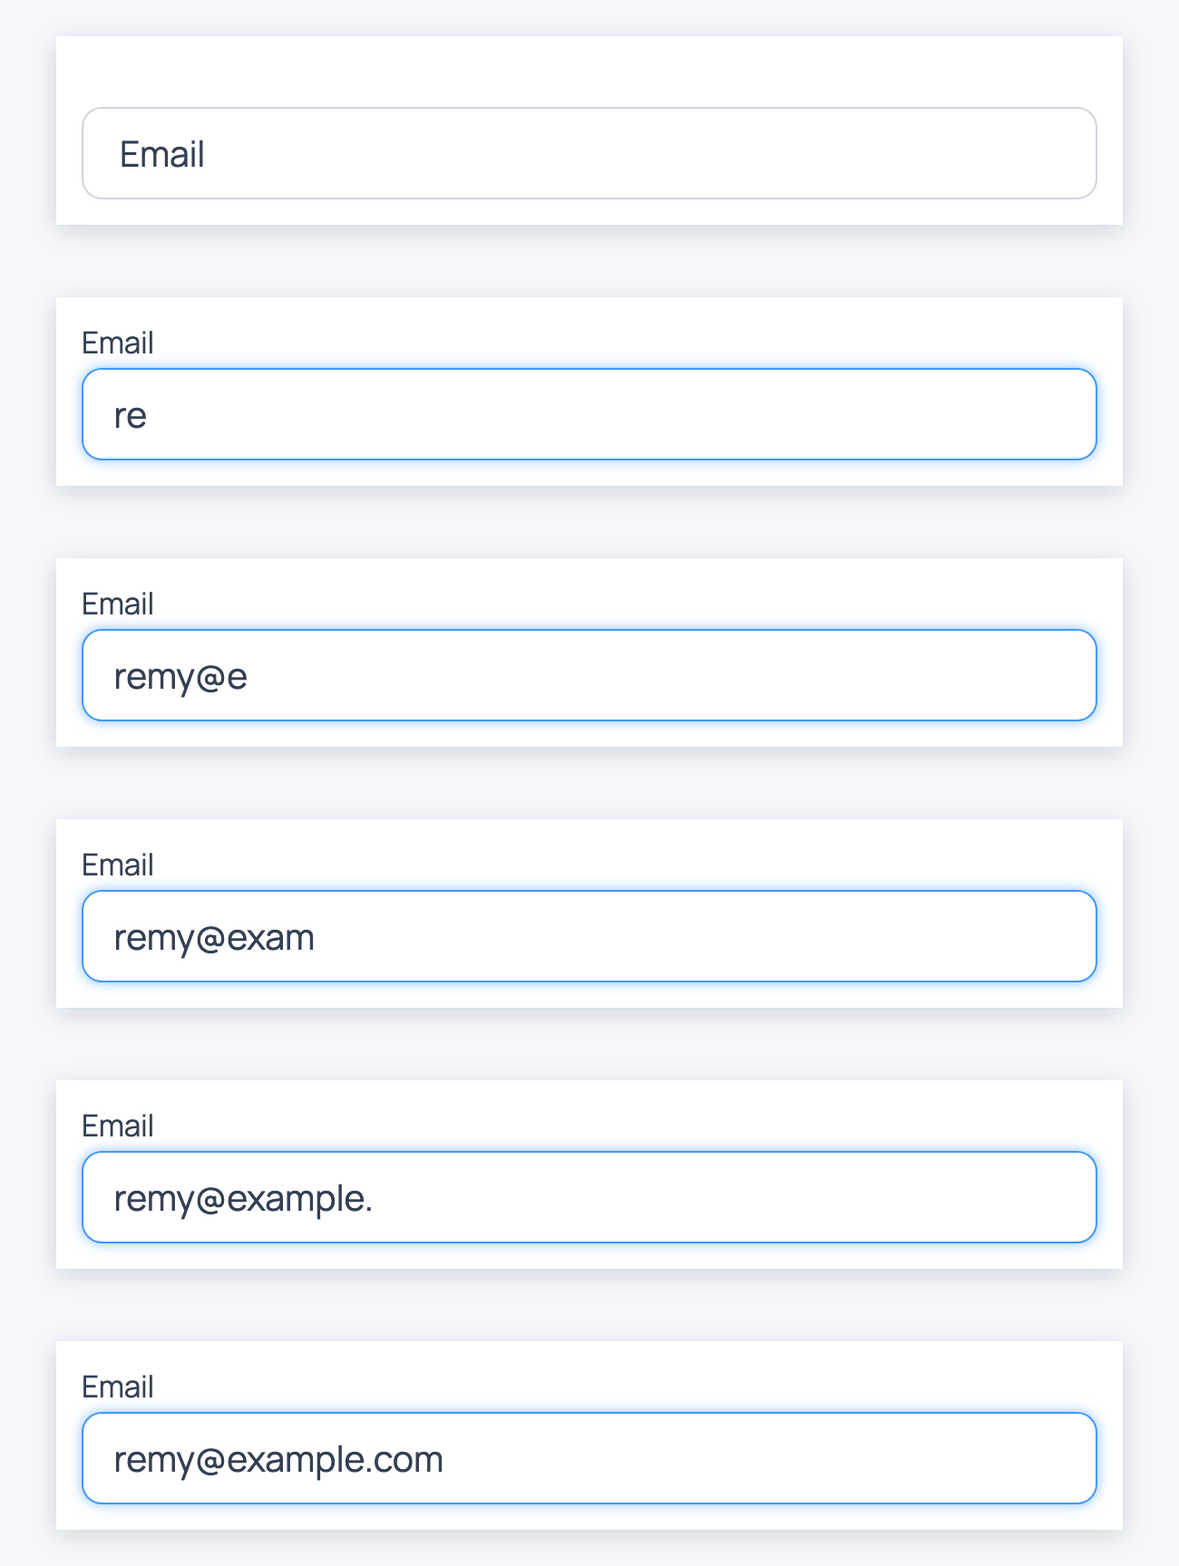
To add one to a form, click Email in the form builder's Add Fields tab.
Upgrade your WordPress site with powerful, flexible forms.
Standard field options
Select the field in the form builder to see its options in the Field Options tab. Most of them are in the Advanced section, so click Advanced under CSS Layout Classes to show them.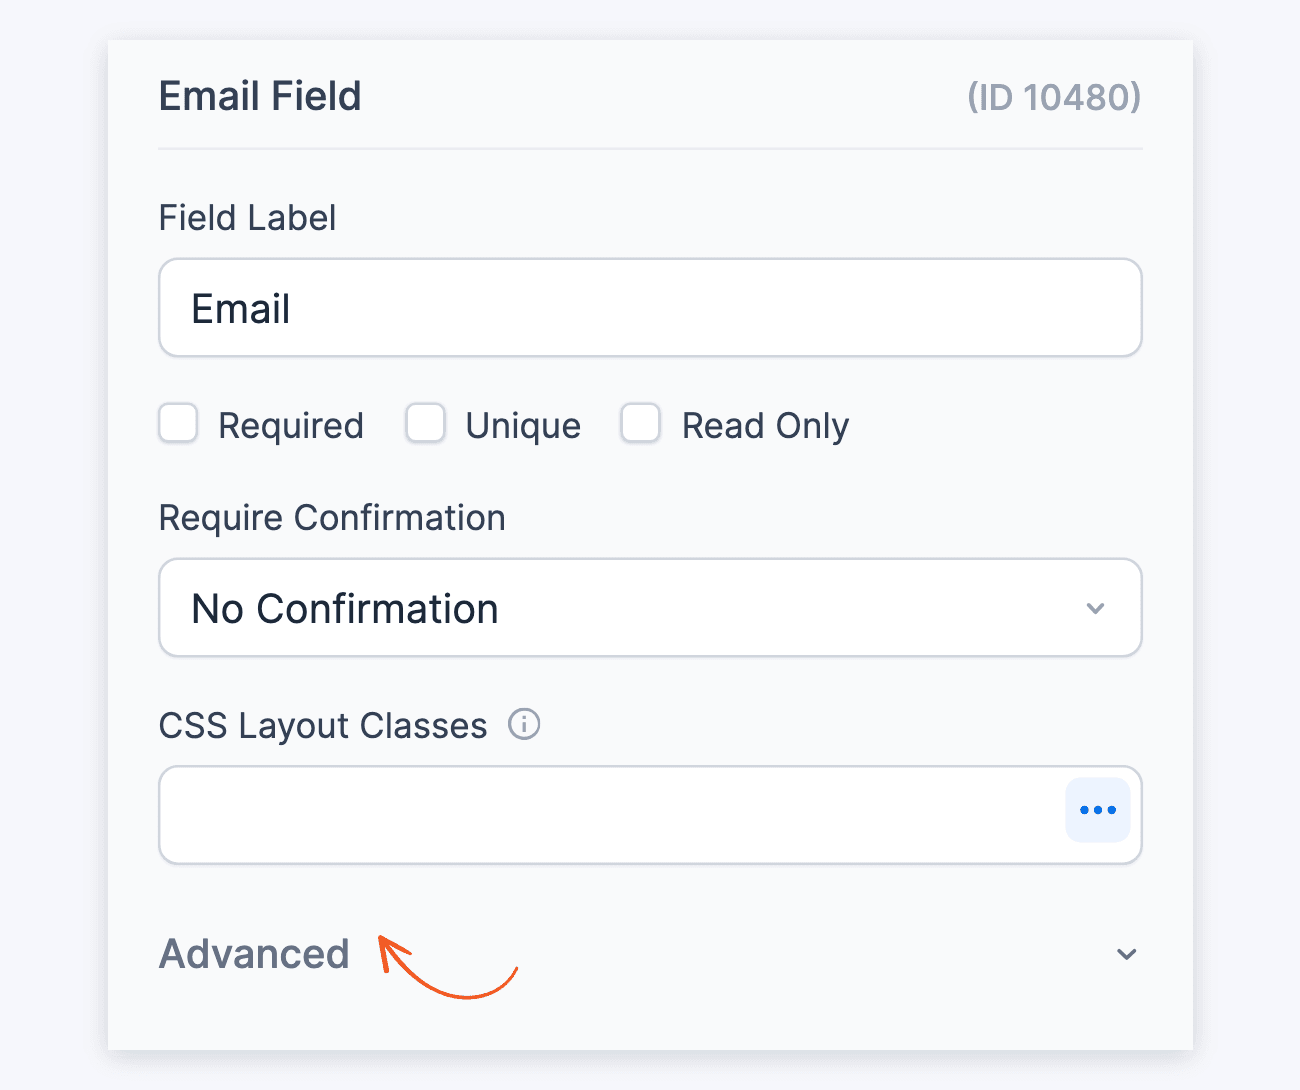
With Advanced open, the panel shows the options below. Validation Messages and Conditional Logic are separate sections under it. Click either heading to expand it.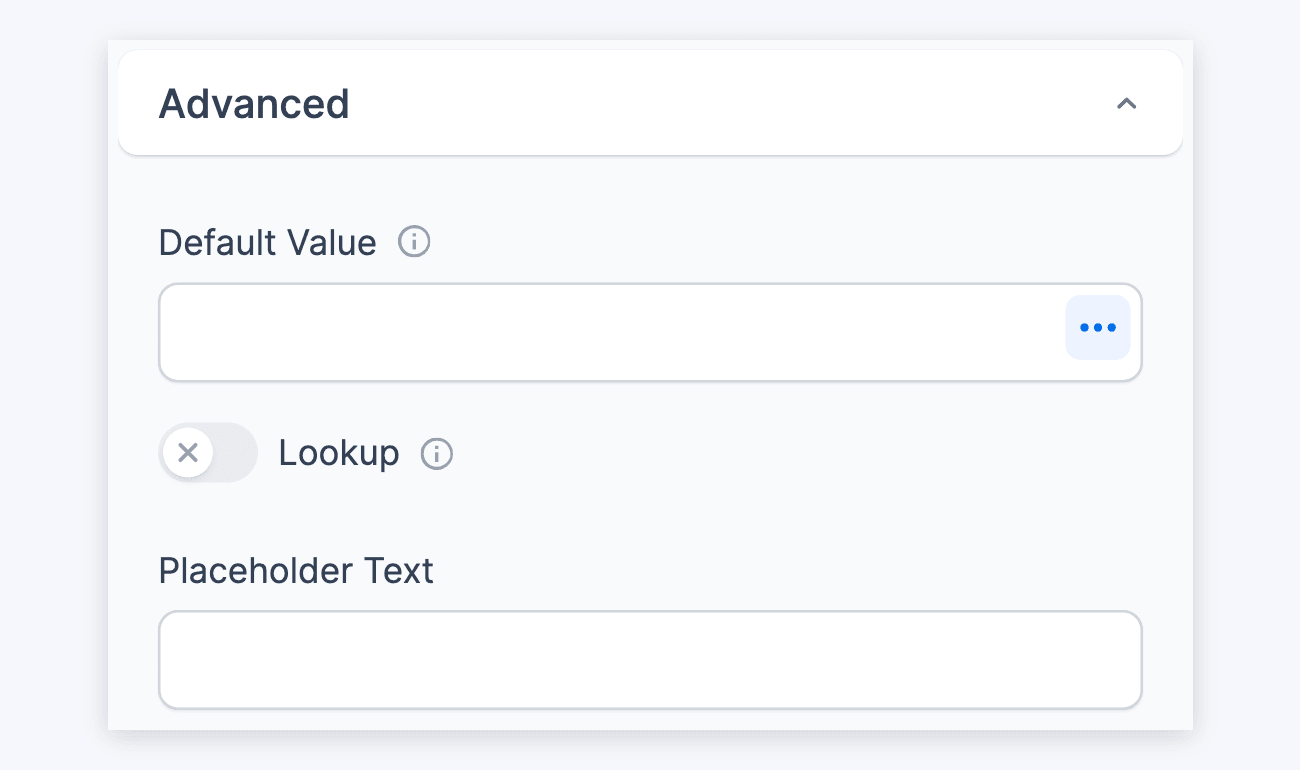
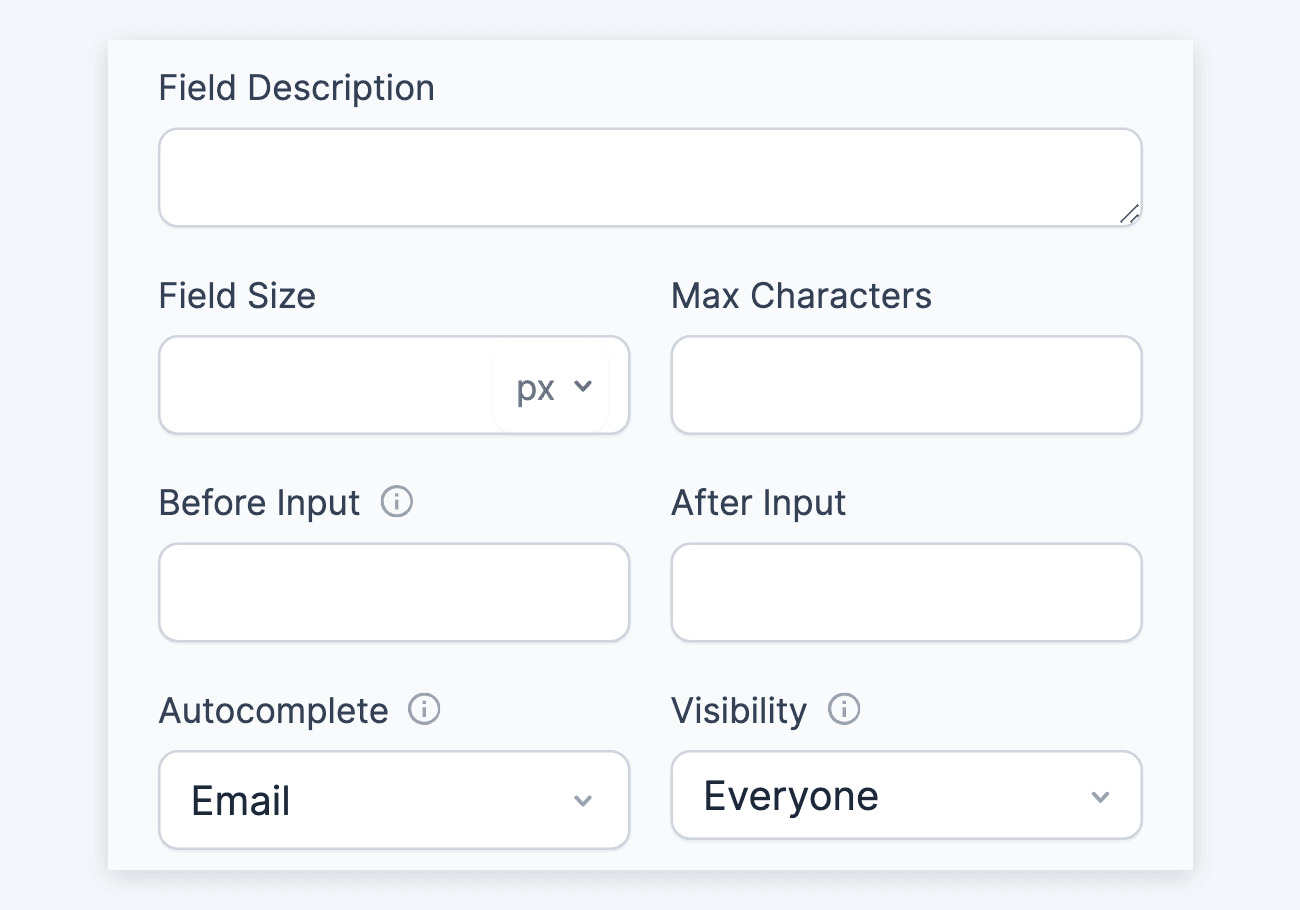
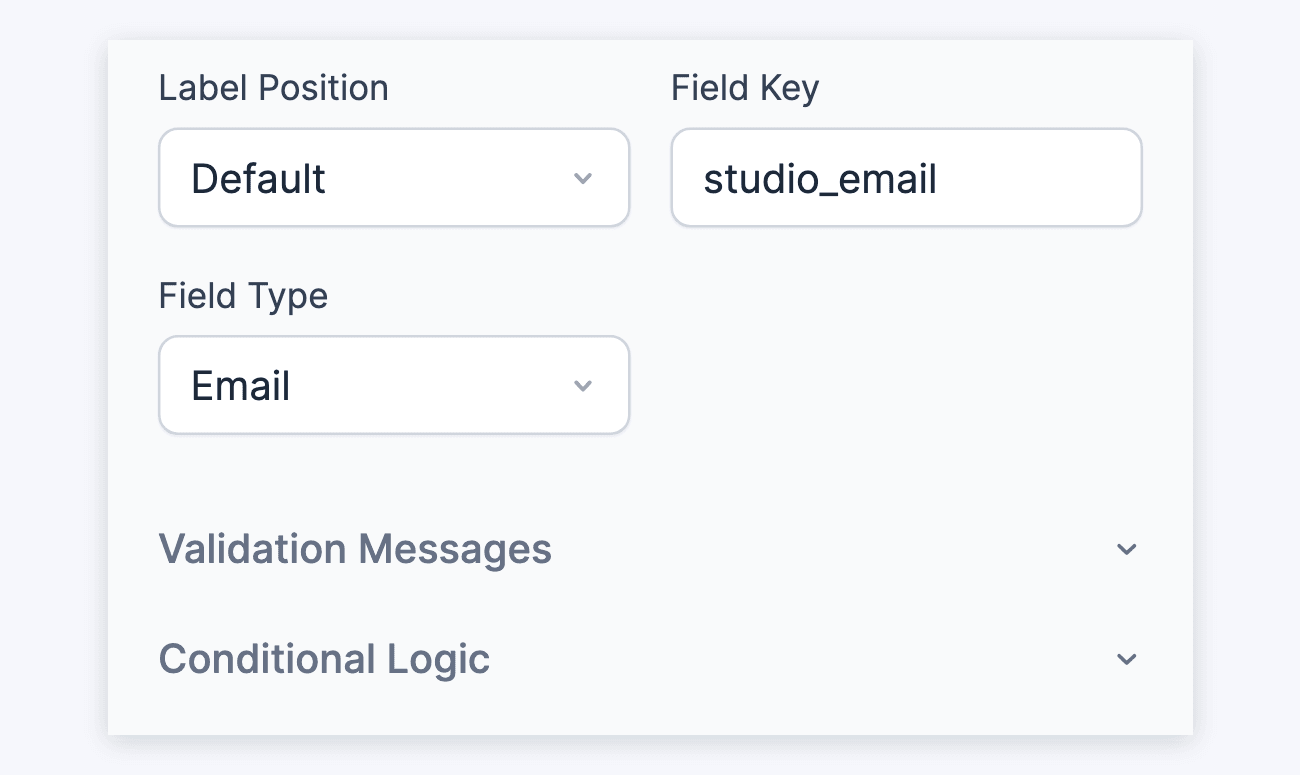
An Email Address field has the following standard options:
- Required
- CSS layout classes
- Default Value
- Placeholder Text
- Field description
- Field size
- Label position
- Field key
- Field type
- Validation messages
Max Characters, Autocomplete, and Require Confirmation are described in Field-specific options.
From Idea to Reality in Minutes. Build Powerful Forms, Dashboards, Apps and More.
Formidable Forms makes advanced site building simple. Launch forms, directories, dashboards, and custom WordPress apps faster than ever before.
Field-specific options
Max characters
In the Max Characters box, set a maximum number of characters to limit how many characters can be entered in the field. The box is empty by default, so there's no limit.
Autocomplete attribute
The Autocomplete setting adds an autocomplete HTML attribute to the field. It prompts the browser to attempt autocompletion based on the user's history. Read more about the autocomplete attribute and how it works.
The options give context to autofill features in browsers. Choose On, Off, or Email in the Autocomplete dropdown. New Email Address fields have Email selected by default, which sets autocomplete="email" on the field. To leave the attribute out, choose — Select —.
Note: The autocomplete attribute is used instead of an autocomplete attribute in the field's custom HTML.
Invalid format message
When the value entered isn't in the right format, the field shows its Invalid Format message. Email, Website/URL, Phone, and Number fields start with a message that tells the user what to enter:
- Email: "Enter a valid email address, like name@example.com"
- Website/URL: "Enter a valid web address, like https://example.com"
- Phone: "Enter a valid phone number"
- Number: "Enter a number"
To change it, open the field's Validation Messages section and edit Invalid Format.
Confirmation fields
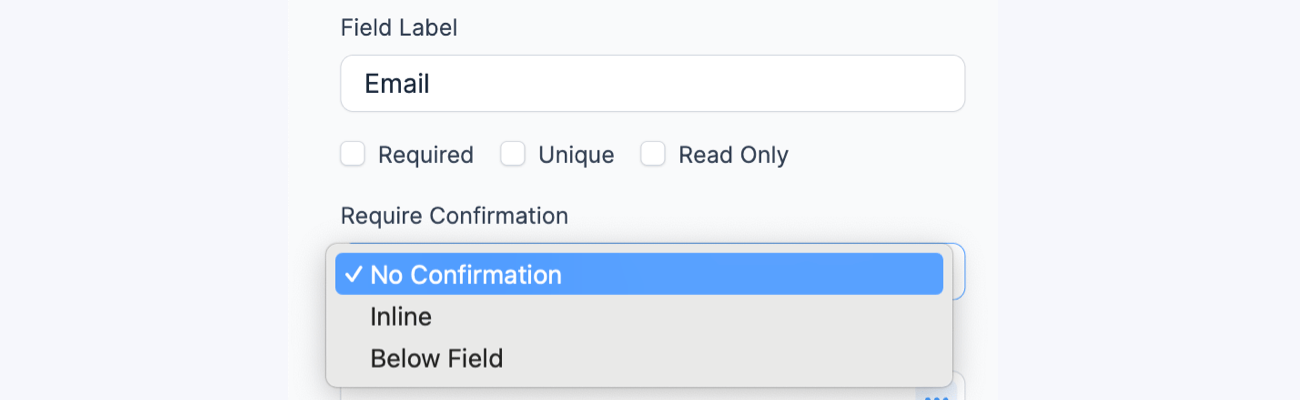
Use the Require Confirmation option to require a user to confirm that the information they entered in a field is correct. Choose Inline or Below Field to add a second box for the user to type the value again. It's set to No Confirmation by default.
For more information, see the Confirmation fields page.
Default values and field icons
Automatically populate an Email Address field with the current user's email. Select the field, click Advanced, and enter [email] in the Default Value box. Then click Update to save your changes. When a logged-in user opens the form, the field shows their email address.
Text in the Default Value box is submitted with the form unless the user changes it. Text in the Placeholder Text box is only a hint: it disappears when the user starts typing and is not submitted. Learn how to set a default value and how to set a placeholder in a text field.
Field action icons allow you to duplicate, delete, or move a field on the form builder page. See the field action icons article for more information.
Display Email Address fields
Display the value submitted in an Email Address field in a form's confirmation message, email, or View. Insert [x], where x is the ID or key of the Email Address field. The field ID shows next to the field name at the top of the Field Options tab. The field key is in the Field Key box under Advanced.
Send email notifications
Automatically send an email to any email address, and receive a copy of that email, after a user submits the form with an email notification.
- Use an Email Address field as the Reply To address when setting up an email notification to reply to the visitor. The email action is the Send Email action in the form's Settings → Actions & Notifications. In it, click Reply To above the From box to show the Reply To box.
- Use an Email Address field to set up an autoresponder, which is an email notification sent to the user who submitted the form.
- Use an Email Address field in your form, then customize the email message sent out to users with the Rich text editor.
