
Formidable Forms has made my life so much easier as an event planner.


Last updated on May 26, 2026 by Formidable Team
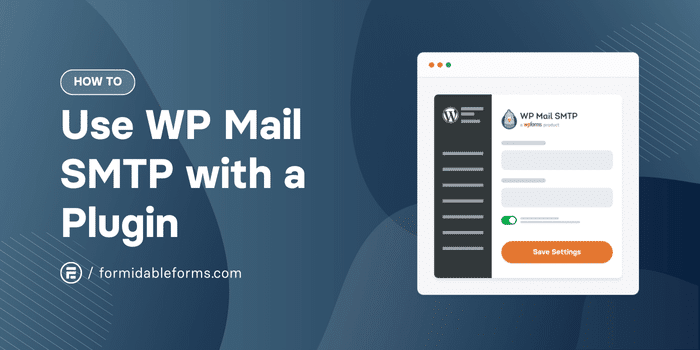
How To Use WP Mail SMTP with the WP Mail SMTP Plugin [Guide]
Discover how to use WP Mail SMTP with the WP Mail SMTP plugin. Follow our guide to improve your WordPress email delivery and avoid common pitfalls.
Approximate read time: 4.5 minutes
Nothing's more frustrating than sending an email only to have it end up in the spam box.
It's a common issue that can easily be fixed with changes to the simple mail transfer protocol (SMTP). All it takes is a simple WP Mail SMTP plugin to ensure emails get delivered. So that's what this guide is here for.
I'll show you how to use WP Mail SMTP with a plugin to fix delivery issues from any WordPress site. Let's get started.
Upgrade your WordPress site with powerful, flexible forms.
Why should I use a WordPress plugin for email?
Unfortunately, even the best WordPress web hosts may still have trouble with WordPress not sending emails.
And there are ways to improve email deliverability without using an SMTP plugin. But that involves a bit of coding know-how. A plugin simplifies everything.
So, head to the WordPress.org directory and search for a simple SMTP solution. And that's WP Mail SMTP.
This plugin is made by the same folks behind the ever-popular WPForms. It makes SMTP authentication a breeze. The best part? Many features are free to use and work well with almost any mail server.
The new premium version also includes several easy ways to quickly, securely, and reliably set up SMTP or transactional emails.
From Idea to Reality in Minutes. Build Powerful Forms, Dashboards, Apps and More.
Formidable Forms makes advanced site building simple. Launch forms, directories, dashboards, and custom WordPress apps faster than ever before.
How to set up WP Mail SMTP
One of the main reasons I recommend using the WP Mail SMTP plugin is its ease of use. It's only a few simple steps, and emails are ready to go:
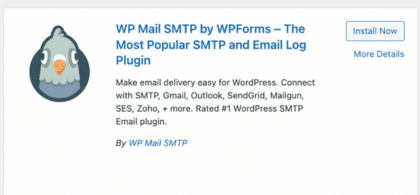
Step 1: Install WP Mail SMTP in WordPress
Start by installing and activating the WP Mail SMTP plugin.
To do this, open your WordPress dashboard, click Plugins → Add New. Search for WP Mail SMTP, hit Install Now, and then Activate.
Next, the WP Mail SMTP setup wizard will start, guiding you through getting it working in WordPress. If it doesn't, go to WP Mail SMTP → Settings and click the Launch Setup Wizard button.
For it to work properly, you must enter the mailer, its settings, and more into the setup wizard.
The setup process will be different depending on the mailer you choose. If you need help, I recommend checking WP Mail SMTP's documentation.
Once finished, the basics for the plugin are ready to go.
Step 2: Choose a mailer
Depending on the WordPress hosting, this may already be set up.
If you don't already have an SMTP host mailer connected to your site, you'll need one before proceeding with email sending.
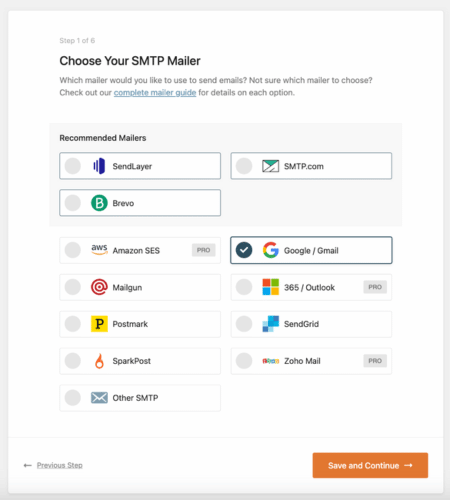
There are many mailer SMTP services to choose from, and comparing their plans is best. To make it easier, check out WP Mail SMTP's mailer compatibility list, which includes Amazon SES, SendLayer, and more).
Step 3: Configure WordPress SMTP settings
Now, it's time to configure the SMTP settings. First, go to WP Mail SMTP → Settings in the WordPress admin menu. This brings up a range of different configuration options.
Fill in the following fields:
- From Email – The email address to send communications from
- From Name – The name the emails will come from
If those are set, then WP Mail SMTP is ready.
Step 4: Send a test email
There's the option to send a test email at the end of the setup wizard.
However, to find it and send one yourself, go to WP Mail SMTP → Tools and click Email Test in the WordPress dashboard.
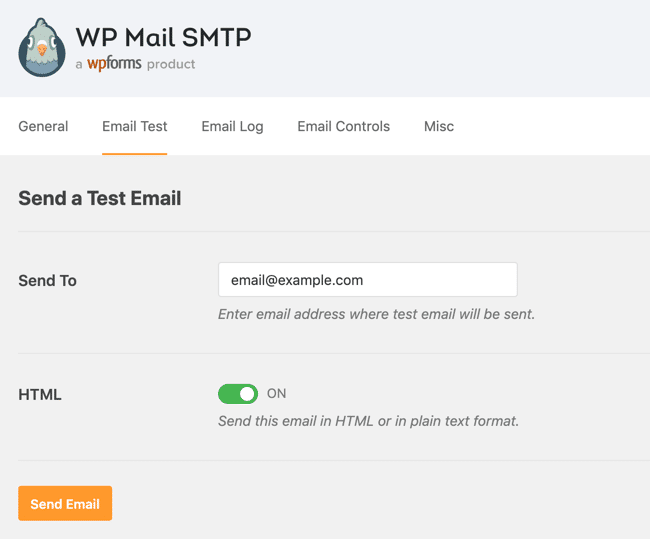
You can enter your email address here and click the Send Email button.
Once the email is sent, you will see a success message on the screen. Check your inbox to make sure you've received the test email. If you struggle to find it, check the spam or junk folder as a precaution.
That's it!
Pair WP Mail SMTP with a form builder
Ensuring emails reach the correct inbox is one part of it.
But having a contact form, signup form, order form, or survey is also important. The best WordPress form plugin is Formidable Forms.

Its drag-and-drop form builder, pre-built form templates, and email autoresponders and notifications pair perfectly with WP Mail SMTP. So, if you have forms on any WordPress websites, Formidable Forms is a great choice!
So hit the button above and get started now, risk-free for 14 days!
WordPress not sending emails?
This method will fix many of the issues with emails ending up in the wrong place.
However, occasionally, there are issues with WordPress. If you're having trouble with WordPress not sending emails, our guide will take you step-by-step through fixing the problem.
Other than that, I hope this tutorial has helped you. If it has, let us know in the comments and if you have any other questions! And join our community on Facebook, Twitter, and YouTube for more WordPress email tips and tricks!
Read more about WordPress email
 Make Your WordPress Form Notification Emails Look Professional
 How to Schedule Email Autoresponders in WordPress [No Code!]
 How to Change the Email Address in a WordPress Contact Form
This article may contain affiliate links. Once in a while, we earn commissions from those links. But we only recommend products we like, with or without commissions.

