After testing many products, I have found Formidable all that I need!

Last updated on November 29, 2023 by Formidable Team
Want to accept Stripe payments on your WordPress website? We have good news for you - it's quick and easy, but you can do it for free! Here's how to set it up.

Approximate read time: 5 minutes
Are you scratching your head over online payments? We get it. We've been there too!
Should you use WooCommerce, Stripe, Shopify, Thinkific, PayPal, or something else entirely? Which costs the least? Which saves the most time? Which scales easiest when my business starts to grow? Yikes, we're getting stressed just writing this!
But believe it or not, there's a way to add one of the world's most popular payment gateways to your website in only a few clicks. And for no upfront cost!
If that sounds too good to be true, stay tuned. Today, we're showing you how to start accepting Stripe payments in 10 minutes or less!
Have a stopwatch handy? On your marks, get set, let's go!
Upgrade your WordPress site with powerful, flexible forms.
We'll use the Formidable Forms free form plugin for this tutorial to connect WordPress to Stripe.
If you don't have it, click the green button below 👇 or open your WordPress dashboard and go to Plugins → Add New. Search for "Formidable," then click to Install and Activate the plugin.

Easy, right? And you're already good to move on to the next step!
From Idea to Reality in Minutes. Build Powerful Forms, Dashboards, Apps and More.
Formidable Forms makes advanced site building simple. Launch forms, directories, dashboards, and custom WordPress apps faster than ever before.
Now that you have the plugin, head to Formidable → Global settings → Stripe.
Tick the box if you want to start in test mode — it's never a bad idea! 😉 — and then hit the blue Connect to Stripe button.
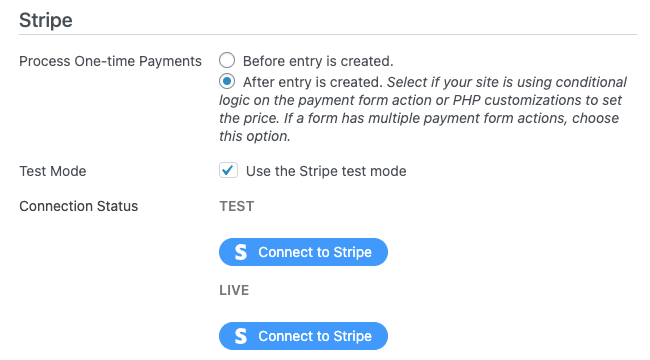
☝️ If you choose test mode, just note that you'll need to return to this page later to turn it off and connect to Stripe Live.
Next, log in to an existing Stripe merchant account or create a new one.
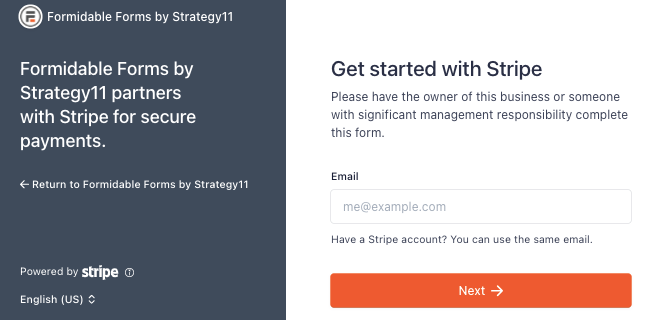
The setup wizard then walks you through the steps to connect to Stripe's online payment platform.
Once logged in to your Stripe account, go to Settings → Payment Methods on the Stripe dashboard.
Here, you can see a list of the payment options Stripe supports in your region.
To start accepting credit card payments/debit cards (Visa, MasterCard, American Express), digital wallets (Apple Pay, Google Pay, Cash App, etc.), and bank transfers (ACH, SEPA, and iDEAL payments), simply click the button next to the payment method to turn it on.

🤔 In case you were wondering, you can also accept PayPal payments through Stripe. You don't need a separate PayPal account and won't have to pay PayPal's hefty processing fees, either!
Be sure to turn on Stripe Link to offer one-click checkout and accept recurring payments by Stripe.
Now, let's head back to your WordPress dashboard and make a form to process payments.
Back in WordPress, go to Formidable → Forms and click the Add New button to create a new form.
Select the Create a blank form option to take payments using Stripe with our free plugin.

Or, try out our premium WordPress form maker to use our pre-built Stripe payment form template.
Next, name your form and click Create to open the drag and drop form builder.
Add fields to your form by dragging them from the left to the right.
You can insert any fields you choose: Name, Email, Address, Datepicker with an inline calendar... you name it! But since this form is for payments, don’t forget to add a 💳 Payment field!

When you finish building your custom Stripe form, click Update to save.
You're doing great! 🙌 Keep it up, we're nearly done!
On the menu above the form builder, select the Settings → Actions & Notifications. Then, click the Collect a Payment option.
Scroll down to adjust payment settings such as payment amount, currency, and frequency.
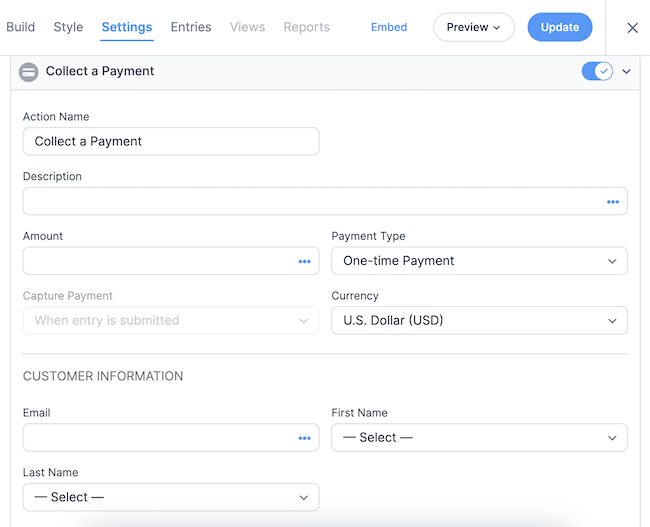
💡 Quick tip: While you're on the Actions & Notifications page, we recommend quickly adding a form action to display a custom confirmation message or thank you page when users complete the payment. It's the little things that count when it comes to customer satisfaction! 😊
Finally, hit the Update button to save your form.
Awesome, your Stripe form's now ready to go! 🎉 All that's left is to publish it on your website.
Open the WordPress page or post where you want to insert your payment form.
Click the + icon to add a block in the page editor, then search for and select Formidable Forms.
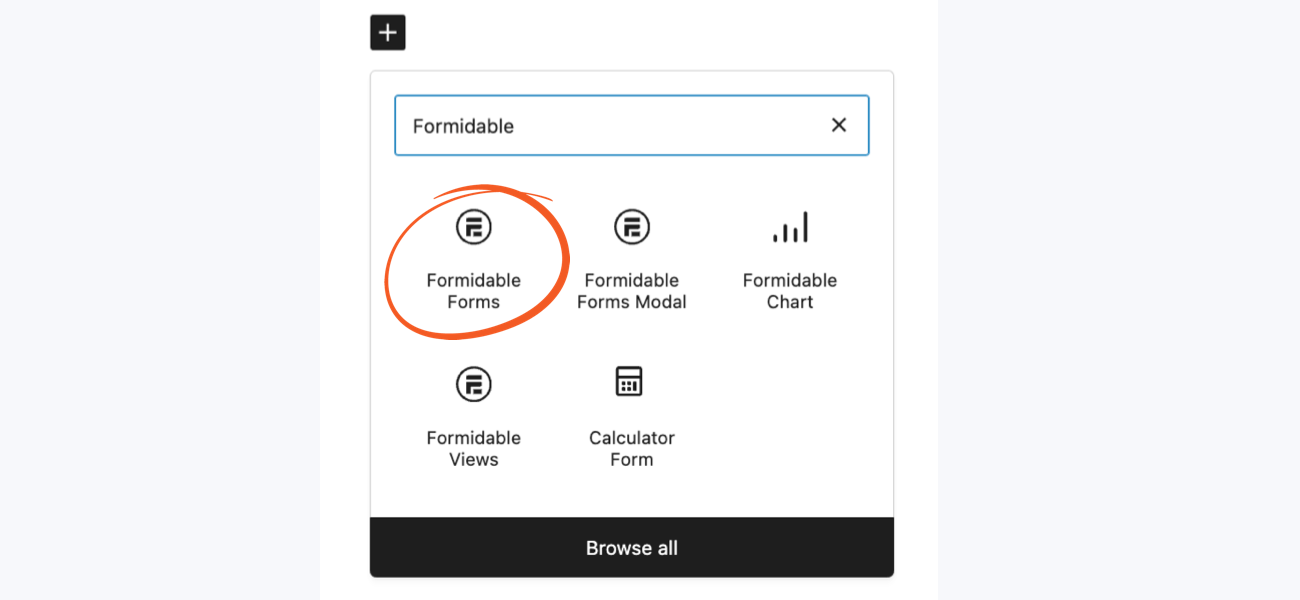
In the dropdown menu that appears, select your Stripe payment form and then Update or Publish the page.
And voilà! 🪄 You can now accept Stripe payments on your WordPress site!
Here's an example of what your form might look like:

We know finding the best eCommerce tools for your site can be tough. But with Formidable Forms, integrating Stripe payments into your WordPress site is quick and code-free. And it doesn't have any upfront cost either!
So say goodbye to struggling with Stripe Elements to create a simple pay process or wondering why WooCommerce costs so much.
Install our WordPress form builder and quickly add Stripe Checkout to your WordPress site today!
Get the plugin below, and turn your website into a money-making machine in minutes!
This article may contain affiliate links. Once in a while, we earn commissions from those links. But we only recommend products we like, with or without commissions.


 Sell Products on Your WordPress Site for Free (No WooCommerce Needed)
 Introducing Virtual Fields: Keep Sensitive Data Off the Page
 Why Recurring Payments Fail in WordPress After Month 3