
Powerful forms for data collection and Wide API to merge automation using the best wokflows such as N8N, Zapier. Excellent tool for data collection. Recommended 100%. Furthermore, support is awesome.

Last updated on August 24, 2023 by Formidable Team
How To Create a WordPress Member Directory (2 Easy Ways!)
Discover how to build a WordPress membership directory! Follow this simple guide to create a user-friendly directory for your community.

Who doesn't love a good club? The feeling of unity, shared passions, and belonging... 🫶 It's no wonder membership sites are so popular!
Not only do they give users many perks, but they also offer a sense of community we all crave.
Practically speaking, you've probably realized that online member directories are a fantastic tool to boost interaction. But do you know how to build one?
Luckily, setting up a searchable membership listing isn't hard, and you don't need to know how to code! Yep, you read that right — no coding needed!
Today, we're guiding you through the best ways to add a member directory to your WordPress website.
But before we proceed, let's explore the benefits of a WordPress membership directory.
Already know it all? Skip straight to the step-by-step tutorial.
Upgrade your WordPress site with powerful, flexible forms.
Benefits of adding a membership directory to your site
Have you ever wondered why folks flock to membership sites? Well, the reasons are as diverse as the members themselves.
Some sign up to support specific creators. Some are curious to see what exclusive content is hiding behind that paywall. Others join to meet people with similar skills, hobbies, or interests, such as an occupational therapist directory.
It's all about creating connections and nurturing a tight-knit community of kindred spirits.
Since sharing is the heart of any membership site, wouldn't it be great if you could help members connect more often?
Well, that's where WordPress member directory plugins come in. 🔌
Think of a member directory as a digital Rolodex. It's a space where members share information to reach out, expand their networks, and strengthen community bonds.
But an active directory isn't just good for members but also for website owners.
While users help one another, the membership site receives up-to-date information and a lot of engagement. This increases traffic and adds value to the site—a true win-win!
Now that we know how an online membership directory can help your site, let's make one!
From Idea to Reality in Minutes. Build Powerful Forms, Dashboards, Apps and More.
Formidable Forms makes advanced site building simple. Launch forms, directories, dashboards, and custom WordPress apps faster than ever before.
How to build a WordPress member directory
We know there's no one-size-fits-all answer when it comes to creating websites. This post shows you two options for adding a membership directory to your WordPress site.
Both of the methods below make it simple to create a WordPress searchable member directory.
The first combines an advanced membership plugin with a powerful online form builder. The second is the quickest and most affordable way to get a basic directory site up and running.
- Using MemberPress + Formidable Forms: For experienced WordPress users or those who want more membership management and listing features.
- Using Business Directory Plugin: This is for those looking to create directory listings less easily.
Alright, enough chit-chat. Let's roll up our sleeves and get to work!
How to create a member directory with MemberPress + Formidable Forms
For this method, you'll need two things first:

1. MemberPress is an effective yet easy-to-use WordPress plugin that powers your entire membership website on WordPress. It's a simple way to create a highly customized community regardless of niche or size.
To start, go to the MemberPress website and select a plan. Then, install and activate the plugin on your WordPress website.
Then, you can build member-only areas and set up membership levels!

2. Formidable Forms is the best WordPress form plugin around. It also happens to be great for building directories. If you don't already have Formidable Business or Elite, click below to get your license.
If you need help starting, here's how to install and activate Formidable Forms.
Okay, have your plugins? Awesome. Time to start building your membership directory.
Step 1: Install Formidable's WordPress Member Directory application
First, let's ensure you already have the Visual Views Add-On installed. From your WordPress dashboard, go to Formidable → Add-Ons.

If you see the Install button, click it, then click Activate. If it says already activated, you're all good!
Next, from your WordPress dashboard, go to Formidable → Applications.
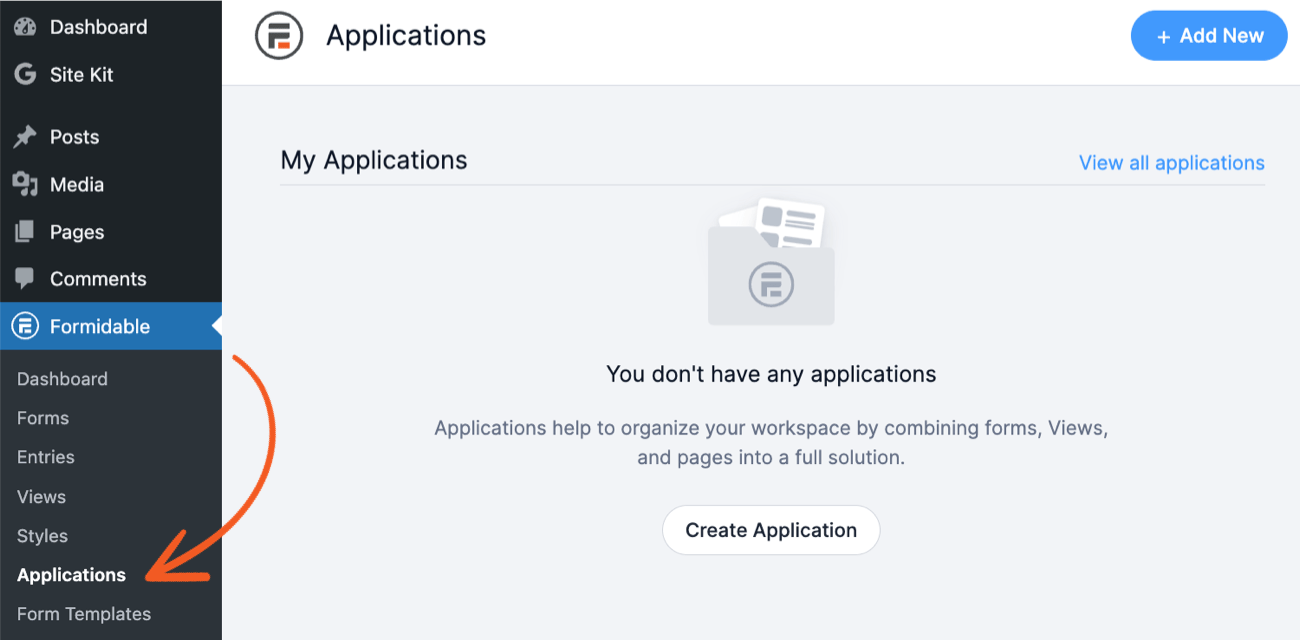
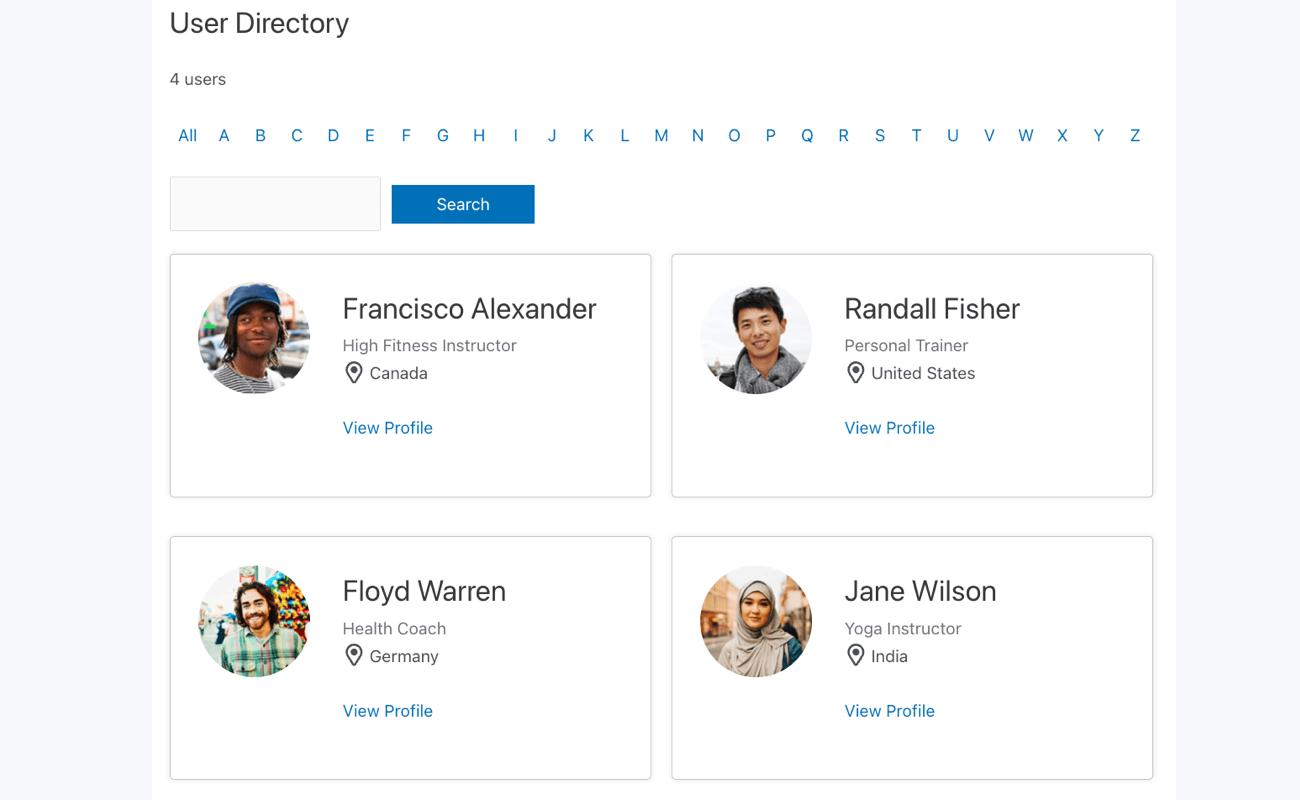
On the Applications page, choose the Member Directory from the list of application templates.

The Member Directory Template lets you register users, add them to a searchable member list, and edit their profiles.
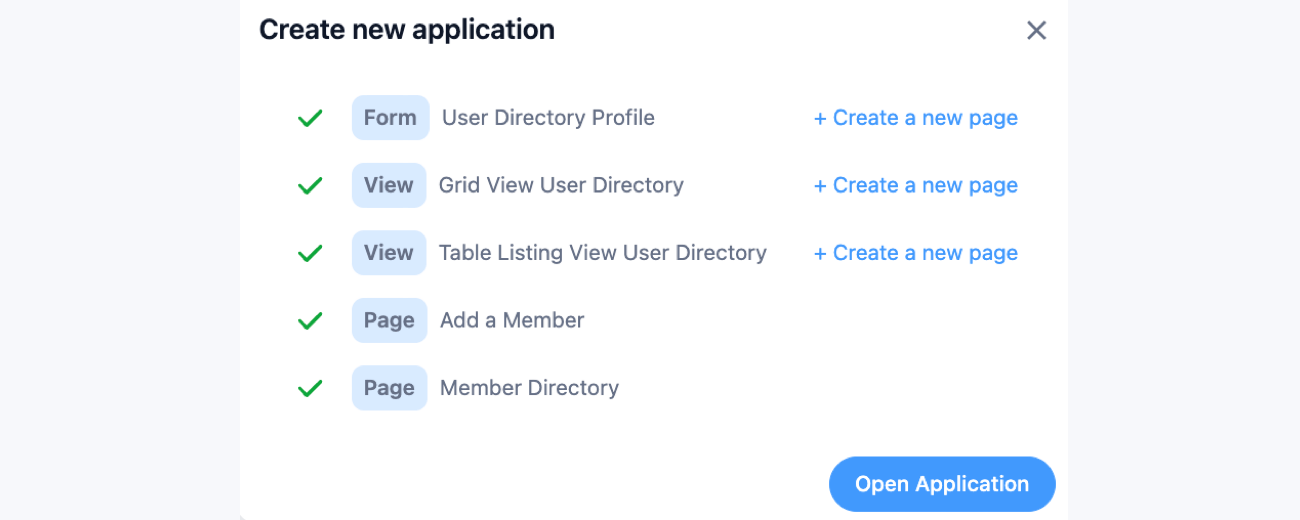
Click the + Add button, name your directory application, and click Install Application. The plugin automatically generates the following pages:
Once you open the application, you'll find these in the My Applications section of your Formidable → Applications page.
- 1 Form: User Directory Profile
- 2 Views: Table Listing View User Directory and Grid View User Directory
- 2 Pages: Member Directory Page and Add a Member Page
FYI — by default, these generated pages are saved as drafts and not published immediately. That way, you can review the pages and make changes before they go live.
Step 2: Create your member directory
How about we start with the first thing you'll see on your My Applications page: the User Directory Profile form.
This is where you personalize the user profile form for directory visitors. You can make any changes you want. Add, remove, or edit form fields like name, email address, and phone number. You can even add custom fields, such as social media links.
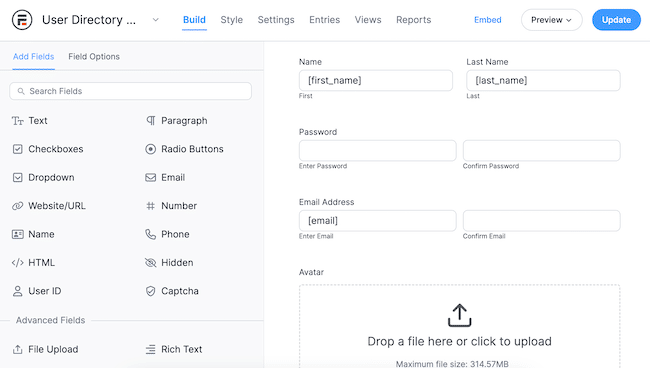
But make sure to leave the I want to be included in the directory field. Users must turn it on to be included in the member listing.
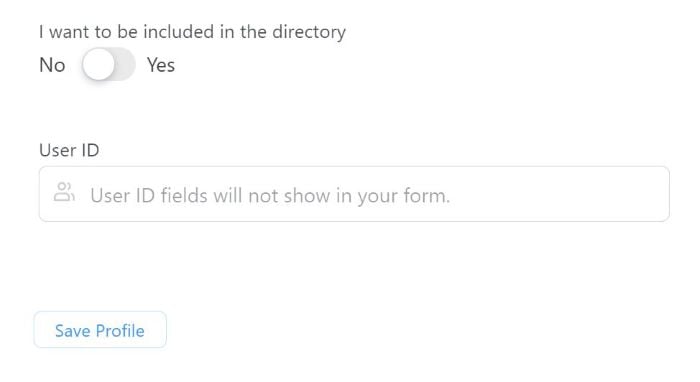
Last, click Update to save your work.
Now, publish your form on any page or post you want by inserting the Formidable Forms block. Then, choose your form from the dropdown menu.
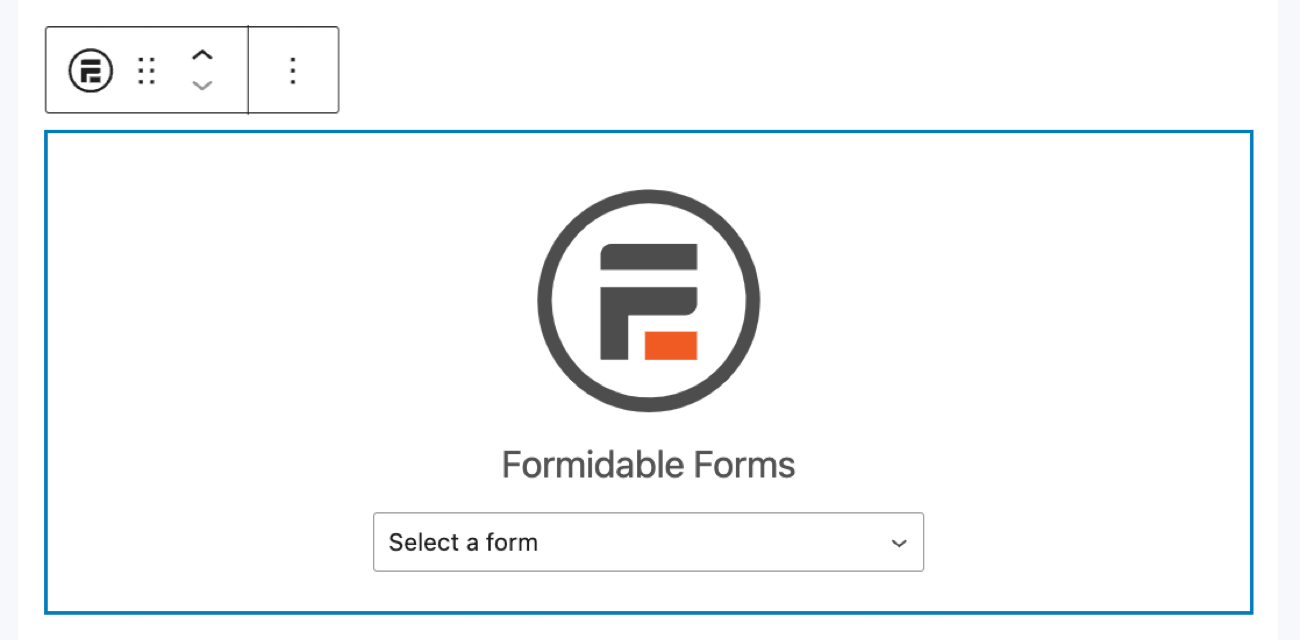
Update or publish your post/page; your user profile form is live!
Great job! Now, let's move on to the next-to-last step.
Step 3: Publish the member profile form in a members-only area
So, you should now have a basic directory and sign-up form. Way to go!
But we're not done yet. Since you're building a membership directory, you probably want only the sign-up form available to members.
You can do this with MemberPress by adding a new rule. First, make sure you publish the form on a page. Then, go to MemberPress → Rules → Add New.
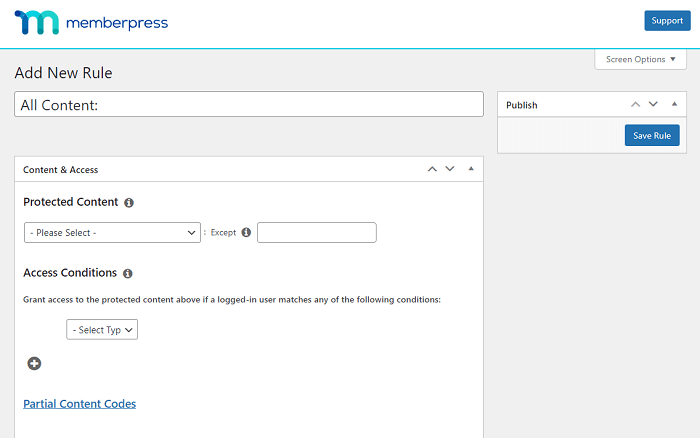
Here, you can make a rule to restrict the profile page to members only. Under Protected Content, select the page on which you published your form. Then, make sure you set the access conditions to apply to members.
If you want to limit the membership directory to a specific membership tier, you can do something similar. Next, pick the membership plan(s) for users to access, and you're set!
Save your changes. Only the groups you chose should be able to view the page, so they'll be the only ones who can fill out the form.
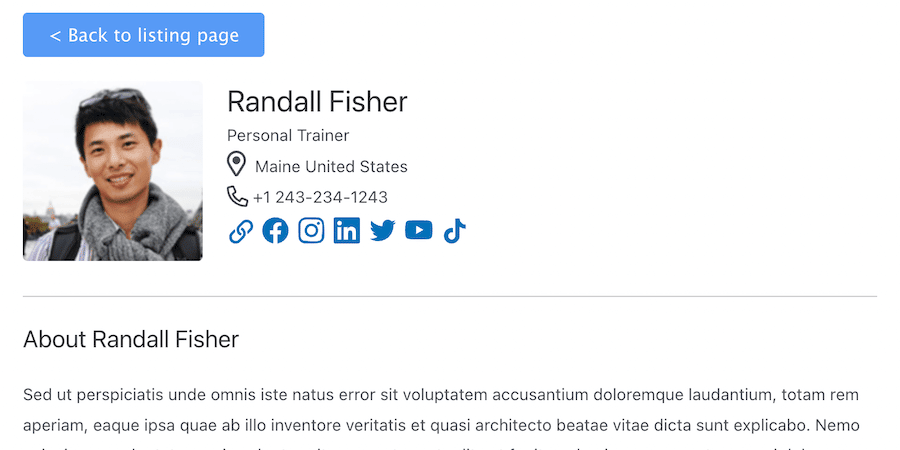
Here's a peek at what a completed user profile with member data might look like:
Step 4: Publish your member directory
Now that members can opt in to be included in the directory, it's time to display your directory listing on your site!
The member directory template from Step 1 automatically generates a User Directory View for you and a page.
You only have to publish the page. To do this, go to the auto-created page for the member directory, make any changes you'd like, and then Publish the page.
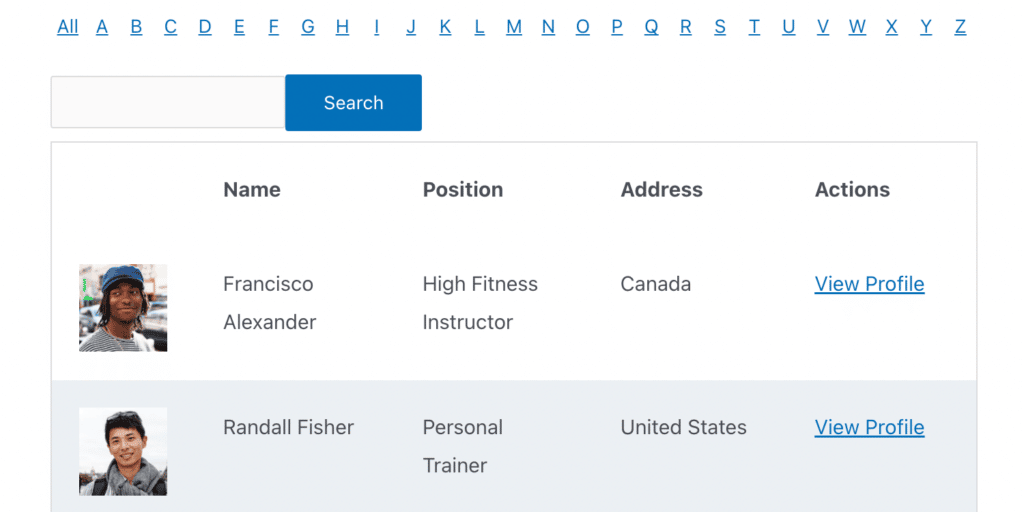
And voilà! 🪄 You have the ultimate WordPress member directory listing for members only.
Did all that seem too complicated (or maybe too expensive) for you? You'll love our second option for creating a member directory on WordPress. Keep reading!
How to create a membership directory with Business Directory Plugin

If you're searching for a solid MemberPress alternative, look no further than Business Directory Plugin!
This tool makes it incredibly easy to create a directory site. Here's a quick overview of the steps:
- Head to your WordPress admin dashboard.
- Go to Plugins and select Add New.
- Search for Business Directory Plugin, then click the button to Install and Activate.
- Allow the plugin to create pages automatically by clicking Create Required Pages for Me.
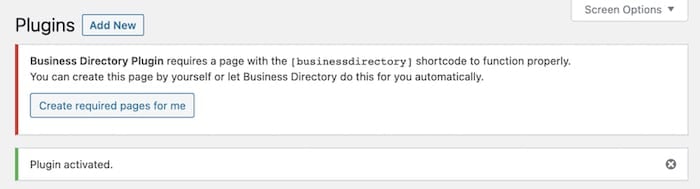
And you're pretty much done!
For more details and final steps, read this guide to creating a directory website in WordPress.
How will you use your WordPress membership directory plugin?
As you can see, a WordPress member directory is a fantastic way to boost your website and streamline your workflow.
Whether you choose Formidable Forms and MemberPress or Business Directory Plugin, you're ready to creating an engaging membership website.
But remember, your site's success doesn't solely depend on the type of member directory software you choose. It also depends on how you use it to make your site more appealing and user-friendly.
After all, your website is more than just a platform — it's a gateway to your community!
Read more about WordPress membership sites
 How to Setup Recurring Payments for Memberships in WordPress Without Coding
 15 Best WordPress Membership Plugins [Compared Side-by-Side]
 How to Edit a WordPress User Profile on the Front End
This article may contain affiliate links. Once in a while, we earn commissions from those links. But we only recommend products we like, with or without commissions.

