
Powerful forms for data collection and Wide API to merge automation using the best wokflows such as N8N, Zapier. Excellent tool for data collection. Recommended 100%. Furthermore, support is awesome.

Last updated on June 18, 2025 by Kyle Cash
How To Add a ConvertKit Form to WordPress [Only 5 Steps!]
Learn how to easily add a ConvertKit form to WordPress with this step-by-step guide. Up your marketing efforts and grow an email list today!

Approximate read time: 4.5 minutes
Turning website visitors into loyal subscribers is effortless with the right tools.
Adding a ConvertKit form to a WordPress site is one of those tools. It grows an email list and keeps an audience engaged. But adding a ConvertKit form to a WordPress website isn't always so simple. And the WordPress ConvertKit plugin is good, but it's a bit limited and the default forms are boring.
So that's why this tutorial is here.
In a few simple steps, we'll show you how to embed a ConvertKit form into WordPress to make email marketing a breeze. And one that can be customized exactly how you want.
So, let's dive in and get started.
Upgrade your WordPress site with powerful, flexible forms.
How to add a ConvertKit form to WordPress
Step 1: Install and activate Formidable Forms
Formidable Forms makes it easy to create any form for a WordPress site.
It's the best WordPress form plugin. So that makes it simple to create email newsletter signups, subscription forms, quizzes, and surveys. And with its ConvertKit integration, you can create (and customize) ConvertKit forms in a few minutes.
Its pre-built WordPress form templates save tons of time when creating forms. That way, you can focus on creating newsletters and building a list instead of fussing with a form builder.

So, grab Formidable Forms Pro, get it installed and activated, and we'll get started.
If you have any problems, check out our support docs to help.
Step 2: Connect ConvertKit to Formidable Forms
Once Formidable is installed, head to Formidable → Add-Ons to integrate ConvertKit.
Next, find the ConvertKit add-on and click Install. Once the add-on is ready, go to Formidable → Global Settings → ConvertKit.
Here, you must enter your ConvertKit API Secret in the ConvertKit settings. To find it, go to your ConvertKit account. Then, go to Account → Settings → Advanced, and copy the API Secret. The ConvertKit API key isn't necessary for Formidable.

Then, enter it in the API Secret box in the Formidable settings. This will connect Formidable and ConvertKit for easy management.
Next, click Test connection to make sure the connection works.

Last, click Update and everything is good to go.
Step 3: Create a form
Next, go to Formidable → Forms, and click the Add New button.
Here, you can choose to create a form from one of Formidable's WordPress form templates (like a newsletter signup form template) or start from scratch using the Create a blank form button.
For this example, I'll choose the Newsletter Signup Form template.

Feel free to add any form fields to customize the form. For example, ConvertKit has tags and other custom fields. You'll still be able to get information for those fields in Formidable.
Once finished, click the Save button in the top-right and name the form.
Step 4: Set up Convertkit form settings
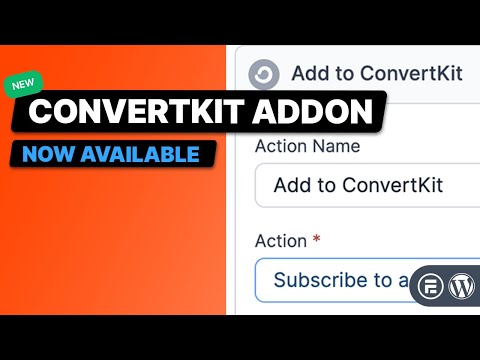
Click Settings at the top of the form builder and go to Actions & Notifications.
Next, click the ConvertKit action to add it. This will create a dropdown below titled Add to ConvertKit.
There are a few options for the Action:
- Subscribe to a form or update: Add subscribers to any existing forms in ConvertKit
- Subscribe to a sequence or update: Add subscribers to a sequence/automation
- Remove tag(s) from a subscribe: Remove tags from a subscriber
- Unsubscribe: Unsubscribe a user completely
This gives you a lot of flexibility over what different forms can do. For this example, we'll use the Subscribe to a sequence or update option to add them to a Welcome automation.
Next, choose the Sequence so it adds them to the correct one. Since you connected ConvertKit, it'll automatically load your existing Sequences.
You can also fill out the Email, First name, and Tags using shortcodes from the form as well.

Also, if there are any custom fields, you can add those under the Custom Fields section.
Last, click the Update button to save any progress.
Step 5: Publish form
Now, go to the WordPress page or post where you want to add a ConvertKit form.
First, use the block editor to add a new block and find the Formidable Forms block. Next, choose the ConvertKit form from the dropdown menu.
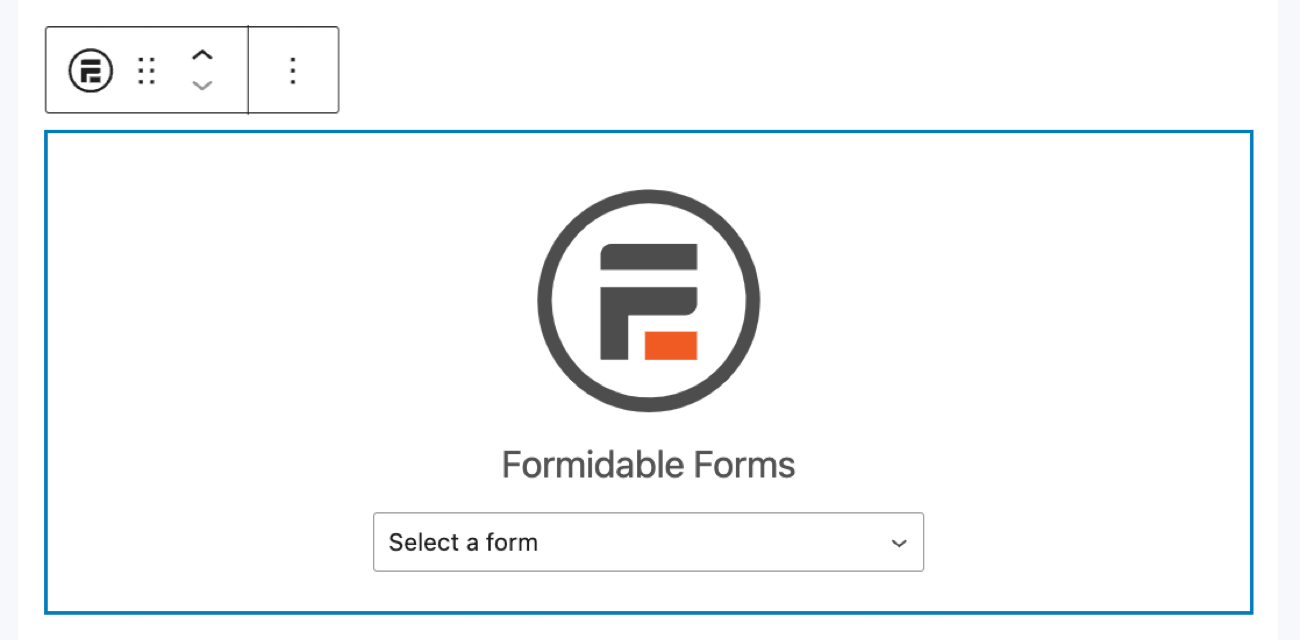
Once it's picked, it will display in the post like any other block. Now, just update the post or page, and the form is live!
From Idea to Reality in Minutes. Build Powerful Forms, Dashboards, Apps and More.
Formidable Forms makes advanced site building simple. Launch forms, directories, dashboards, and custom WordPress apps faster than ever before.
Get the best ConvertKit form WordPress plugin
Formidable makes building ConvertKit forms simple, but it also has other features you'd need from a ConverKit form plugin.
It can create landing pages and contact forms and even track a user's journey on a website. Plus, you get 14 days to try it out. And if you don't like it, get your money back — no questions asked.
So grab it now using the button below and start growing your ConvertKit email list!
Also, join our community on Facebook, Twitter, and YouTube for more WordPress ConvertKit tips and tricks!
Read more about email marketing!
 MailPoet vs. Mailchimp [Which is Better for You?]
 How to Make a Good Landing Page with Forms
 How to Add Email Subscription Forms in WordPress
This article may contain affiliate links. Once in a while, we earn commissions from those links. But we only recommend products we like, with or without commissions.

