To view, edit, add, and delete entries on the back-end of your site, go into your form and click the Entries tab. You may use the dropdown directly above the list of entries to manage entries for a different form.

Upgrade your WordPress site with powerful, flexible forms.
Add a New Entry
You may add new entries at the back end of your site. This gives you complete control over the information submitted, including the Entry Key and User ID. Select the Add New button at the top of the Entries page, fill out the form, and hit Submit.
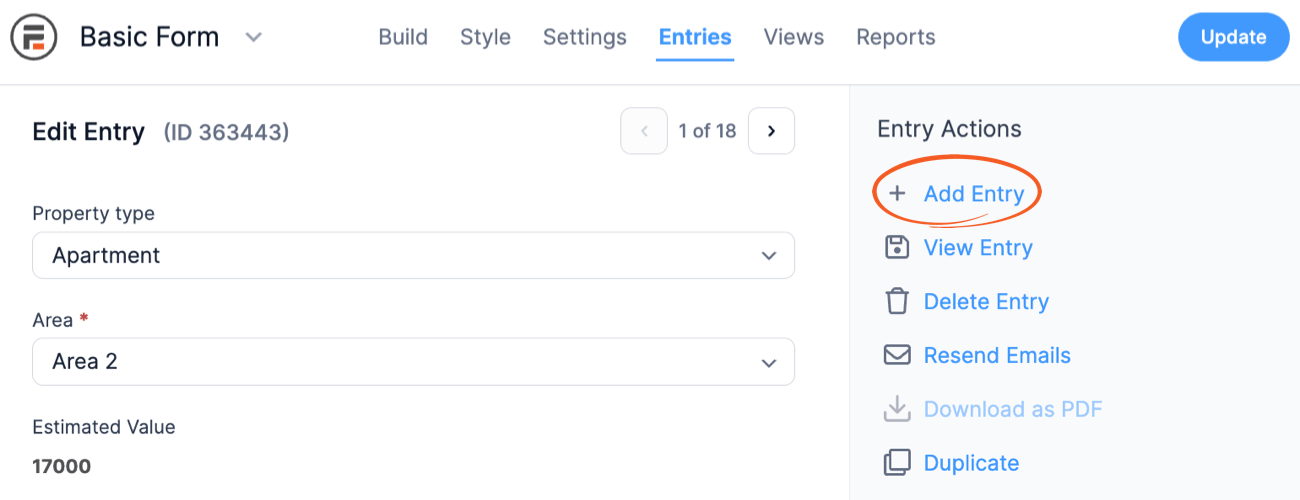
 If editing an entry, you can add a new entry by navigating to the Entry Actions sidebar and clicking Add Entry. This will allow you to create a new entry seamlessly.
From Idea to Reality in Minutes. Build Powerful Forms, Dashboards, Apps and More.
Formidable Forms makes advanced site building simple. Launch forms, directories, dashboards, and custom WordPress apps faster than ever before.
Customize the Entries Screen
This page works very much like the WordPress post listing pages where you can show or hide field columns on the entry listing page. Select the Screen options tab at the bottom right of the page to customize which columns are shown.

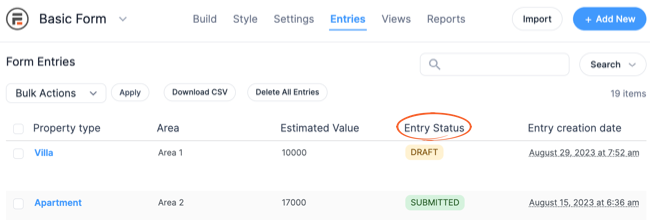
Entry Status
Within this section, you will find a column that showcases the status associated with each entry. The default setting includes two entry statuses: Submitted and Draft.
Delete Entries
If you would like to delete an entry from the back-end, hover over the first column on the Entries page and select Delete.

When you delete an entry with an uploaded file, this doesn't necessarily mean that the file will be automatically deleted. By default, files uploaded in a File Upload field will remain on your site indefinitely. To guarantee that the uploaded file will be permanently deleted when an entry is deleted, you could enable this option in the File Upload field settings.
Bulk Delete Entries
To bulk delete entries in a form, follow the steps below.
- Navigate to your desired form and click the Entries tab.
- Click the Delete All Entries button, which will delete all entries in the form.
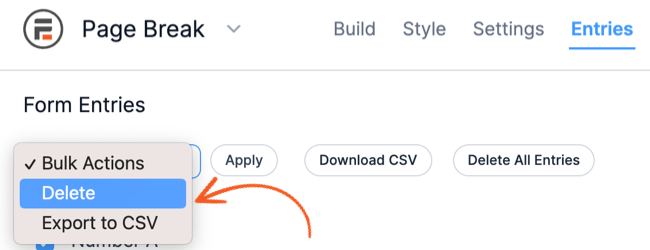
 Alternatively, you can select the checkbox right next to each entry, choose Delete from the Bulk Actions dropdown, then click the Apply button.
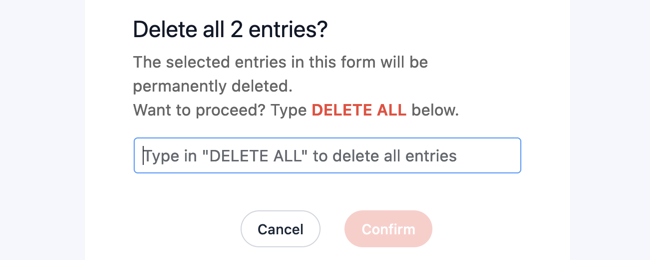
- A popup message will appear on the screen wherein you must type DELETE ALL to confirm the action. This is to make sure that entries are not accidentally deleted.
 Alternatively, you can select the checkbox right next to each entry, choose Delete from the Bulk Actions dropdown, then click the Apply button.
Edit Entries
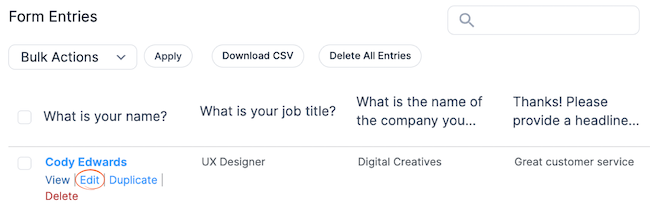
If you would like to edit an entry from the back-end, hover over the first column on the Entries page and select Edit. When you are editing an entry from the back-end, you can change any field values, including the Entry Key and the User ID.
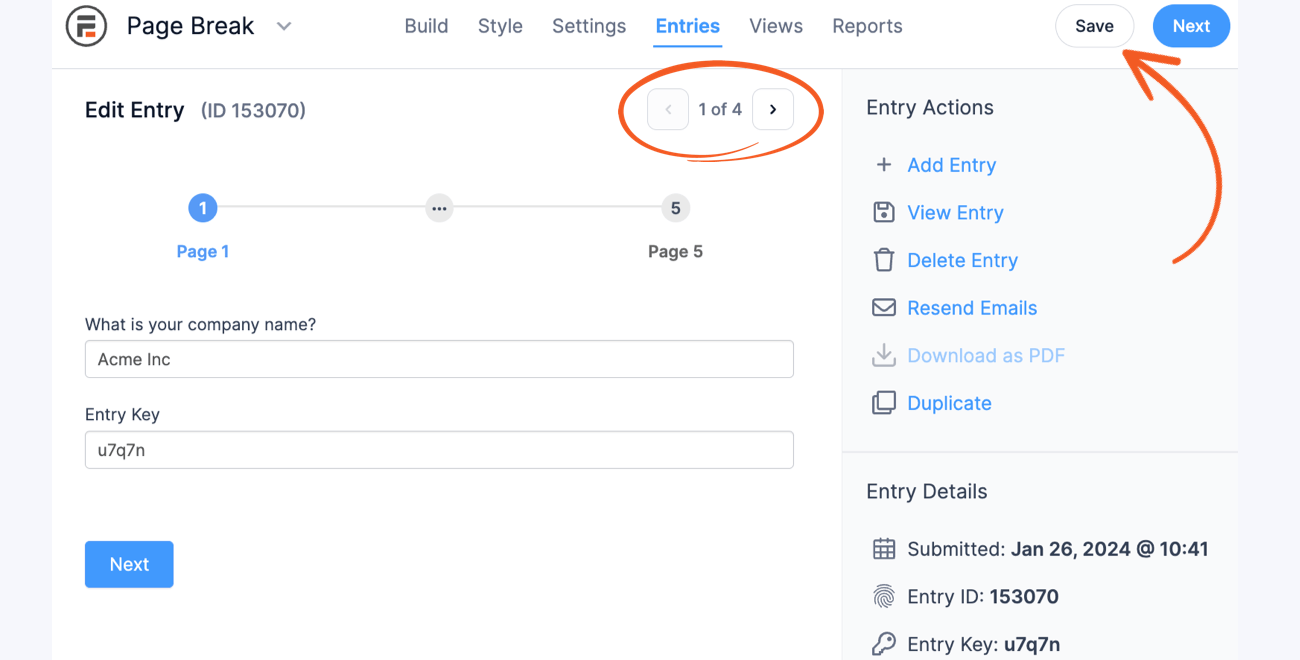
When editing an entry in a multipage form, you have the option to save the entry from any page by clicking the Save button. It also comes with pagination, making it easier to access the previous or next entry.
Print Entries
A benefit of printing an entry from the back-end of your site is that it will not print everything you see on the webpage, but rather only the pertinent information to your form entry. If you would like to print an entry from the back-end, follow the steps below. Or learn more about how to style WordPress form submissions for print for front-end printing.
- Go into edit the form you would like to print entries from.
- Go into the Entries tab.
- Click View on the entry you would like to print.
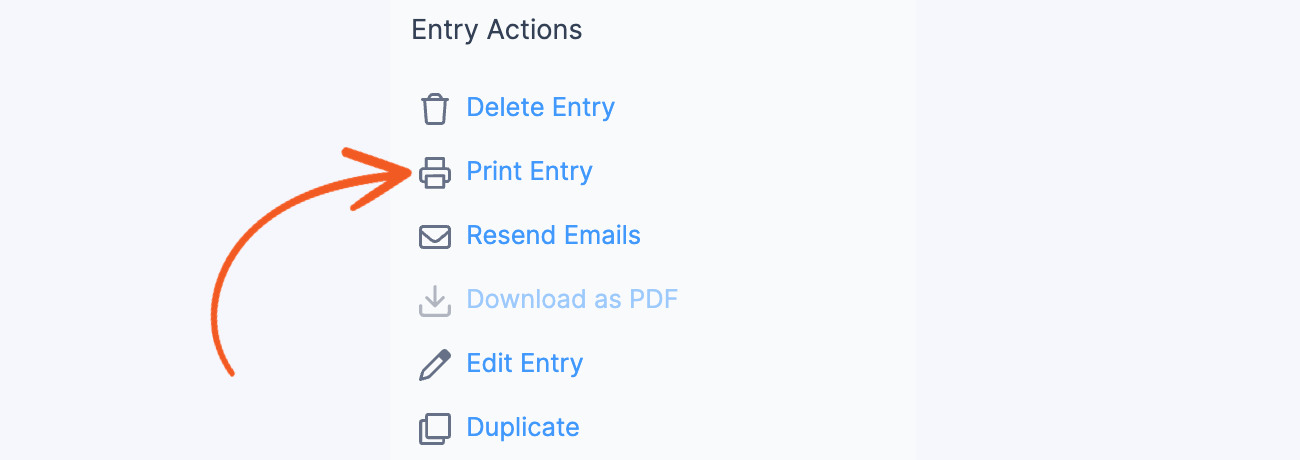
- Click Print Entry in the Entry Actions box.
Search Entries
The entries listing page for a specific form includes a box to search the entries. Searching with or without a field selected may return different results on some forms. To search, type in a search term, and click the Search button. You can search All Fields, or search by Entry Creation Date, Entry ID, or a specific field.
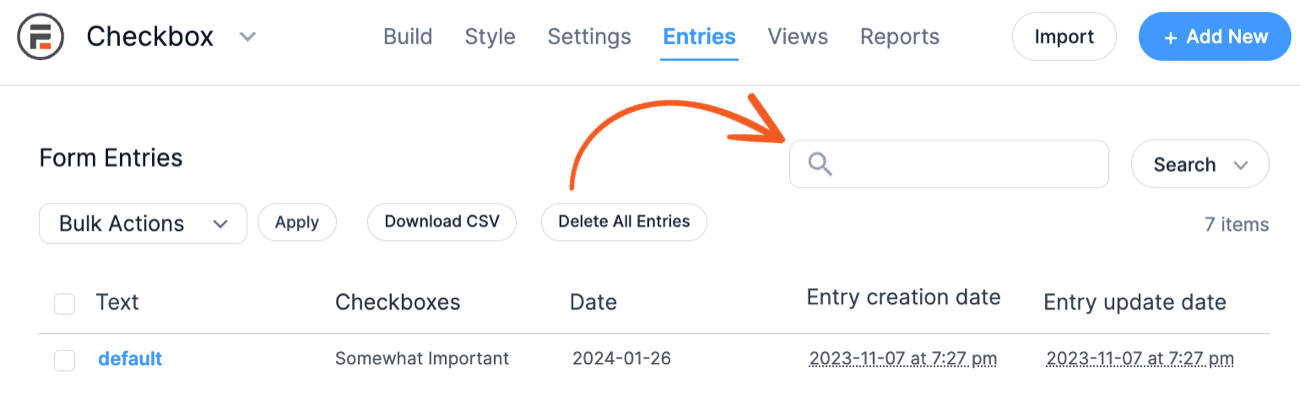
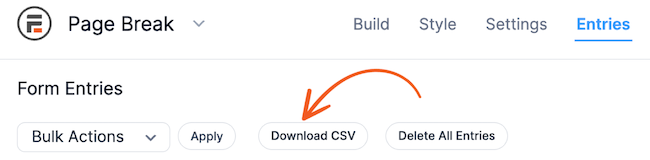
After a search, the results can be exported to a CSV using Download CSV button above the entries table.
- Entry creation date - Search by entry creation date to get a list of entries created in a specific month or year. The search results are currently based on UTC time. When searching by Entry Creation Date or a Date field, use the YYYY-MM-DD format.
- To search entries created during the year 2017, type 2017 into the search box.
- To search entries created during January 2017, type 2017-01 into the search box.
- To search entries created on January 5th, 2017, type 2017-01-05 into the search box.
- User ID - Select the user ID field in order to search for a user email or login name.
- A post field - When a field is not selected, the title and post content for any linked posts will be searched. In order to search values in a custom field, select the field for the search.
- A dynamic field - Select the dynamic field to search for a value rather than the id of the linked entry.
Store Entries
Formidable data, including entries, are stored in the WordPress database.
A great way to know about the Formidable data in the database is to open up your WordPress database and look at the different tables. From there, you can view the data and see how it all works. Read more about the Formidable database schema.
The security will depend on how you set it up and your web host. If you have international (EU) clients, read more about how Formidable handles the GDPR requirements.
View Entries
If you want to view an entry from the back end, hover over the first column on the Entries page and select View.
 You will be directed to the Entry page where you can navigate through the previous or next entry.

See entry creation timestamp
Each entry automatically includes a timestamp when it was created. This entry creation date will be saved in UTC time, and displayed in the timezone and format selected on your WordPress Settings → General page.
Comments/Notes
When viewing an entry on the back-end admin area, you will be given an option to add a note/comment. These notes/comments can only be added and viewed on the back-end by anyone with access to view entries on the back-end; they cannot be edited once they are created. The comment will appear as shown below, allowing for a new comment to be created.

View Reports
Get an overview of the submitted form entries with the Reports page. It includes reports such as the responses over time using a line graph, total submissions using a table chart, and the entry count. Whenever a new entry is added or edited, the report is automatically updated. It ensures that the results are always current and reliable, regardless of the number of entries.
Filtering by date
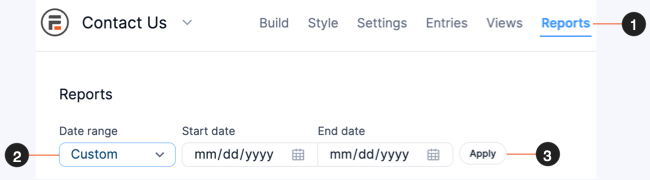
On the Reports page, you can display entries collected within a specific date range. It lets you specify the date range (daily, weekly, monthly, quarterly, yearly, or selected period) for the form entries. To filter it with a custom date range, follow the steps below.
- Go to your form and click on the Reports tab.
- In the Date range dropdown field, select Custom as the option.
- Select the Start and End dates in the datepicker calendar. Then click the Apply button.