
Want to make your form notification emails look more professional and on-brand? Formidable Forms makes it easy to style your email notifications with beautiful pre-designed templates. In this guide, we'll show you how to customize your email styles to create polished, branded notifications.
Upgrade your WordPress site with powerful, flexible forms.
Access Email Styles
Email styles can be configured in two locations: globally in your settings or individually for each form action.
Global Email Settings
Global settings apply to all new email notifications across your site:
- Go to Formidable → Global Settings.
- Click the Email tab.
- You'll see the Email Styles section with style options and customization settings.
Individual Form Action Settings
You can override global settings for specific forms:
- Go to Formidable → Forms.
- Hover over your form name and click Edit Form (or click the form name).
- Click Settings → Actions & Notifications.
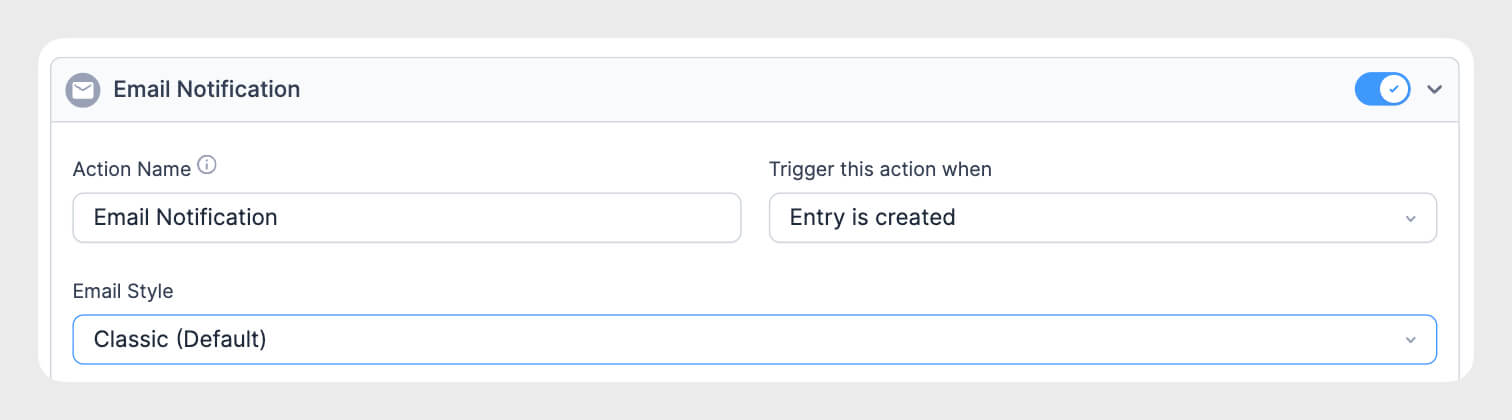
- Click on an existing Send Email action or create a new one.
- Find the Email Style dropdown in the action settings.
From Idea to Reality in Minutes. Build Powerful Forms, Dashboards, Apps and More.
Formidable Forms makes advanced site building simple. Launch forms, directories, dashboards, and custom WordPress apps faster than ever before.
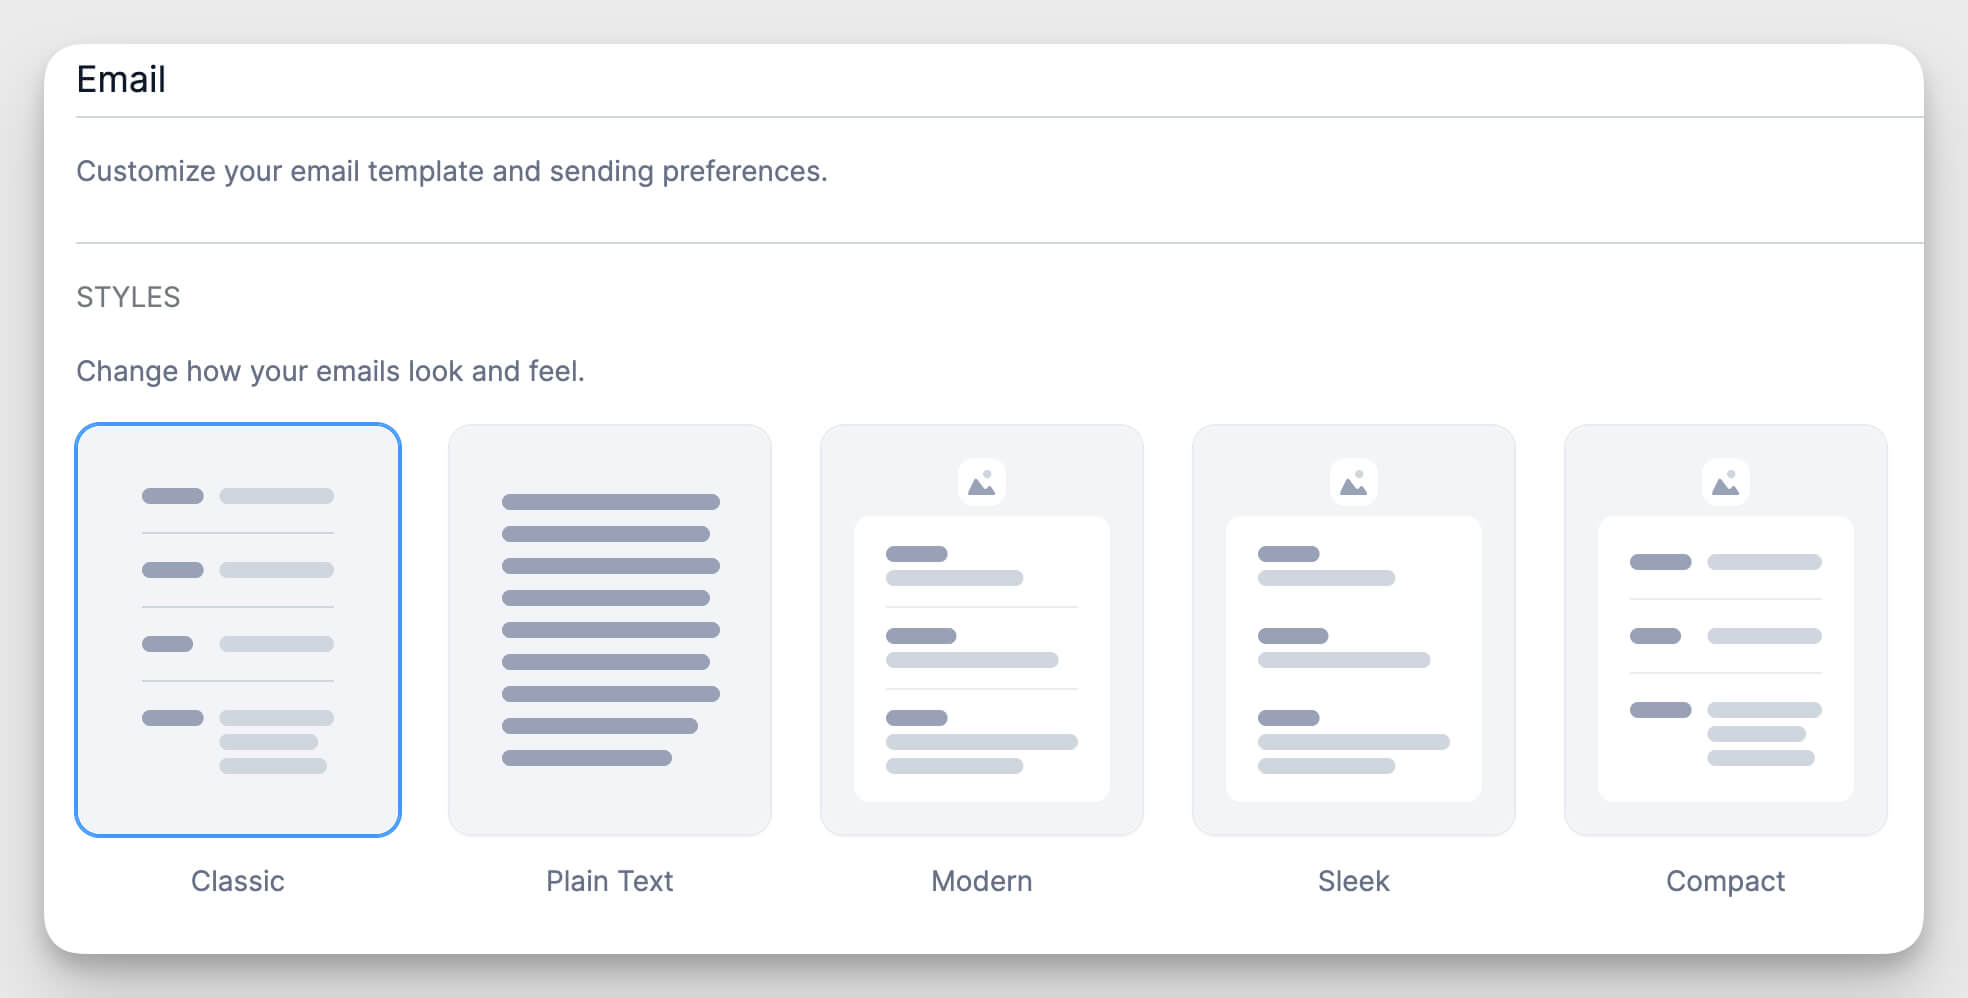
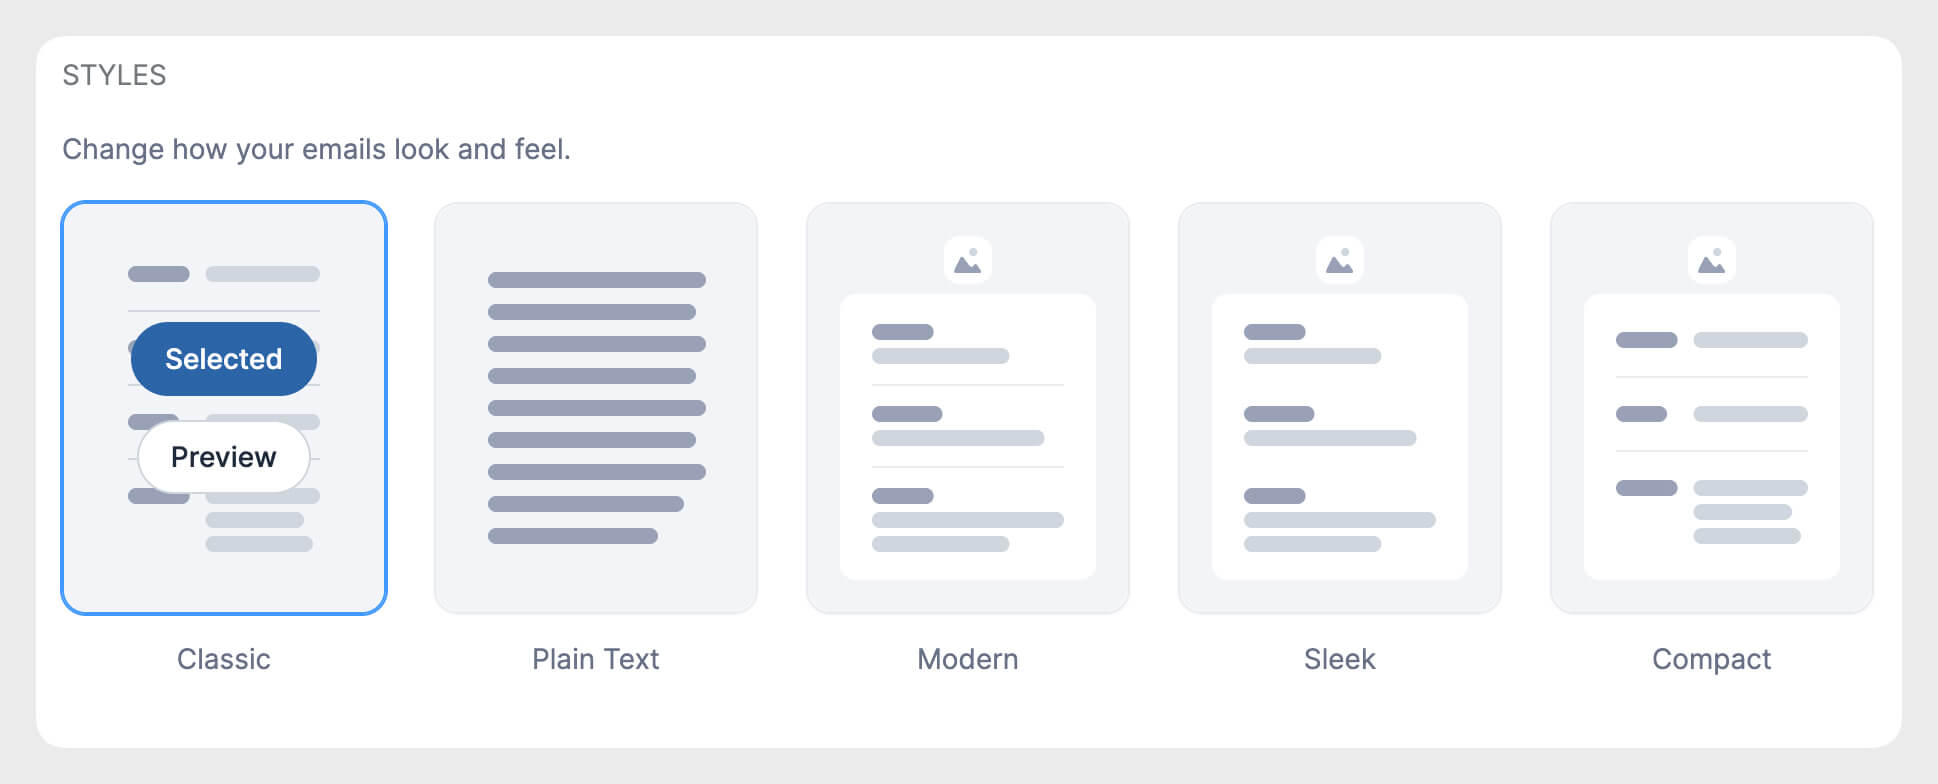
Available Email Styles
Formidable Forms offers several email style templates. Each style applies different formatting to your email notifications.
Classic
The Classic style is the traditional Formidable Forms email format. It displays form data in a simple, clean table layout with minimal styling.
Plain Text
Plain text emails contain no HTML formatting. Form data appears as plain text without any styling, colors, or tables.
Modern, Sleek, and Compact Styles
Formidable Forms Pro includes additional modern email templates with enhanced visual design. These styles add professional formatting, improved spacing, and visual polish to your email notifications.
Customizing Email Styles
Pro users can customize email styling options to match their brand. These settings are available in the Global Settings → Email tab.
Styling the Default Message
The styling options apply specifically to the [default-message] shortcode in your email content. The [default-message] shortcode displays all submitted form data in a formatted table.
Header Image
Add your logo or brand image to the top of your email notifications:
- Click the Upload Image button in the Header Image section.
- Choose an image from your media library or upload a new one.
- Select the Size from the dropdown (Small, Medium, or Large).
- Choose the Image Alignment (Left, Centered, or Right).
- Select the Image Location (Inside container or Outside container).
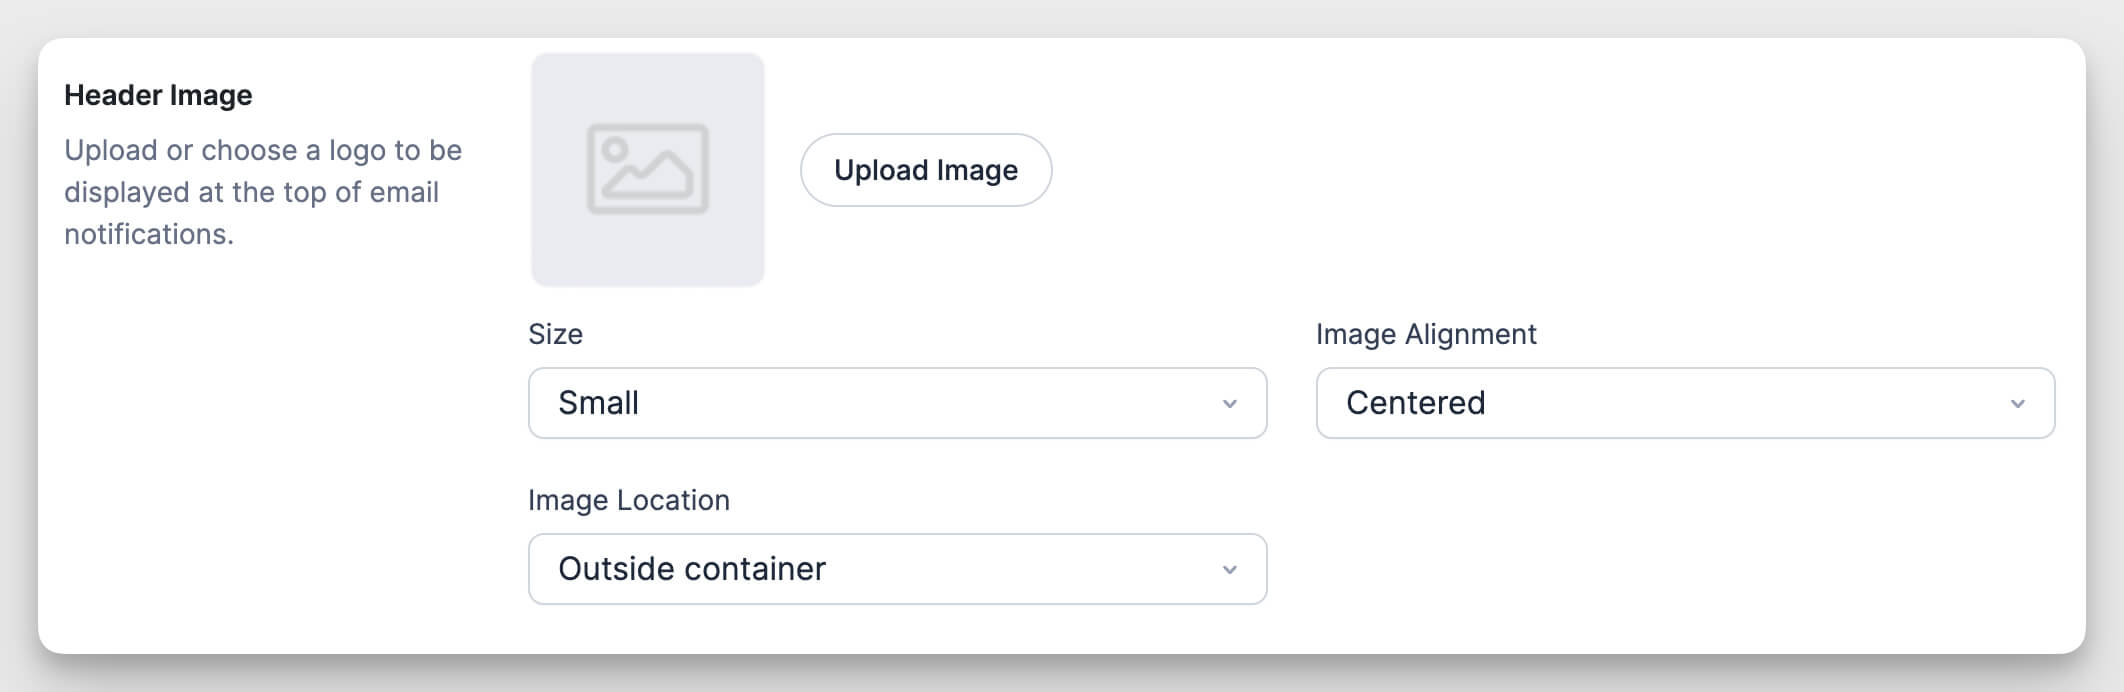
The header image appears at the top of every email notification that uses a styled email template.
Color Scheme
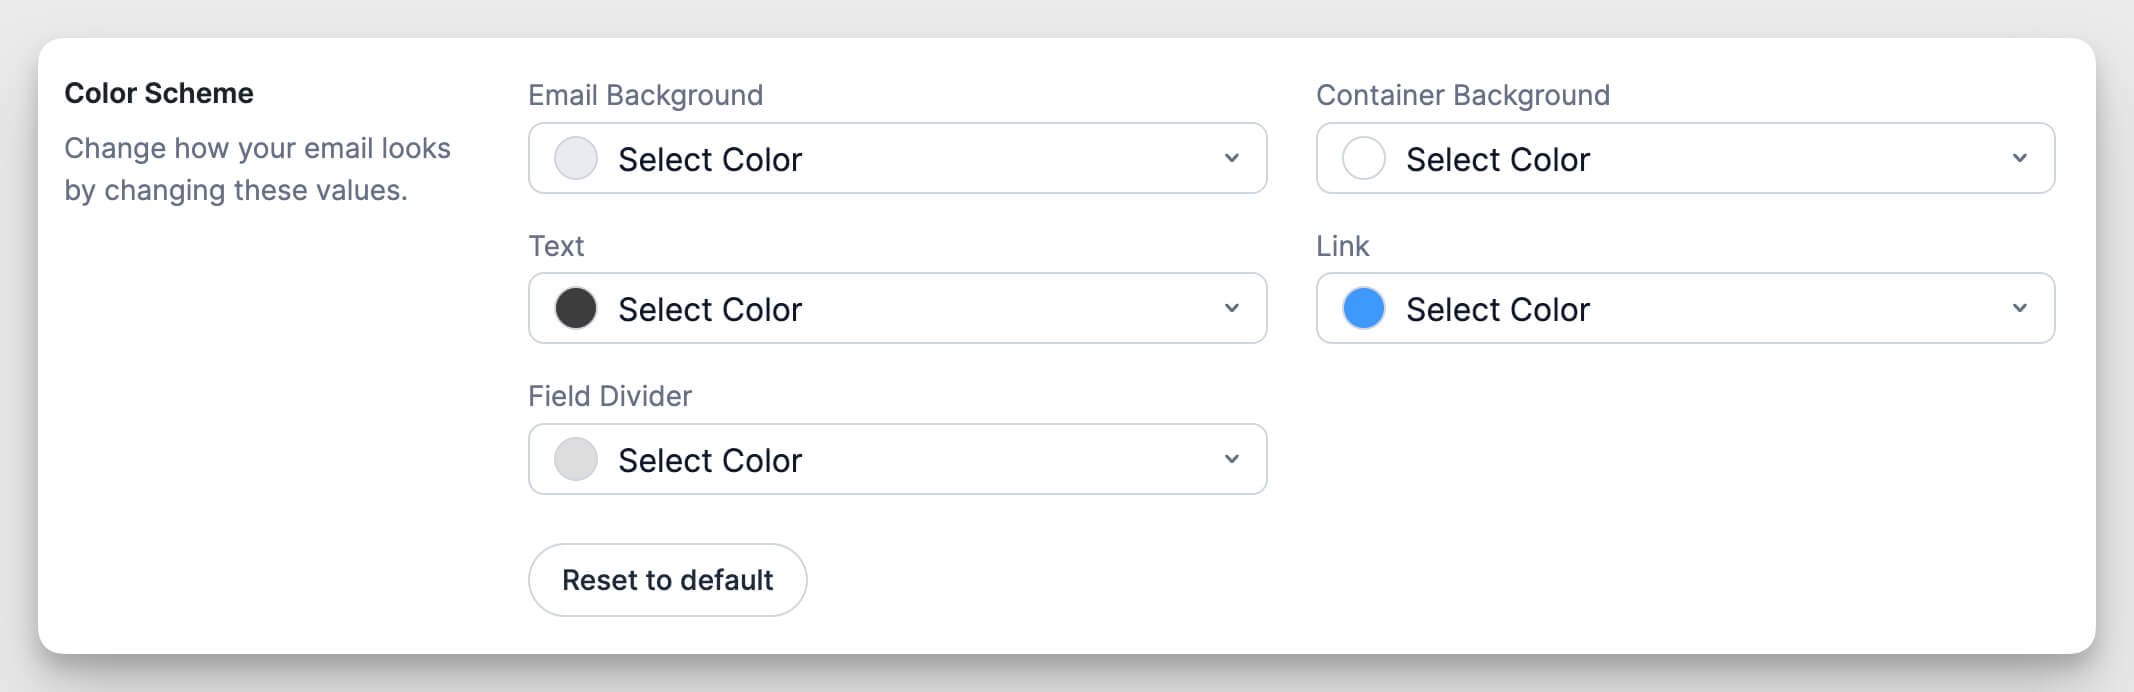
Customize the colors in your email notifications to match your brand:
Email Background: Sets the background color for the entire email.
Container Background: Sets the background color for the main content container..
Text: Sets the color for all text in the email notification.
Link: Sets the color for clickable links in the email.
Field Divider: Sets the color for dividing lines between form fields in the email table.
Click any Select Color button to open the color picker and choose your brand colors.
Typography
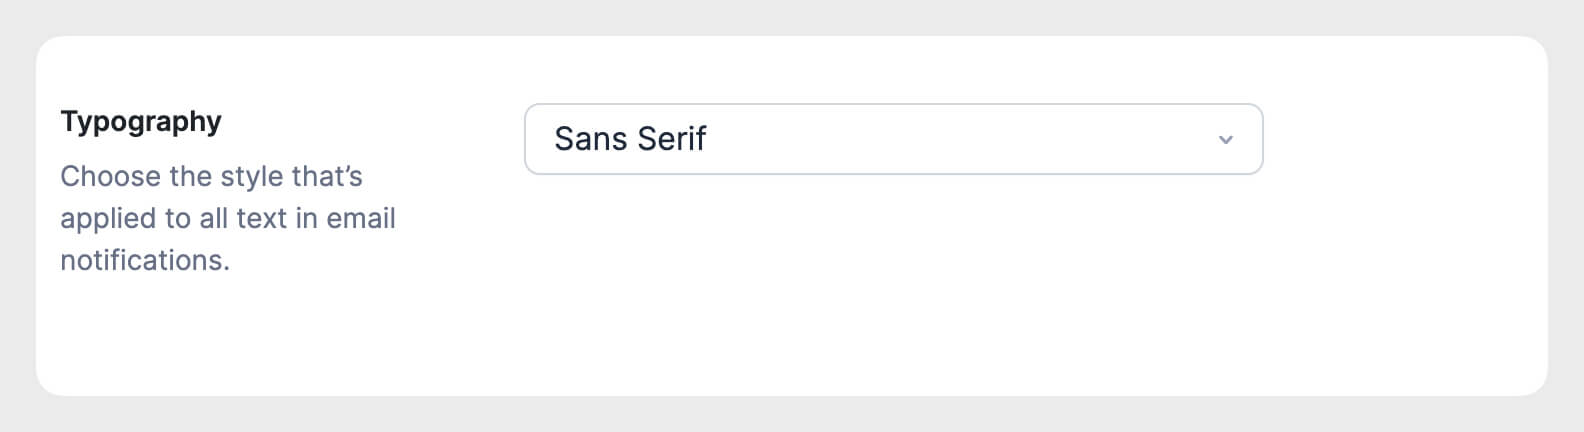
Choose the font style for all text in your email notifications:
- Click the Typography dropdown.
- Select your preferred font (Sans Serif or Serif)
- The selected font applies to all text in the email.
Reset to defaults
Click the Reset to default button to restore the original color scheme.
Previewing Email Styles
You can preview how different email styles look before applying them.
Preview in Lite Version
Lite users can preview all available email styles:
- Go to Formidable → Global Settings → Email.
- Click through the different Email Styles options.
- The preview shows how each style formats your email notifications.
Even though Lite users can preview all styles, only Classic and Plain text can be selected for actual use.
Preview in Pro Version
Pro users can preview and select any email style:
- Go to Formidable → Global Settings → Email.
- Click through the available Email Styles.
- Select the style you want to use.
- Customize the styling options as needed.
- Click Save Settings.
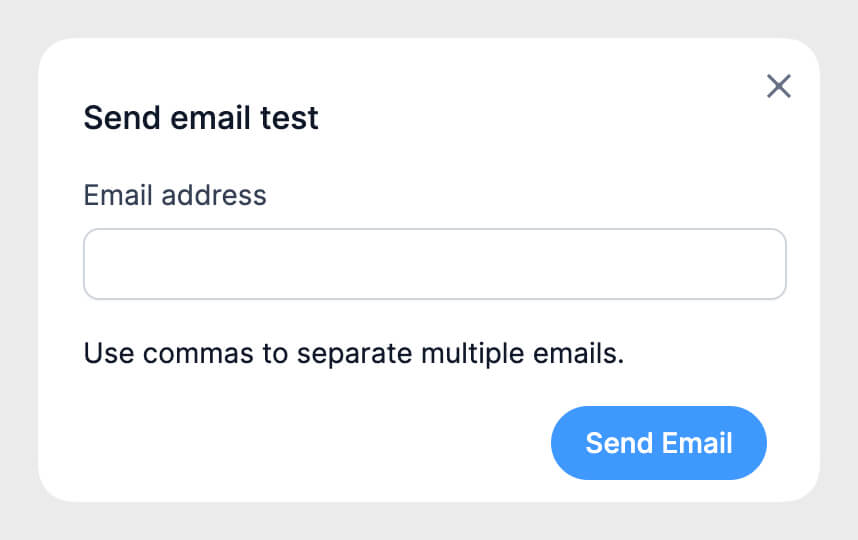
Sending Test Emails
Test emails help you verify that your email notifications look correct before going live.
How to Send a Test Email
- Go to Formidable → Global Settings → Email.
- Configure your desired Email Style and customization options.
- Click Save Settings to save your changes.
- Click the Send a test email button.
- Enter your email address in the field.
- Click Send Test Email.
Using Styled Tables in Email Content
Pro users can apply email styles to custom tables in their email content using special shortcodes. This lets you create formatted tables that match your chosen email style.
Table Shortcode Syntax
- Creates a table container
[frm_table]
- Creates a table row
[frm_tr]
- Creates a table header cell
[frm_th]
- Creates a table data cell
[frm_td]
Table Shortcode Attributes
You can add attributes to control table styling:
no_border_top: Removes the top border from a cell. Add no_border_top="1" to a [frm_th] or [frm_td] tag.
no_border_bottom: Removes the bottom border from the table. Add no_border_bottom="1" to the [frm_table] tag.
class: Adds custom CSS classes to a row. Add class="custom-class-name" to a [frm_tr] tag.
Custom Table Example
Here's how to create a custom styled table in your email content:
[frm_table no_border_bottom="1"]
[frm_tr class="header-row"]
[frm_th no_border_top="1"]Customer Name[/frm_th]
[frm_td no_border_top="1"]Order Total[/frm_td]
[/frm_tr]
[frm_tr]
[frm_th]John Smith[/frm_th]
[frm_td]$150.00[/frm_td]
[/frm_tr]
[/frm_table]
This creates a two-row table with custom styling that matches your selected email style.
When to Use Custom Tables
Custom styled tables are useful when you want to:
- Display form data in a specific layout
- Create summary tables with calculated values
- Format conditional content based on form responses
- Present information in a non-standard format
For standard form submissions, the [default-message] shortcode automatically formats all form data in a styled table.
Troubleshooting
Style Options Are Disabled
- Check that you have Formidable Forms Pro intalled and activated.
- Lite users can only select Classic and Plain text styles.
Email Style Options Not Applying
- Verify you saved the changes in the Global Settings or form action after selecting a style.
- Check that the email action is using the [default-message] shortcode in the email content
- Review the email content for custom HTML that might override the style
Plain Text Has No Styling
The Plain Text style ignores all styling settings. It displays only plain text without any formatting, colors, or tables.
Global Settings Are Defaults
Global email settings apply to new email actions. Existing email actions keep their current settings until you change them individually on the email action settings.
