
Powerful forms for data collection and Wide API to merge automation using the best wokflows such as N8N, Zapier. Excellent tool for data collection. Recommended 100%. Furthermore, support is awesome.

Last updated on October 7, 2025 by Emma Wells
The Complete Guide to Building Web Apps in WordPress (30+ Examples)
What if I told you that you could build a complete job board, booking system, or online directory in under an hour?
That's exactly what I see our users accomplish every day with Formidable Forms, the most powerful WordPress web app builder available. While other tools focus on simple contact forms, Formidable transforms your WordPress site into a full-featured web application platform.
The secret isn't just in the forms. It's in how Forms + Views + Pages = Complete Web Apps that handle everything from data collection to beautiful displays, user interactions, and even payment processing.

Approximate read time: 8 minutes
Table of Contents
- How We Built 30+ Application Templates
- What Makes a WordPress Web App Builder Different?
- Four Categories That Cover Almost Everything
- Beyond Templates: Building Your Own Applications
- The Technology That Makes It All Work
- Why WordPress Beats Third-Party Platforms
- Getting Started: Your First Web Application
- What We've Learned Building These Applications
- Frequently Asked Questions About WordPress Web Apps
- Ready to Build Your Web Application?
Upgrade your WordPress site with powerful, flexible forms.
How We Built 30+ Application Templates
Over the past year, I've had the privilege of creating more than 30 WordPress application templates for our users. Each one started with a real request: "Can I build booking systems in WordPress using Formidable?" or "How do I create a member directory?" or "Is it possible to generate invoices automatically?"
The answer was always yes, but I realized something important: users needed to see working examples before they could envision their own solutions using our no-code WordPress application builder.
So I set out to build complete, functional applications that solve real business problems. Not simple demos or proof-of-concepts, but production-ready systems that users can deploy immediately—or use as inspiration for their own custom applications.
What I discovered in this process changed how I think about web development entirely. These templates aren't just starting points; they're proof that WordPress can compete with any specialized platform when you have the right tools.
From Idea to Reality in Minutes. Build Powerful Forms, Dashboards, Apps and More.
Formidable Forms makes advanced site building simple. Launch forms, directories, dashboards, and custom WordPress apps faster than ever before.
What Makes a WordPress Web App Builder Different?
Before diving into what we've built, let me explain what sets a web app builder apart from traditional form plugins.
A typical WordPress form plugin collects information and sends an email or collects a payment. But a web app builder creates interactive, dynamic experiences where users can submit data, browse content, filter results, make purchases, and engage with your site in meaningful ways.
Here's the difference in action:
Traditional Form Plugin: Contact form → Email notification → End of story
Web App Builder: User submits data → Information appears in searchable database → Other users discover and interact with it → Actions get taken (purchases, bookings, connections) → Complete business workflow
This is why Formidable's approach works so well. The combination of advanced forms, dynamic Views, and seamless WordPress integration creates applications that rival expensive custom solutions—but deploy in minutes instead of months.
Four Categories That Cover Almost Everything
Through building dozens of applications, I've noticed that nearly every request falls into four distinct categories. Understanding these helps you see where your own ideas might fit and what's possible to build with no-code WordPress apps.
Tools & Generators: Create Something Instantly
These applications take user input and generate immediate results. Think calculators, certificate makers, or invoice generators. The magic is in the instant gratification—users get professional results without needing expensive software or coding knowledge.
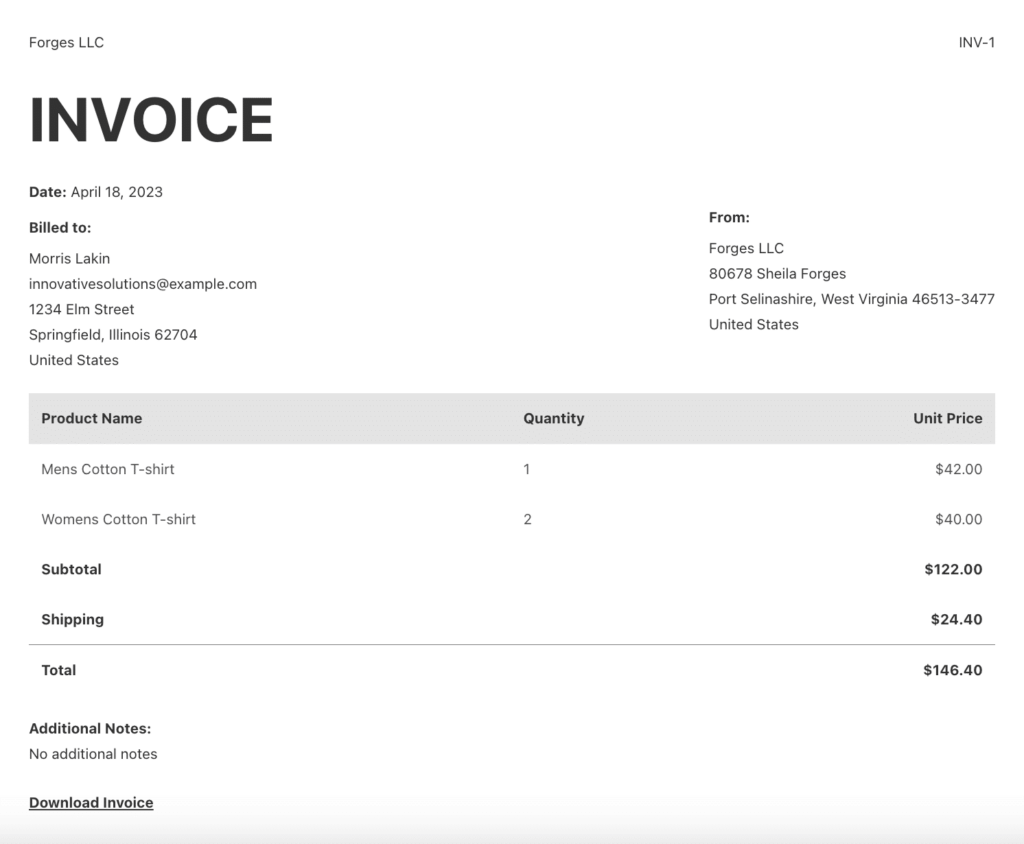
Invoice PDF Generator
Freelancers and small businesses input their company details and client information, and the system instantly creates a branded PDF invoice. It can even email the invoice directly to the client. Perfect for eliminating monthly subscription fees for invoicing software.
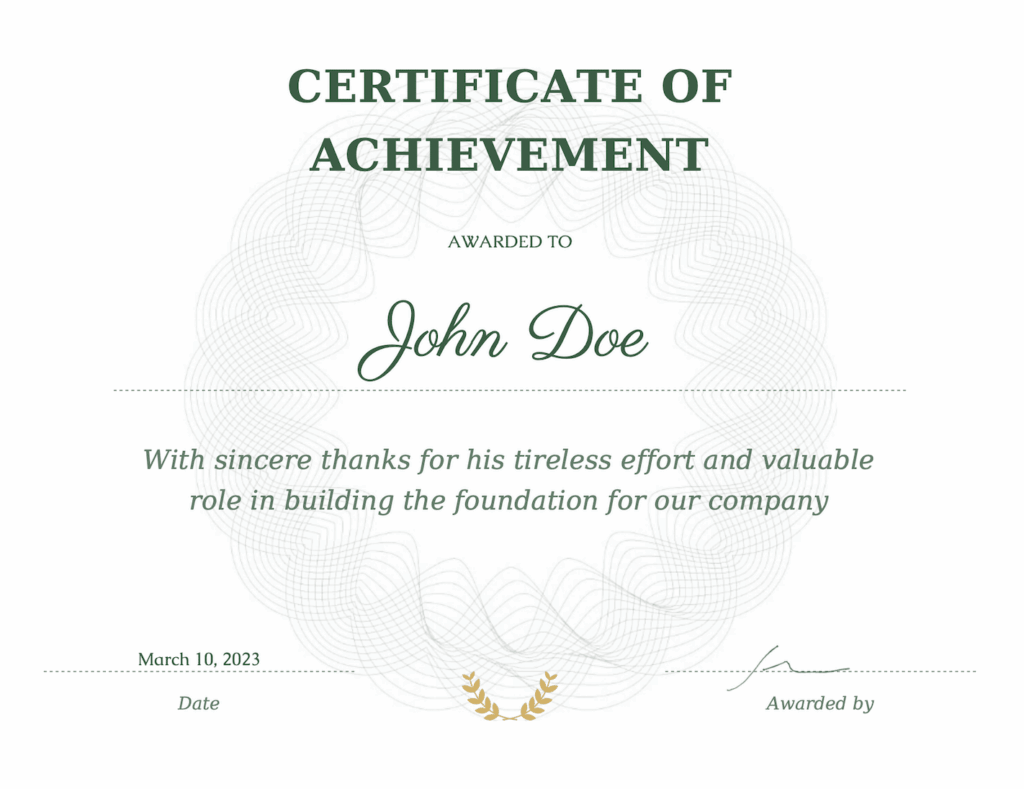
Certificate of Appreciation Generator
Input a recipient's name and achievement details, and you get a professional PDF certificate ready for printing or digital sharing. We've seen schools use this template to generate hundreds of certificates for graduation ceremonies.
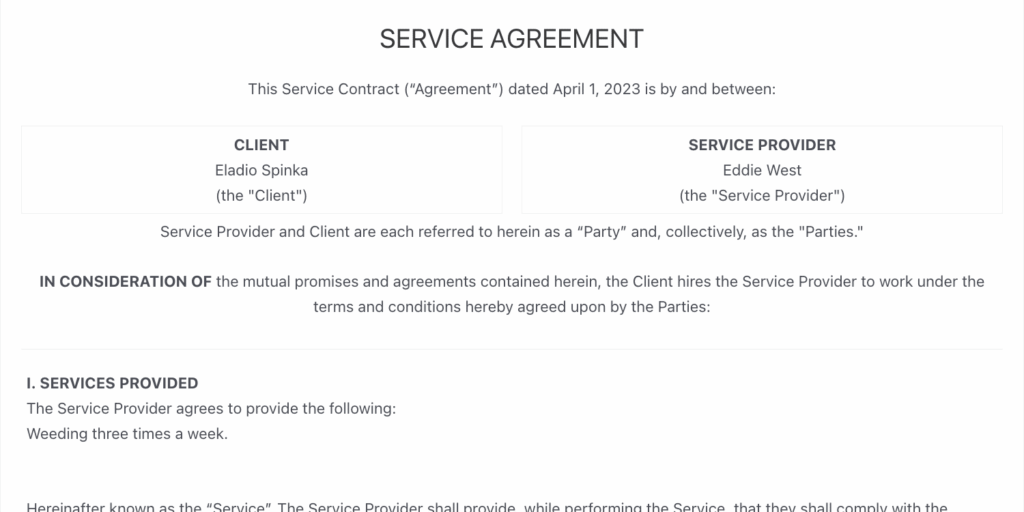
Contract Agreement Builder
Legal professionals and service providers create customized contracts by filling in client-specific details. The template handles standard legal language while personalizing key terms. Much faster than editing Word documents repeatedly.
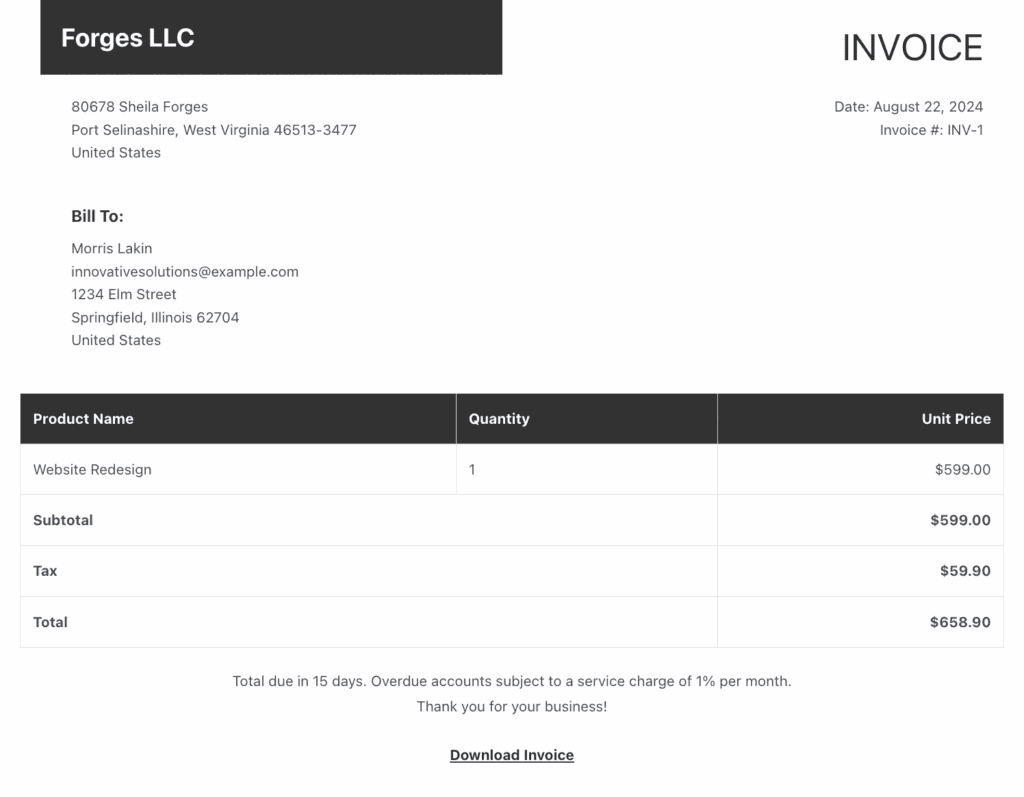
Freelance Invoice Generator
A more detailed invoicing system designed specifically for freelancers who need project tracking, time logging, and client management alongside invoice generation.
View Freelance Invoice Template →
Letter of Recommendation Template
Job applicants and supervisors can quickly generate professional recommendation letters with standardized formatting and customizable content.

View Recommendation Letter Template →
Permission Slip Template
Schools and organizations collect permission slips digitally with automated parent notifications and administrative tracking.
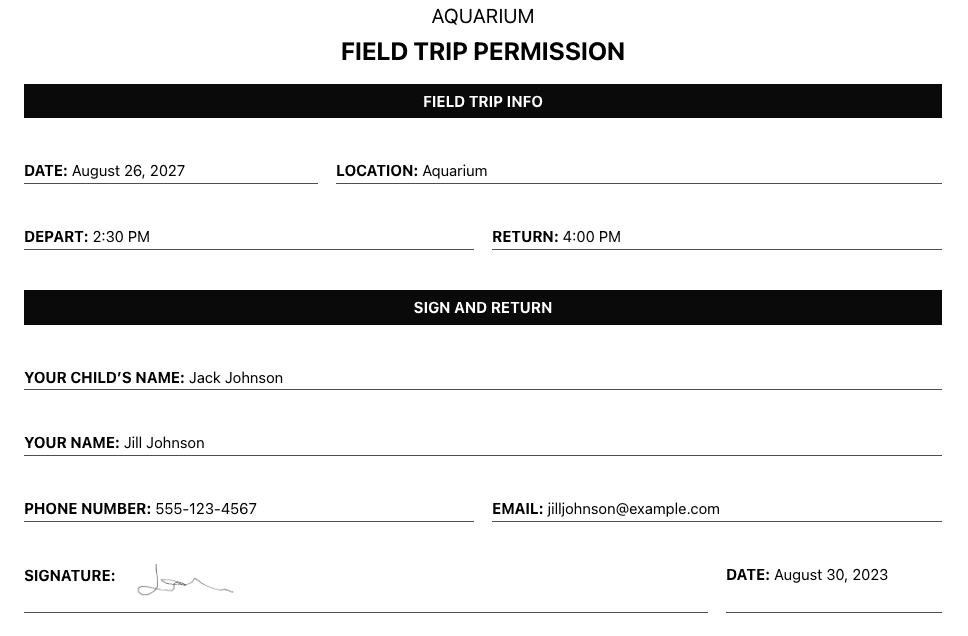
View Permission Slip Template →
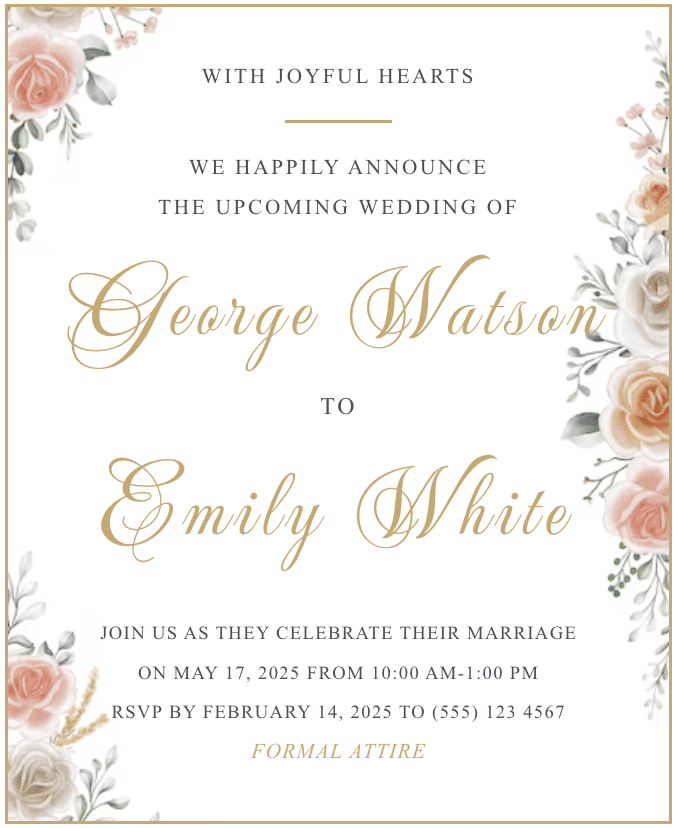
RSVP Invite Template
Event organizers create and share customizable digital RSVP cards for any occasion.
What makes these powerful is the immediate value. Users get professional results instantly, and everything stays branded to your business.
Static Content: Information That Stays Fresh
These applications help you display curated information that you control and update easily. The beauty is in how simple they make content management while creating sophisticated public displays.
Restaurant Menu System
Restaurant owners add dishes through a simple form, and the public menu automatically updates. We've included filtering by dietary restrictions and meal types because that's what customers actually want.
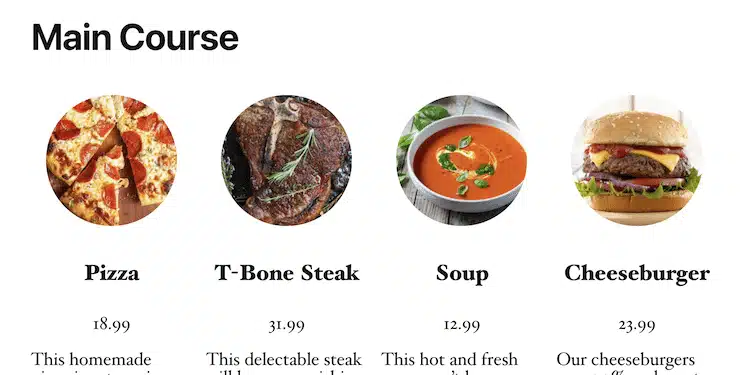
View Restaurant Menu Template →
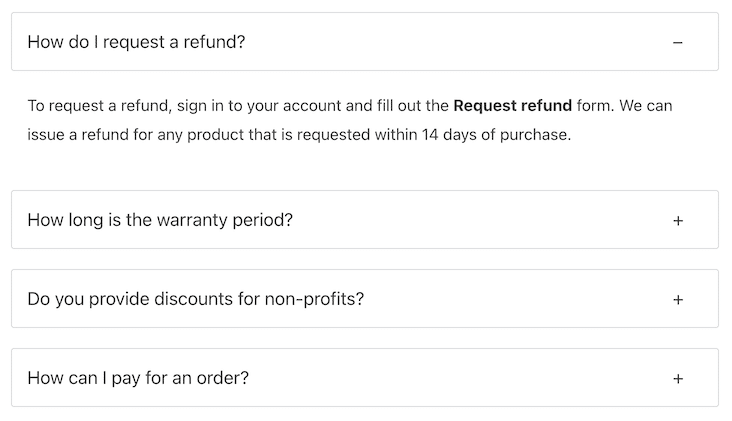
FAQ Management System
Add new questions and answers through the backend form, and they automatically appear in the properly formatted public FAQ page. We've included search functionality because visitors want to find answers quickly.
Trip Itinerary Template
Create and display personalized travel itineraries for individual travelers.
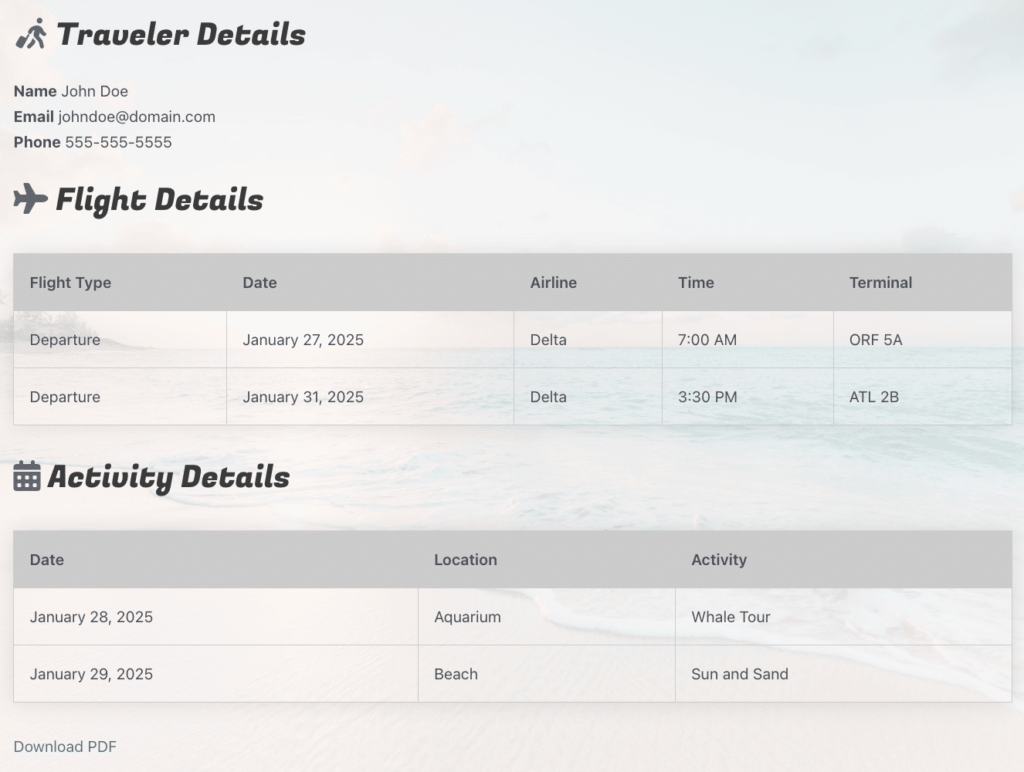
View Trip Itinerary Template →
Business Hours Display
Shows real-time open/closed status alongside detailed hours. We built this template after seeing too many restaurants lose customers who couldn't figure out if they were open.
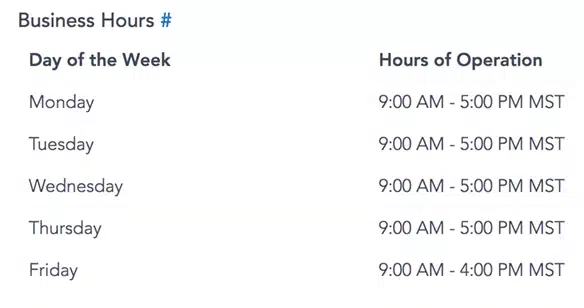
View Business Hours Template →
Company Timeline Template
Display company milestones, achievements, and key events in a professional timeline format. Perfect for about pages, investor relations, or company history sections.
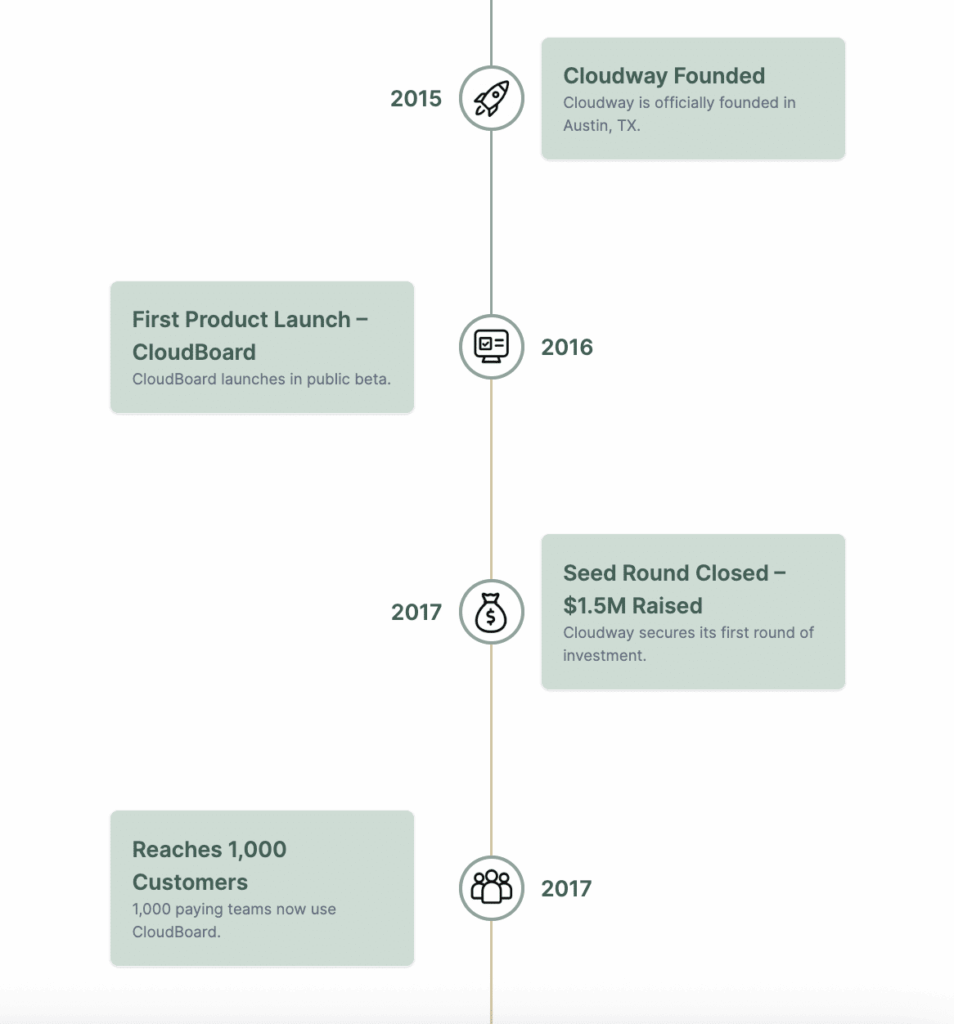
View Company Timeline Template →
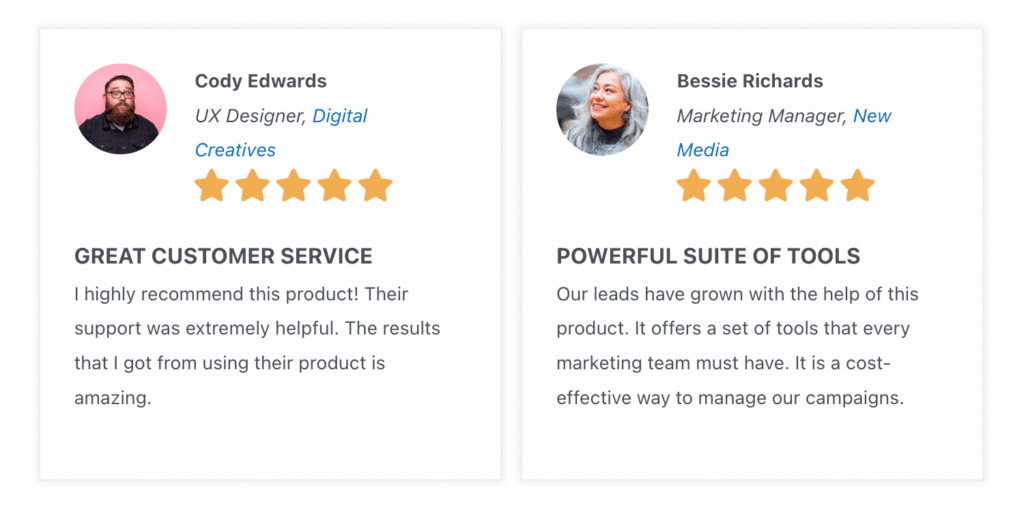
Testimonials Template
Collect and display customer testimonials with three different layout options.
Logo Cloud Template
Showcase client or partner logos in three different stylish layouts. Perfect for building credibility and displaying business relationships.
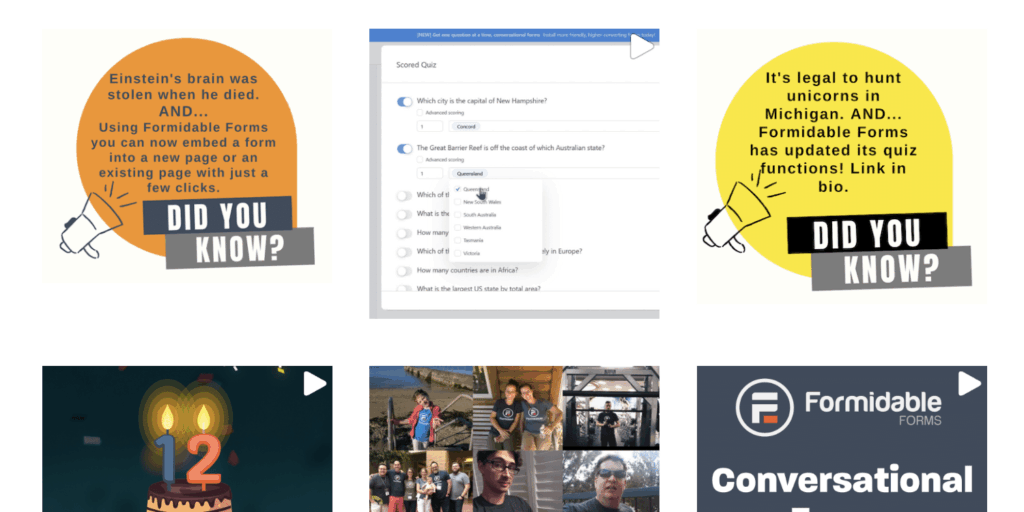
Link in Bio Instagram Page
Create a professional landing page for Instagram's "Link in Bio" feature.
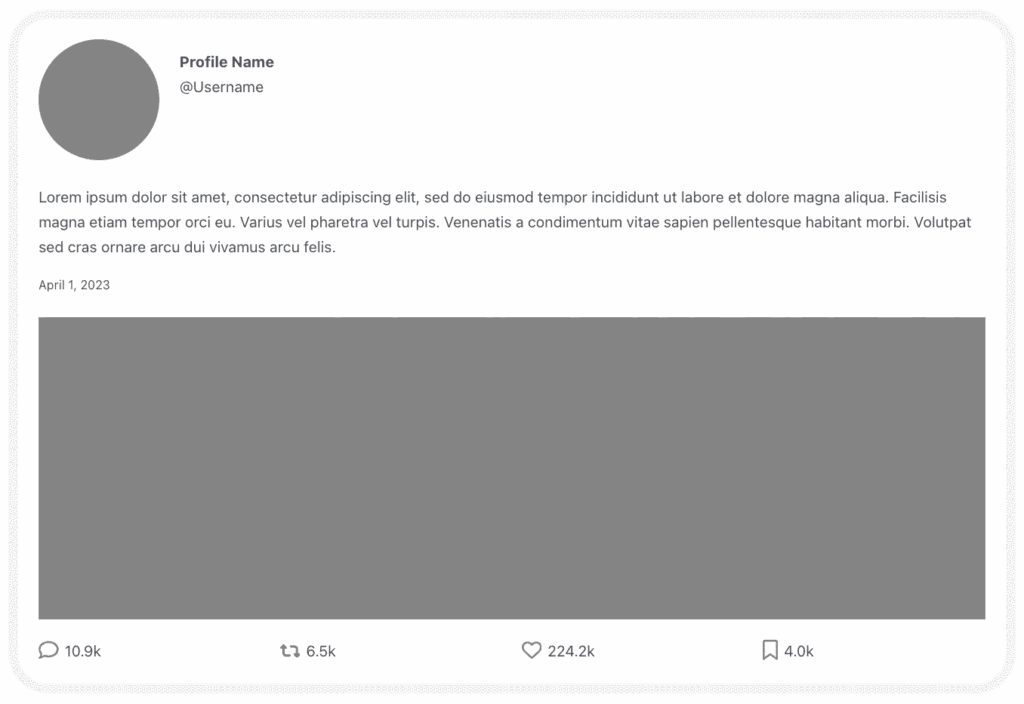
Twitter/X Template
Create and display realistic mock tweets for showcasing social media content on your website. Perfect for testimonials, social proof, or content marketing.
The key advantage here is that content stays fresh without technical expertise. Anyone on your team can manage information, and it automatically appears in the right format and location.
Interactive Content: Community-Driven Applications
These are our most dynamic applications because they create valuable resources that grow more useful over time. Multiple users contribute content that others can search, filter, and interact with.
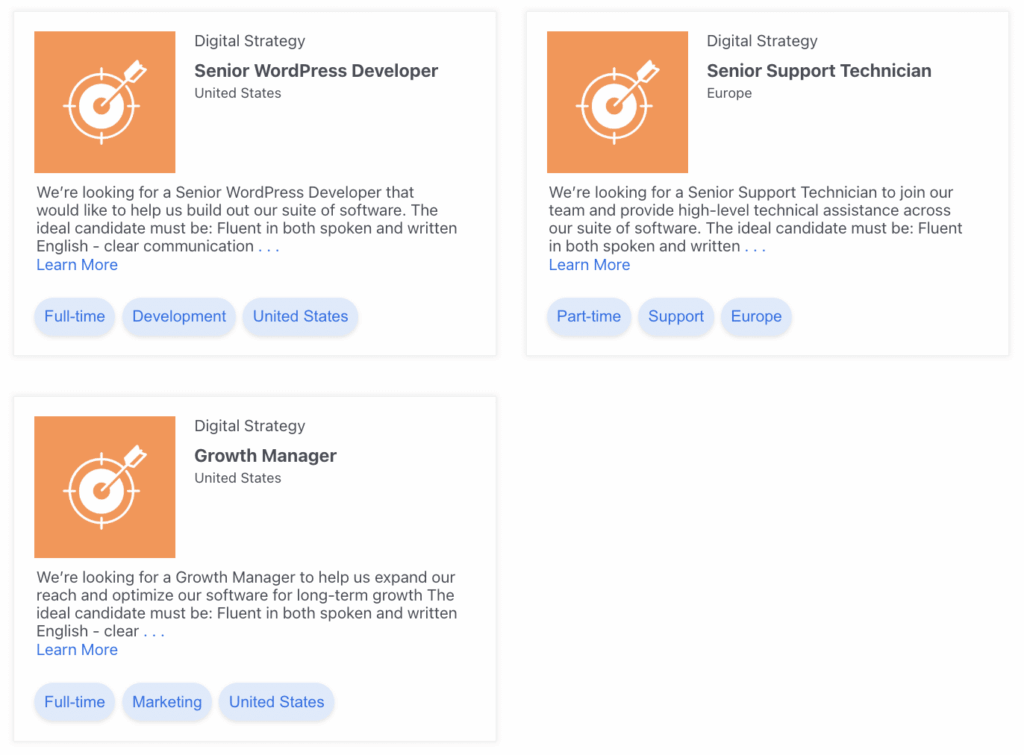
Job Board System
Companies post positions while job seekers search by location, salary, and job type. Each listing includes detailed descriptions and direct application processes, as well as filterable tags to simplify the process.
Community Event Calendar
Community members submit events that appear on an interactive calendar. Visitors filter by event type, date, or location. Perfect for community centers or local organizations that coordinate multiple events.
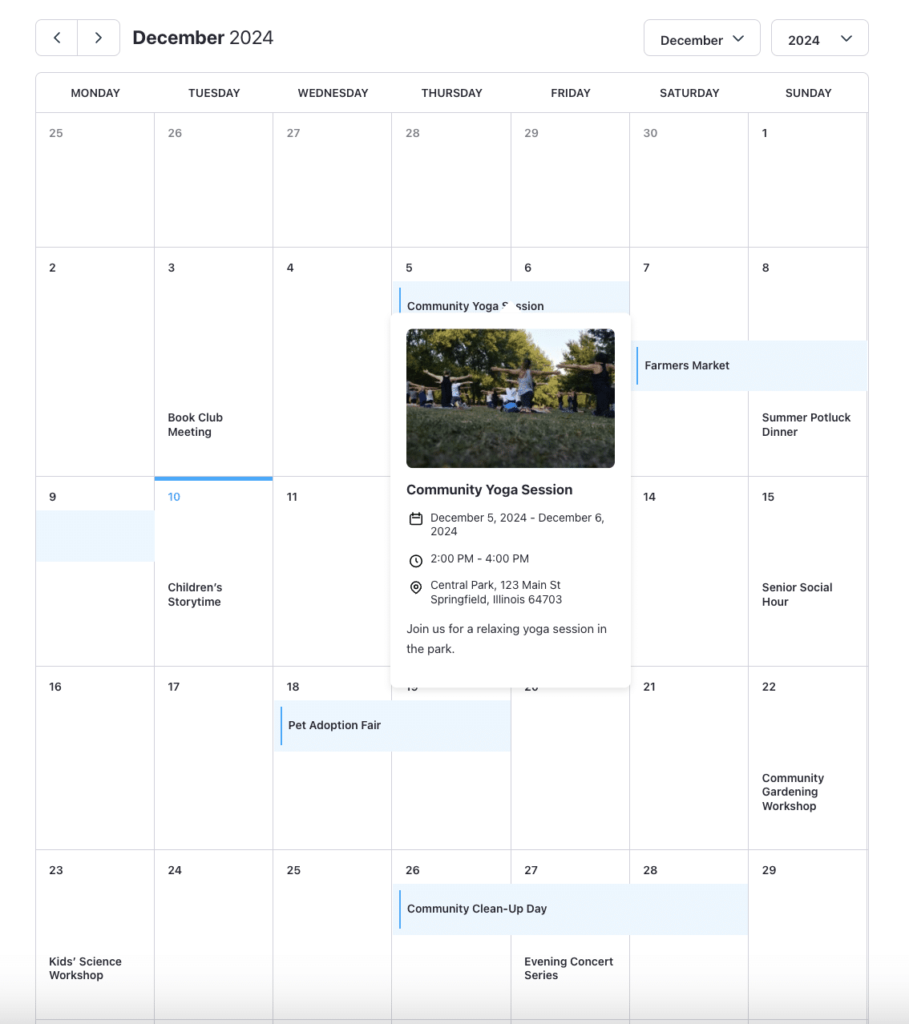
View Event Calendar Template →
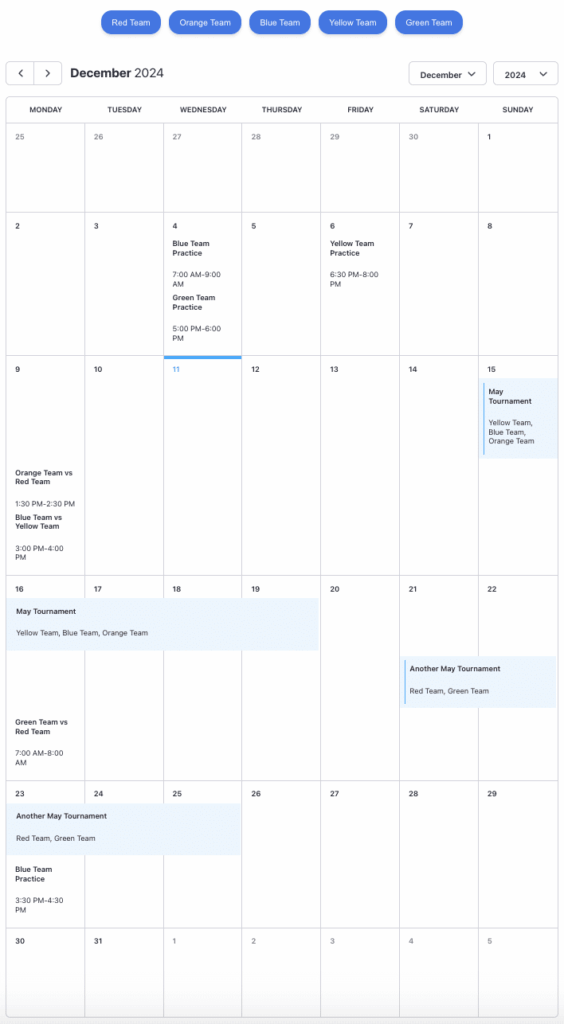
Sports League Calendar
Display all events for a sporting league with filtering options for specific teams.
Directory Applications: Searchable Databases That Scale
Directories are some of our most versatile applications. They transform scattered information into organized, searchable databases that serve entire communities or industries. Whether you're building a member directory, business listings, or property showcase, these templates handle the complexity of user-generated content with sophisticated filtering and search capabilities.
Learn How to Build Directory Applications →
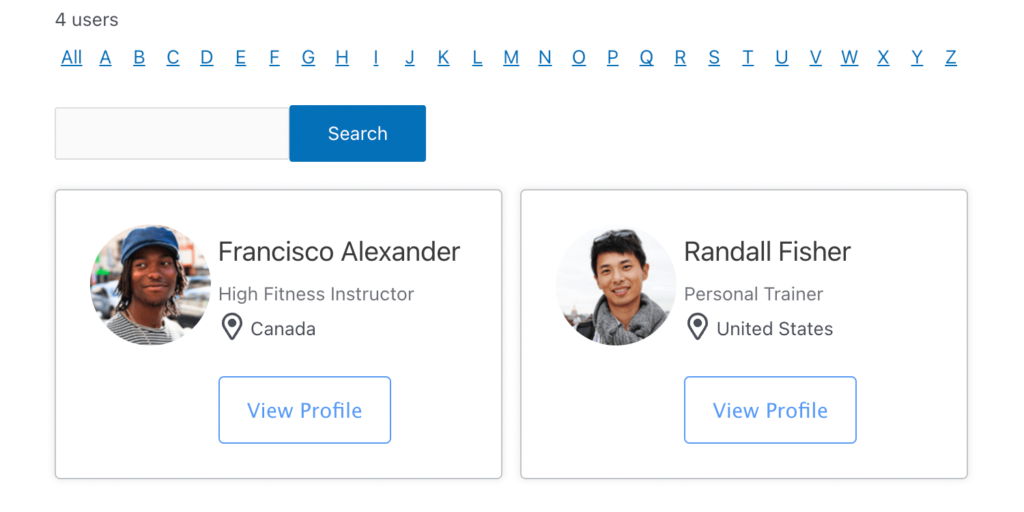
Team Directory
Add staff information once, and it appears across multiple layouts—detailed profiles, grid views, or department-specific directories. Non-technical HR staff can keep everything current without touching code.

View Team Directory Template →
Staff Directory
A more comprehensive version of the team directory designed for larger organizations with multiple departments, locations, and hierarchy levels.

View Staff Directory Template →
Member Directory
Members register, create profiles, and connect with each other through a searchable directory. We included user permissions so members can edit their own information while keeping the directory current—no administrative overhead.
View Member Directory Template →
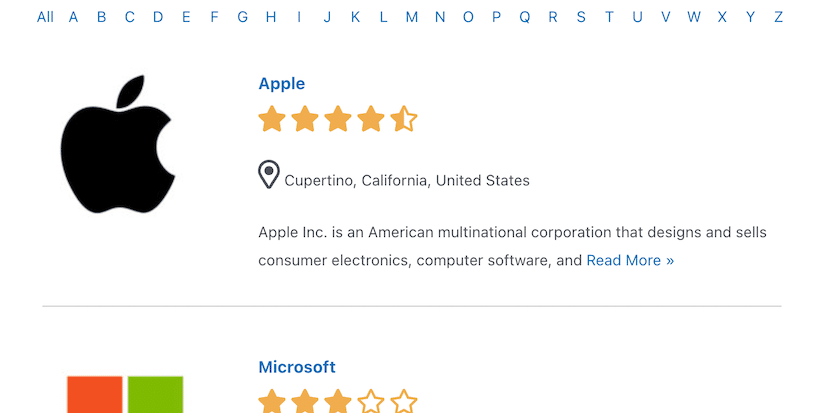
Business Directory
Local businesses submit information for a searchable directory. We included review systems and contact forms because that's what makes directories valuable.
View Business Directory Template →
Searchable Directory
A flexible directory template that works for any purpose - businesses, professionals, resources, or organizations. Features advanced filtering and customizable fields.

View Searchable Directory Template →
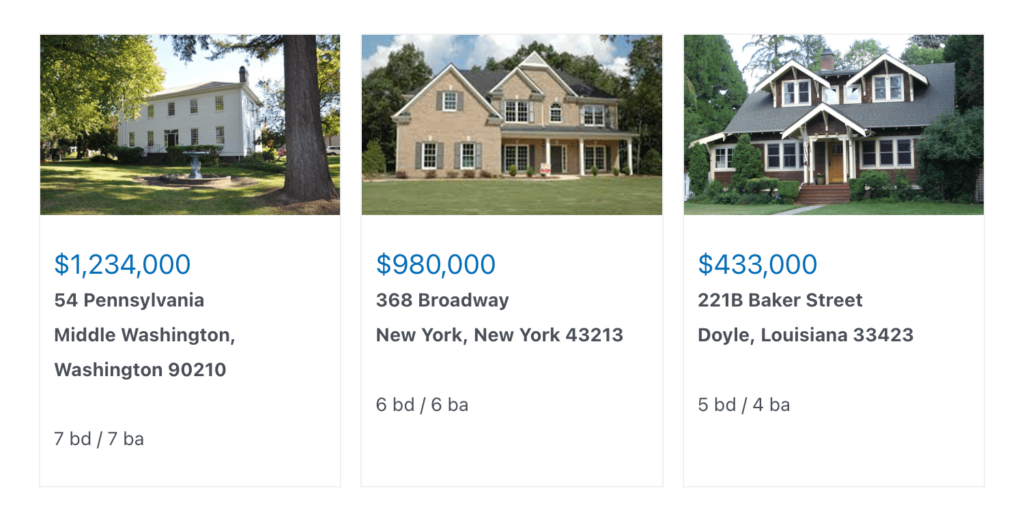
Real Estate Listings
Real estate agents add properties with photos and descriptions while buyers search by price, location, and features. Logged-in agents can manage their own listings, creating a complete MLS-style system.
Property Directory
Comprehensive property management system with mapping, advanced search, and contact features. Perfect for rental agencies or property management companies.
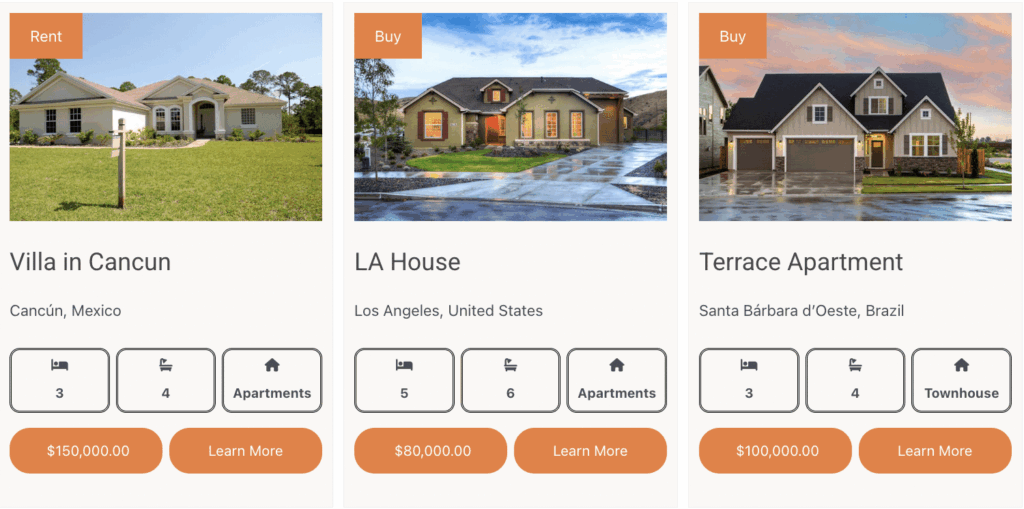
View Property Directory Template →
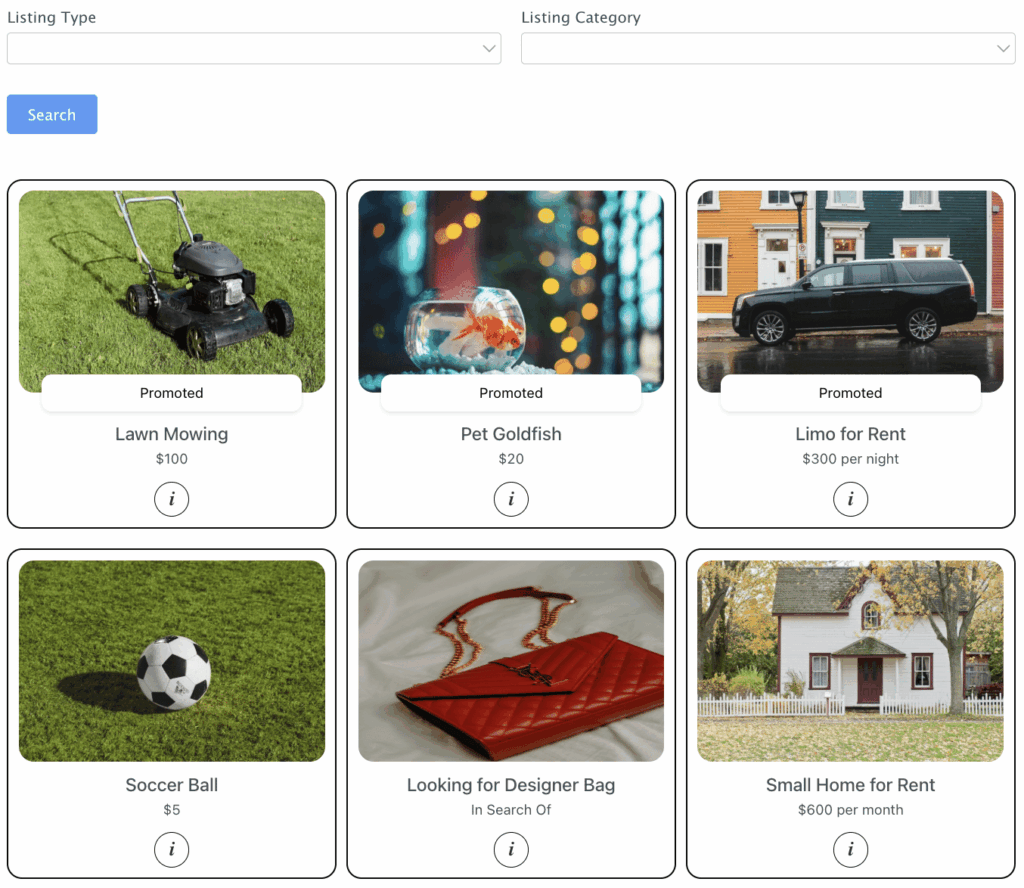
Classifieds Template
Users can post, browse, and manage classified listings in a dynamic marketplace environment.
Artist Gallery Template
Artists showcase their work with purchasing capabilities. Features artwork categorization, price management, and commission tracking.
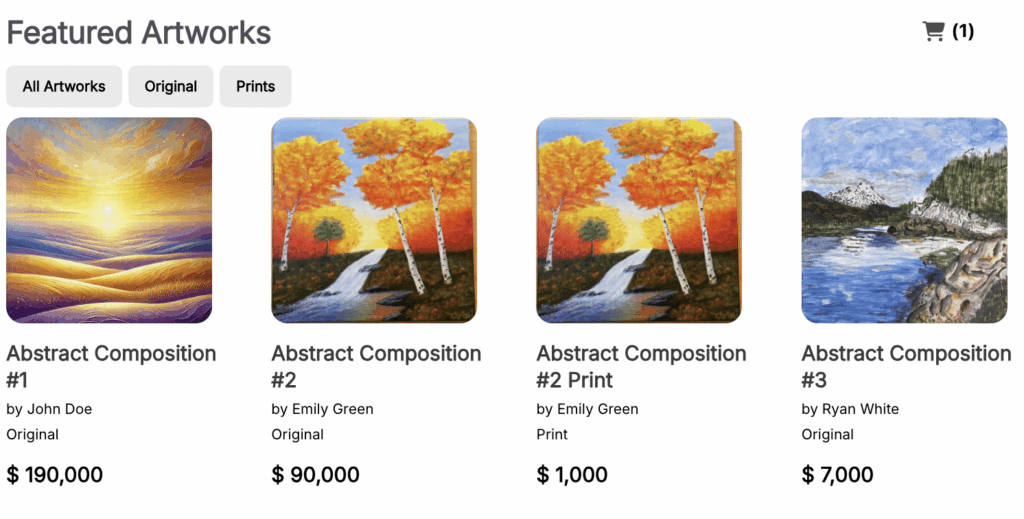
View Artist Gallery Template →
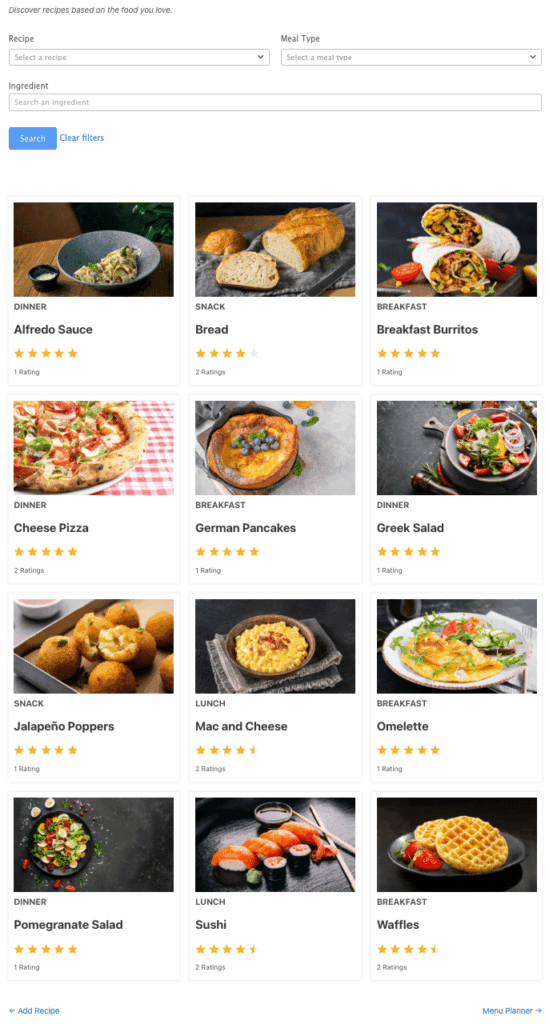
Recipe Template
Users add, search, rate, and plan meals through a comprehensive recipe management system. Perfect for food blogs or community recipe sharing.
Product Review and Purchase Template
Combines product showcasing with customer review collection and purchase capabilities.
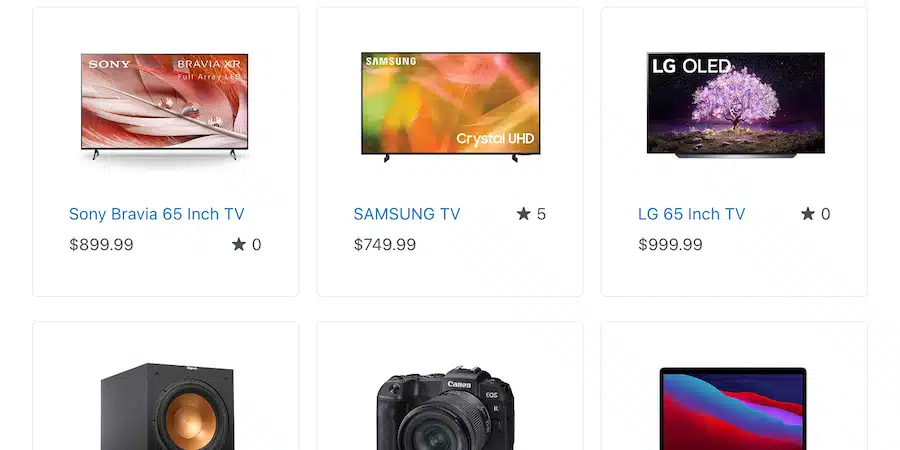
View Product Review Template →
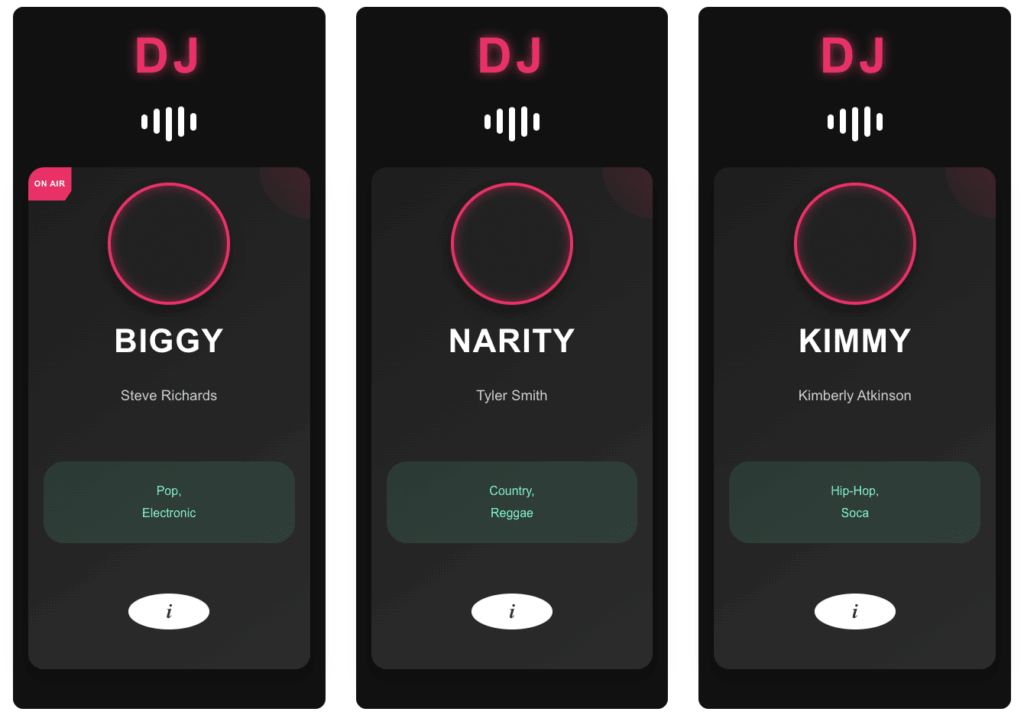
Radio Station Template
Complete radio station website with show schedules, DJ profiles, and playlist management.
What makes these applications powerful is their network effect. The more content users contribute, the more valuable the platform becomes for everyone.
Shop & Booking Systems: Complete Transaction Experiences
These applications culminate in purchases, bookings, or reservations. They're the most complex to build but offer the highest business value because they directly generate revenue. Build booking systems in WordPress without the complexity of custom development.
Multi-Property Booking System
Vacation rental owners list multiple properties while guests search by dates and amenities, then book directly with integrated payments. We included automatic availability blocking and confirmation emails because those details make or break the user experience.
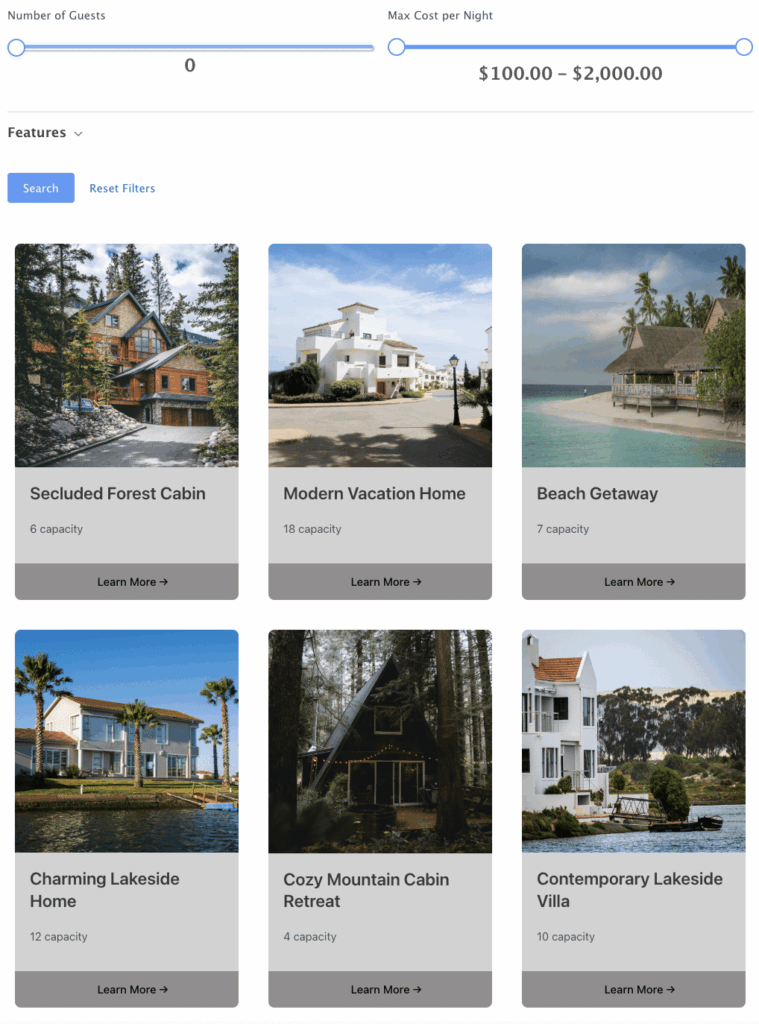
View Booking System Template →
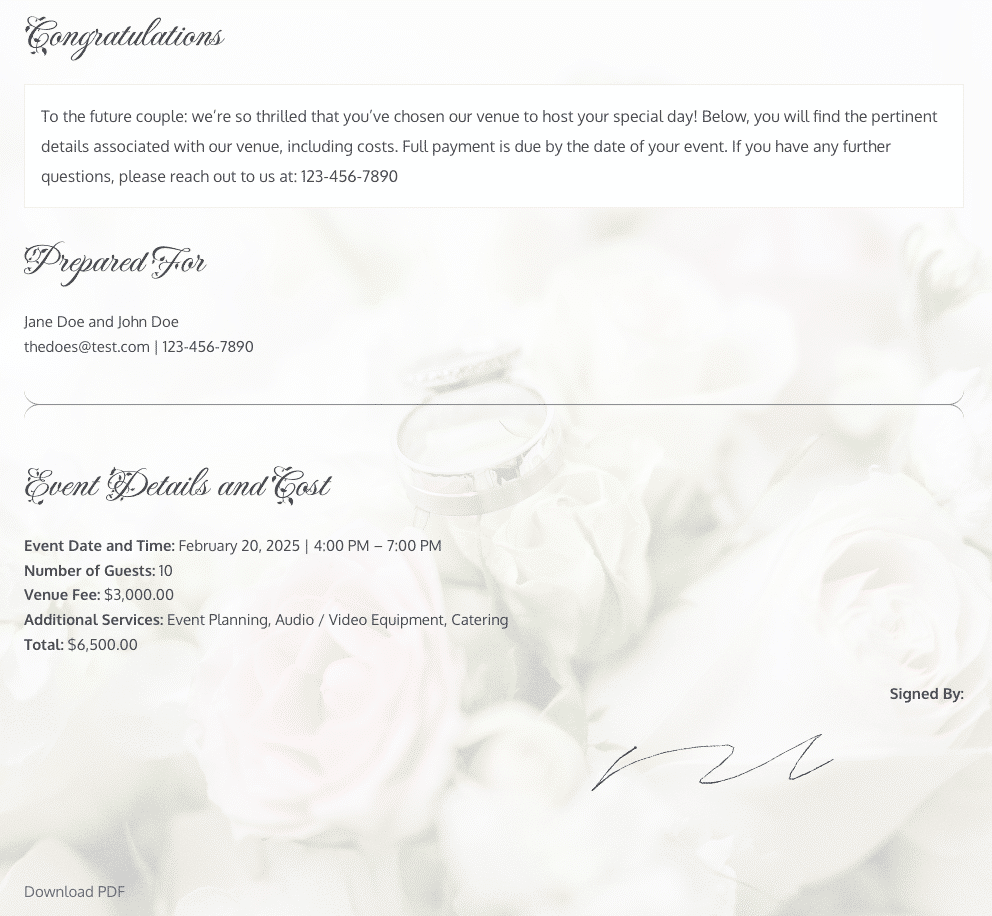
Wedding Venue Booking
Event venues showcase spaces, display availability, and handle booking requests with deposit collection. We added automated confirmation PDFs because that professional touch matters in the wedding industry.
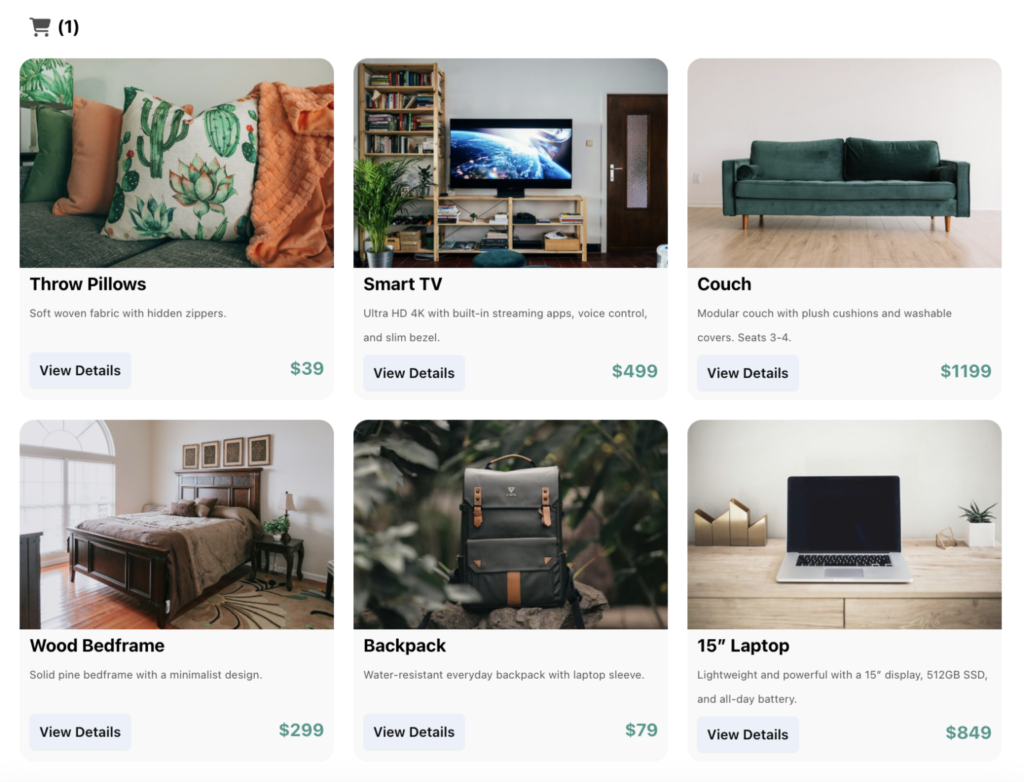
Shopping Cart System
Full e-commerce functionality for physical or digital products. Includes inventory management, multiple payment options, and customer accounts. Everything you need to compete with major e-commerce platforms.
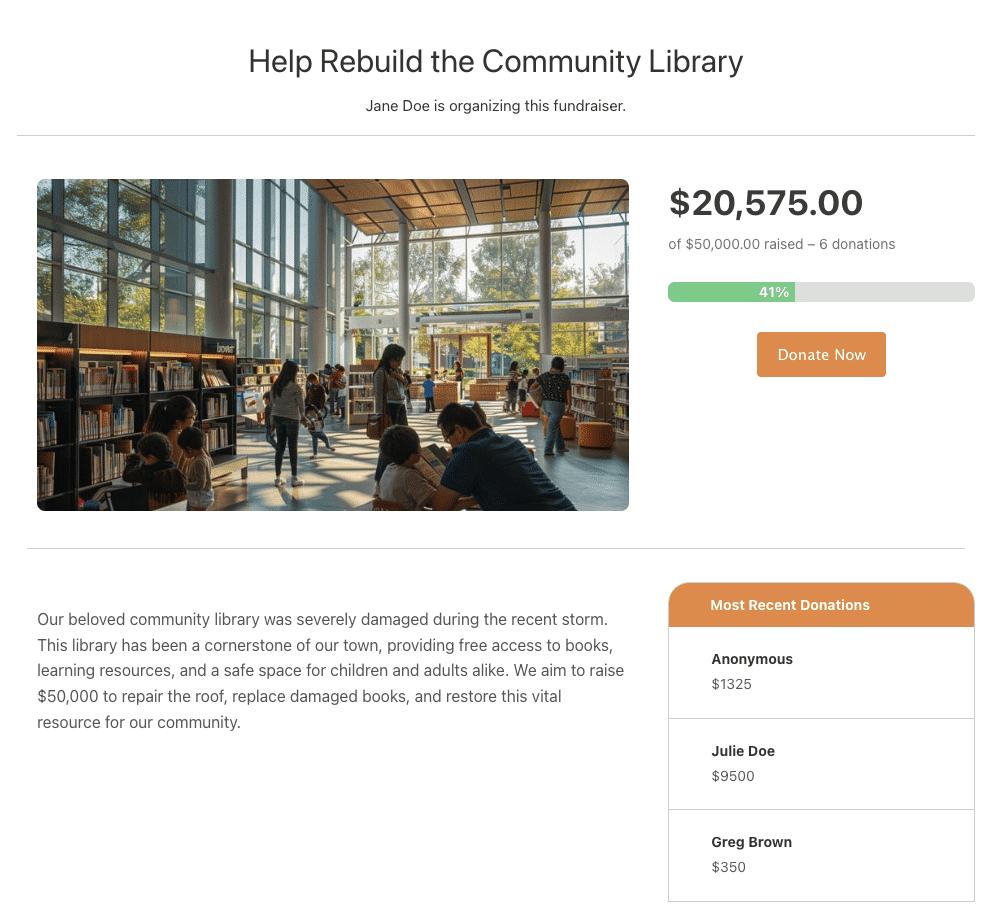
Crowdfunding Platform
Organizations create fundraising campaigns with progress tracking and donor recognition. Perfect for nonprofits, school fundraisers, or community projects that need ongoing support.
Charity Tracker Template
Track charitable donations with goal visualization and progress reporting.
View Charity Tracker Template →
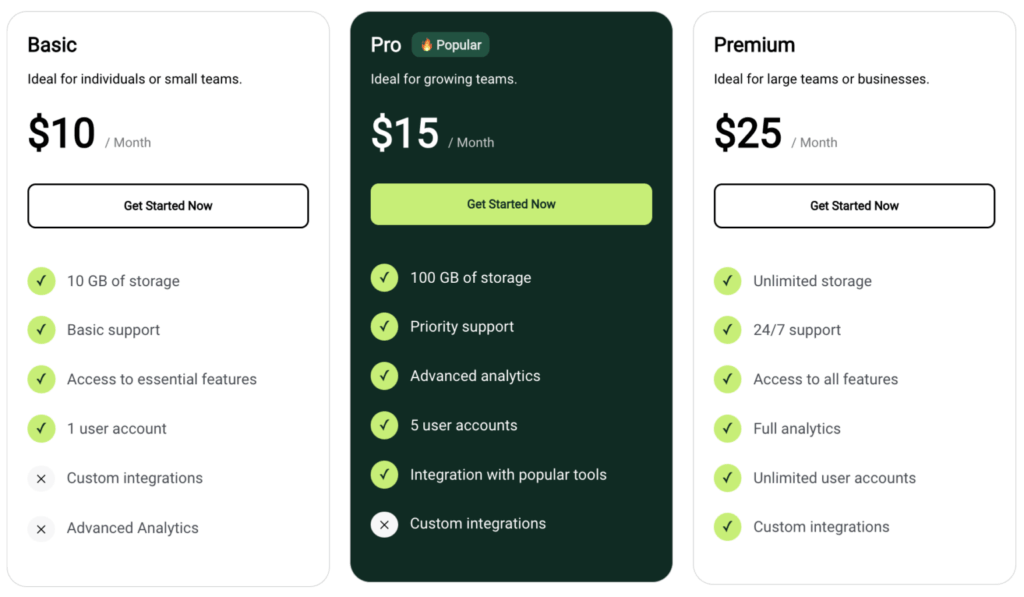
Tiered Pricing Template
Display and sell products or plans with customizable layouts and pricing structures. Perfect for SaaS businesses or service providers with multiple tiers.
View Tiered Pricing Template →
These applications eliminate third-party commissions while giving you complete control over the customer experience. Every transaction happens within your site, preserving your brand relationship.
Beyond Templates: Building Your Own Applications
While we're proud of the templates we've created, they're really just the beginning. The most exciting implementations we see come from users who take these concepts and build something completely unique for their business.
Our templates serve three purposes:
Learning Tools: They show you how Forms + Views + Pages work together to create complete applications
Starting Points: You can customize any template to match your specific requirements
Inspiration: Seeing what's possible helps you imagine solutions for your own challenges
We regularly see users combine elements from multiple templates, add their own business logic, or create entirely new application types we never considered. That's the real power of a flexible web app builder—it grows with your imagination and business needs.
The Technology That Makes It All Work
What enables this versatility is Formidable's comprehensive approach to web application development:
Advanced Form Builder goes far beyond contact forms with conditional logic, calculations, file uploads, payment processing, and database relationships.
Dynamic Views System transforms your form data into beautiful displays—grids, lists, calendars, tables, or completely custom layouts. This is where raw data becomes user-friendly applications.
Visual Application Organizer keeps complex applications manageable by bundling related forms, views, and pages into organized packages. Essential when you're building sophisticated systems.
Advanced Filtering lets users search and filter content using intuitive interfaces—range sliders, dropdown menus, checkboxes, or text searches that work beautifully on mobile devices.
Mobile-First Design ensures every application works perfectly on phones and tablets, which is crucial since most web traffic is now mobile.
Why WordPress Beats Third-Party Platforms
Many businesses automatically turn to specialized platforms for their application needs. But keeping everything within WordPress provides significant advantages:
Complete Brand Control: Every interaction stays within your website ecosystem. No jarring redirects to generic platforms that dilute your brand.
Data Ownership: Your customer information and analytics remain under your control. No platform can change terms or hold your business hostage.
Cost Efficiency: Eliminate monthly subscriptions, per-user fees, and transaction commissions. Your only ongoing cost is WordPress hosting you're already paying for and your Formidable Forms license.
SEO Benefits: Application content contributes to your site's search rankings. Job listings, directory entries, and user content all help your site perform better in search results.
Integration Advantages: Seamless connection with your existing WordPress plugins, themes, and workflows. No API limitations or compatibility headaches.
Unlimited Customization: Modify any aspect of functionality or appearance. You're not constrained by what a third-party platform decides to offer.
Getting Started: Your First Web Application
The fastest way to understand what's possible is to see it in action. Here's how we recommend approaching your first web application:
Start with a Template: Browse our complete library and find the closest match to your vision. Every template includes working forms, views, and sample pages.
Customize Gradually: Modify fields, styling, and functionality to match your specific needs. No coding knowledge required—everything uses visual builders.
Deploy and Test: Launch your application and test all workflows from your users' perspective. We always recommend this step because you'll discover improvements you want to make.
Iterate and Expand: Add features, modify layouts, or combine multiple applications as your understanding and needs evolve.
The beauty of this approach is that you can start small and grow sophisticated over time. Your first application might be simple, but you'll quickly see opportunities to add features and create more complex solutions.
What We've Learned Building These Applications
Creating 30+ application templates taught us that the most successful web applications solve specific, real-world problems. They don't try to be everything to everyone—they excel at one particular workflow or business process.
The applications that get used most are the ones that eliminate friction. Whether that's booking platform commissions, manual invoice creation, or the complexity of managing dynamic content, the best applications make hard things easy.
We've also learned that users value flexibility above almost everything else. They want to start with something that works immediately but have the freedom to modify and extend it as their needs evolve. That's why every template we build is fully customizable—the real innovation happens when users make it their own.
Frequently Asked Questions About WordPress Web Apps
- What is a WordPress web app builder?
-
A WordPress web app builder is a tool that lets you create interactive, data-driven applications directly within your WordPress site. Unlike simple form plugins that just collect information, a web app builder like Formidable Forms combines forms, dynamic displays (Views), and pages to create complete applications—like job boards, booking systems, directories, and calculators—all without writing code.
- Can I build apps in WordPress without code?
-
Yes! With Formidable Forms' no-code WordPress application builder, you can create sophisticated web applications using visual builders and drag-and-drop interfaces. Our 30+ application templates provide working examples that you can customize to your needs without any programming knowledge. Whether you're building a member directory, booking system, or invoice generator, everything uses visual configuration instead of code.
- What are examples of WordPress web apps?
-
WordPress web apps include job boards where companies post positions and candidates search listings, booking systems for vacation rentals or event venues, member directories with searchable profiles, invoice and certificate generators, restaurant menu systems, event calendars, shopping carts, crowdfunding platforms, and business directories. These applications combine data collection forms with dynamic displays that let users browse, search, filter, and interact with content.
- How is a WordPress web app different from a regular website?
-
A regular WordPress website displays static content managed by site owners. A WordPress web app allows multiple users to submit data, browse dynamic content, and take actions like booking, purchasing, or connecting with others. Web apps create interactive workflows—users add content that appears in searchable databases, filter results based on their needs, and complete transactions, all within your WordPress site.
- Do I need coding skills to build WordPress applications?
-
No coding skills are required to build WordPress applications with Formidable Forms. Our WordPress application templates include pre-built forms, views, and configurations that you can customize easily. You can modify fields, change styling, adjust workflows, and add features all through point-and-click interfaces. The templates serve as starting points that show you how forms and views work together to create complete applications.
Ready to Build Your Web Application?
The applications I've shown you represent just a fraction of what's possible when you combine powerful form building with dynamic content display and seamless WordPress integration. Every successful online business eventually needs custom application functionality—the question is whether you'll rent it monthly or own it outright.
With over 30 application templates available and the flexibility to build anything you can imagine, there's never been a better time to explore what no-code WordPress web applications can do for your business. Whether you want to build booking systems in WordPress, build directories in WordPress, or build calculators in WordPress, our templates give you the foundation to succeed.
Take the next step: Browse our complete application template library, try the template that matches your needs, and discover why thousands of businesses choose Formidable Forms for their WordPress web application requirements.
Explore All Application Templates →
Ready to transform your WordPress site into a powerful web application platform? Start with Formidable Forms and see how quickly you can build professional no-code WordPress web applications without any coding knowledge required.
This article may contain affiliate links. Once in a while, we earn commissions from those links. But we only recommend products we like, with or without commissions.

