
Create a custom landing page in your WordPress site with the Landing Pages add-on. Convert your site visitors into leads and boost your sales!

Upgrade your WordPress site with powerful, flexible forms.
Download and install
- If you haven't already, install and activate the current version of Formidable Forms Premium on your WordPress site.
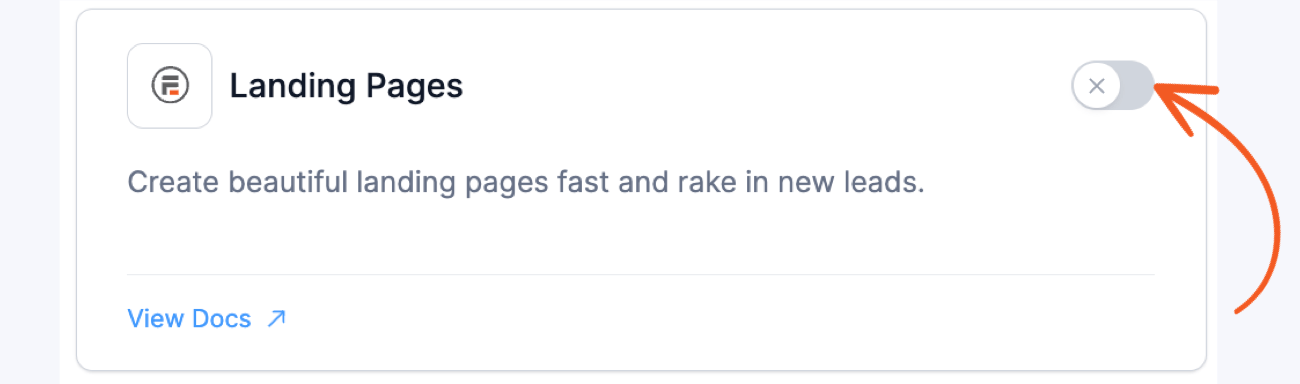
- After confirming your Formidable Forms license, proceed to the Formidable → Add-Ons page and toggle on the Landing Pages plugin.

From Idea to Reality in Minutes. Build Powerful Forms, Dashboards, Apps and More.
Formidable Forms makes advanced site building simple. Launch forms, directories, dashboards, and custom WordPress apps faster than ever before.
Set up a landing page
Follow these steps to create a landing page on your website with a form that drives high conversions.
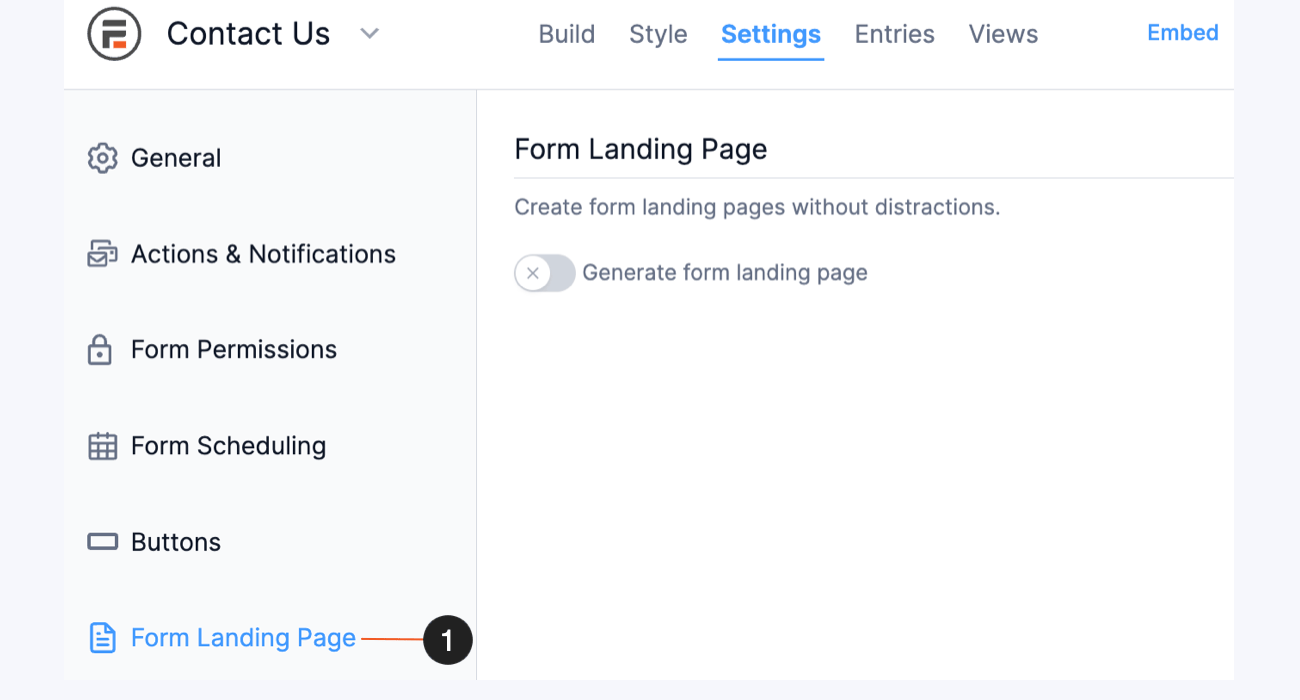
- Edit your existing form or create a new form if needed. Then navigate to your form Settings → Form Landing Page.
- Click to toggle Generate form landing page to start creating your landing page.
- The Page URL is generated based on the form title but can be updated by clicking the URL. To edit the landing page, customize it with a logo, or make other changes, click the Edit Landing Page link.
- Upload your background image by clicking the Upload background image button.
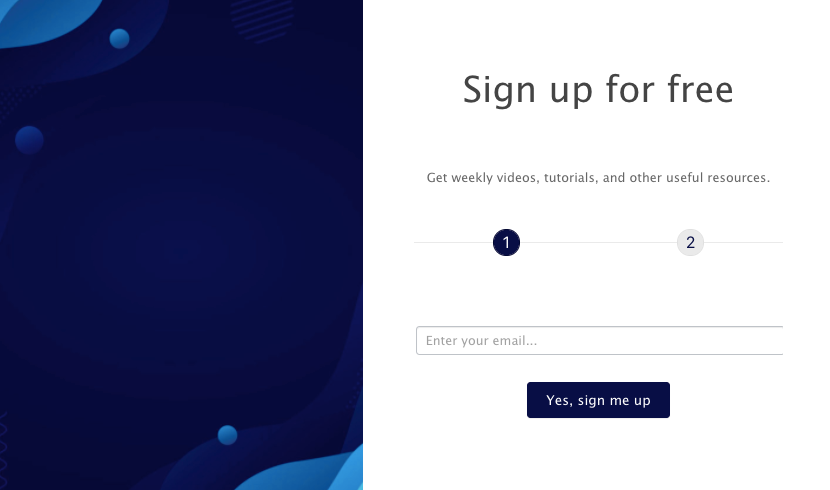
- Select a design from the different styles. If you have uploaded a background image, it will be included in your landing page style.
- Classic: Adds a full screen form with the uploaded image as the background.
- Card: Adds the form to the center of the page with a fixed height and width.
- Left: Adds the form to the left side of the background image.
- Right: Adds the form to the right side of the background image.
- Classic: Adds a full screen form with the uploaded image as the background.
- Click the Update button to save your settings.
- To preview your changes, select On Landing Page from the Preview button.
- To view the landing page from the Forms list, go to Formidable → Forms and find your form. In the Embeds column, click the number to open the Embed Locations row. The landing page appears as Form Landing Page with its URL and a View in new tab link.


Edit landing page
You can customize the landing page and make other changes, like inserting additional text or adding images. By default, the generated landing page includes the form title and description. If you need to hide the form title or description, follow the steps below.
- Navigate to your form Settings → Form Landing Page and click the Edit Landing Page link.
- You would then be redirected to the generated page with the form. Click the form block.
- On the page settings sidebar, go to the Block tab and toggle the Show form title option in the Options panel to display or hide the form title as desired.


Delete landing page
If you have generated a landing page and then deactivated it, there will be a Click here to delete your landing page link under the form landing page toggle. Clicking this link will delete your landing page.
Troubleshooting
Oops! That page can’t be found
If you encounter error messages such as Oops! That page can’t be found when using the Landing Pages add-on, it may be due to incorrect permalink settings. This guide will help you resolve these issues by adjusting the permalink structure in WordPress.
- Log in to your WordPress admin dashboard. Then navigate to WordPress Settings → Settings → Permalinks.
- In the permalink settings page, select the Post name option to adjust the permalink structure. This setting ensures that URLs are structured correctly for the Landing Page add-on.If the permalink structure is set to custom, it's required to add the category name formidable-landing for the landing to show in the URL. For example: https://the-website-url.com/formidable-landing/contact-us-landing/
- Scroll down and click the Save Changes button to apply the new permalink structure.

Additional customization
Move navigational arrows of conversational forms
For conversational forms embedded on a landing page, the navigational arrows are typically located in the bottom right corner. If you want to override this, you can use this custom CSS.
.single-frm_landing_page.frm_image_default .frm_chat_arrows, .single-frm_landing_page.frm_image_right .frm_chat_arrows {
  position: relative !important;
}
